Refurb underway (finally)

Frightening thread hope it all goes back ok
42.gif.6d63386a5269ceda16cdf2e3fe89de81.gif
 
Get a trailer @Synclare , I’m already fed up with the component cleaning =))
 
Loving this thread :thumbsup:

Keep up the good work and posts
 
Might as well get comfy going to be here for quite a while cleaning...:arghh::arghh::arghh::arghh::arghh:
9F243957-4E19-448E-84A7-EF66A4C8B6BB.webp


Three long boring hours later :(.....
C110C1A2-A708-4132-9C30-0CC22D023594.webp


Still not finished, so left some small calliper parts soaking, and then I will clean the main callipers later ( or tomorrow )

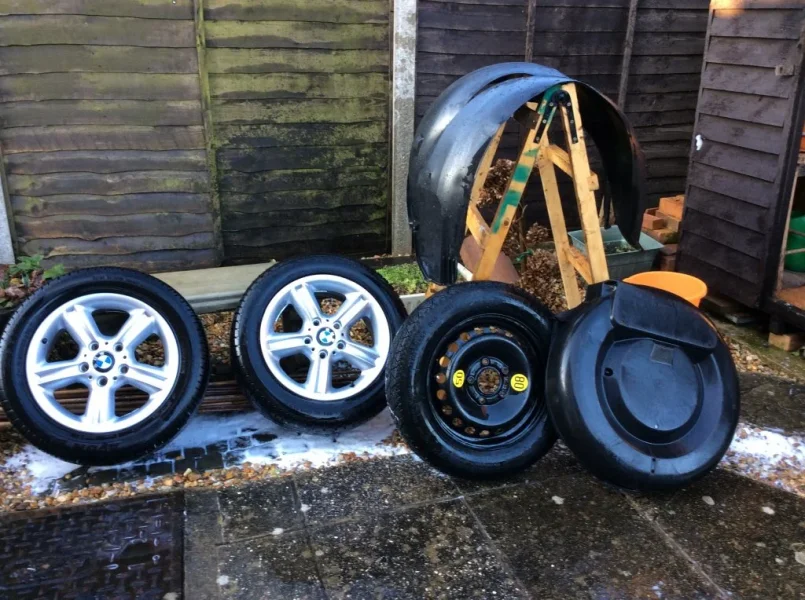
Then I will have to clean the Diff , Trailing arms, Beam, ARB, plus the wheels , and the arch liners which I still need to remove from the car, and the spare wheel and carrier........OH JOY !!!!!!

The washer tank was a good investment though. And the Screwfix No-Nonsense cleaning solution is really good...and cheap.

OH goody, more cleaning tomorrow:thumbsup:
 
Whats happening to me:eek:......its only 6am, and I’m out in the garage cleaning car parts......

Help.....I need therapy!!!!!!!
 
Well thats another 3 hours of mind numbing boredom, but all the small bits cleaned ready for derusting and painting...possibly shot blasting if I can find someone local, but if not, then electric drill and various wire brushes :thumbsup:

A few larger bits got cleaned as well.
8EADC44B-4415-4385-8CA6-62B0F256B99E.webp


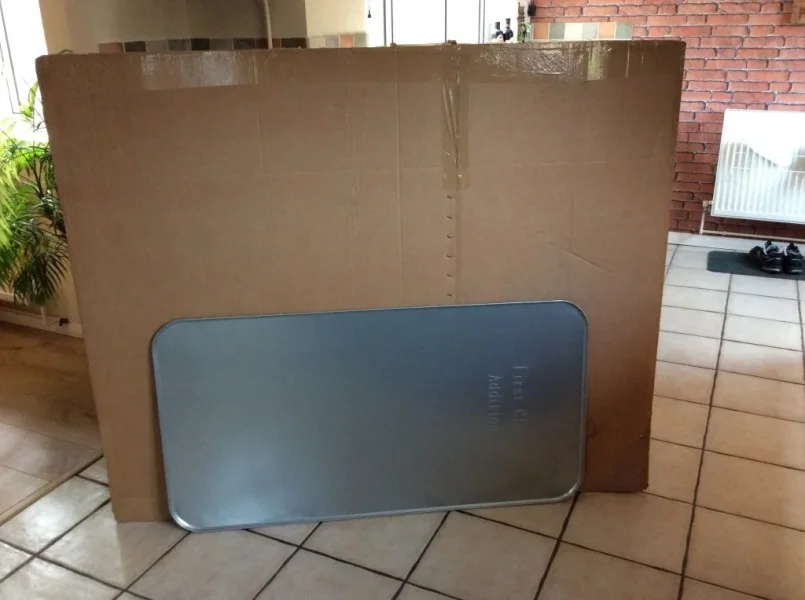
Waiting for a large drip tray now to arrive before I can clean the diff and trailing arms.

Thats it for now as I had a call to confirm a hearing test today, .....well, I think thats what she said:oops:
 

Attachments

  • DA09DE49-8473-4FC4-BC0F-740DBF393DB4.webp
    DA09DE49-8473-4FC4-BC0F-740DBF393DB4.webp
    166.1 KB · Views: 266
Wasn’t expecting the tray till Monday and it turned up today....just as well I was in....
Oh great I will be able to continue with the cleaning :arghh:

Bit of overkill on the packaging though......I wondered what the hell I had bought when the package arrived !
9EFD3AE8-2768-4CCB-A34D-EB67959D9AD8.webp
 

Attachments

  • B507C342-8D72-4830-8497-9BFBB2FBDD35.webp
    B507C342-8D72-4830-8497-9BFBB2FBDD35.webp
    65.8 KB · Views: 247
I bought a cheap corded angle from I think B&Q and used wire brush wheels had a lot more grunt than my cordless black and decker drill. As you know I’m doing mine off grid. Mikita cordless angle grinder great price of kit but chews threw batteries for essential tea breaks.
 
For the continuous work like cleaning a corded tool is best and if you buy a cheap one and kill it you'll be able to get a new one under warranty.

Tony.
 
I have an old Bosch corded drill for wire brushes plus a corded angle grinder for sanding discs and pads. Hopefully should be enough to get it all done.
 
  • Like
Reactions: Lee
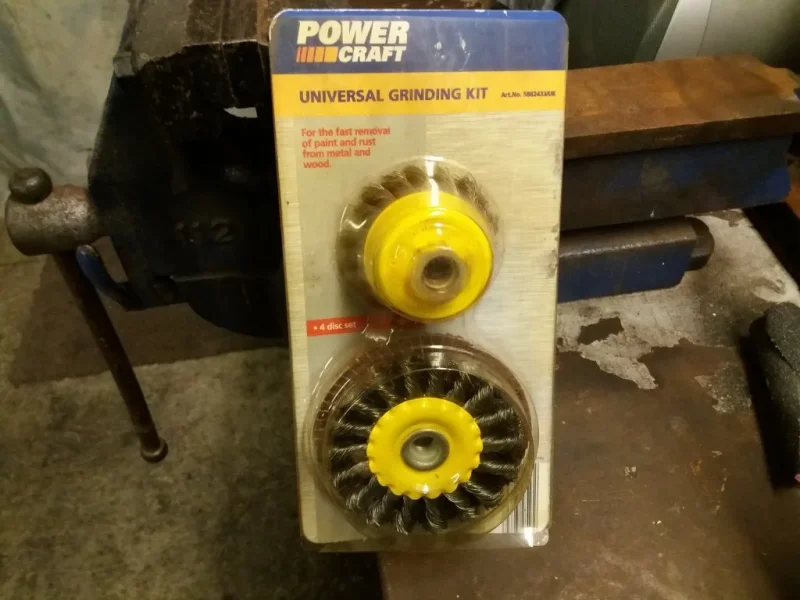
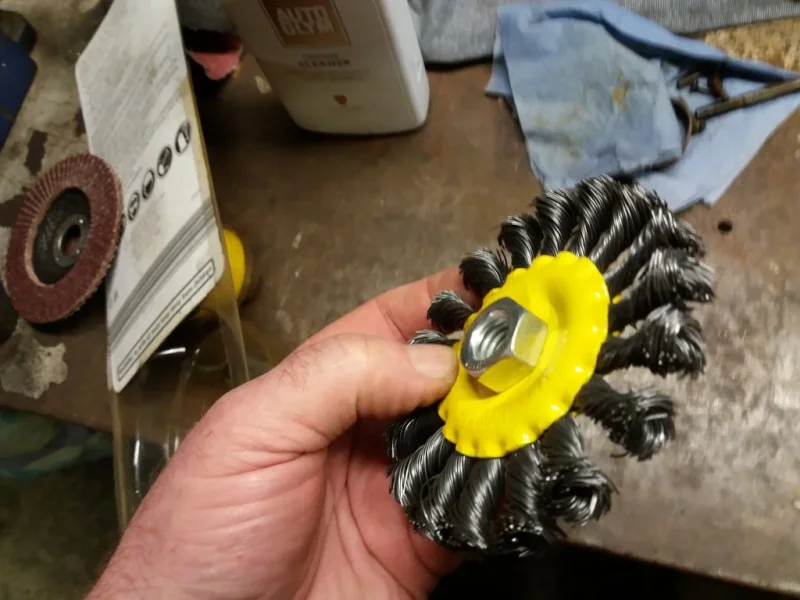
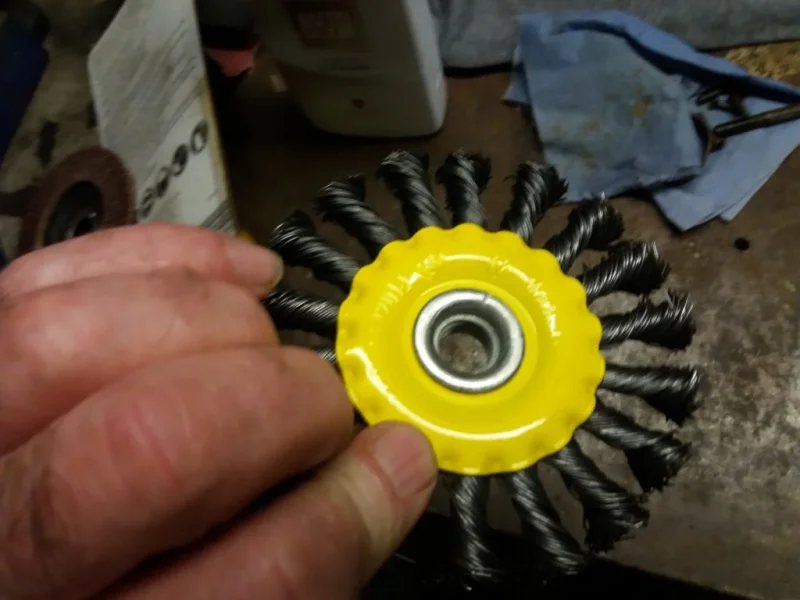
These make short work of cleaning Malc. They screw directly onto the angle grinder and are very effective. You will need the side handle too. Far better than using a drill, much more manageable.
20200110_171759.webp
20200110_171817.webp
20200110_171813.webp
20200110_171903.webp
20200110_171859.webp


Tony.
 

Attachments

  • 20200110_171759.webp
    20200110_171759.webp
    71.9 KB · Views: 262
  • 20200110_171859.webp
    20200110_171859.webp
    73.6 KB · Views: 263
  • 20200110_171903.webp
    20200110_171903.webp
    52.5 KB · Views: 264
Another day....another boring 3 hours....:whistle:

Finished sorting out and cleaning the brake parts....( and at this stage looking at the trays....I have no idea how they fit back together:eek:....but that is for another day !!!)
3440B501-03C8-40F0-96FA-6D77340EB883.webp


Set up the new drip tray on some trestles and started on the trailing arms ...this is just to get all the grime and crap off...wire brushing comes later and will have to be done outside.
BA7E485C-FDCA-4FA3-B60E-626297BDE5A8.webp


Just to prove its me cleaning them and I haven’t hired anyone=))
D0FBE06D-60CE-4DDB-A415-FC9034C24508.webp


Pretty filthy...
08779513-D192-4A9C-8A45-40C108D0A65B.webp


After about 2 hours had both cleaned and letting them dry off.
Cleaned the tray, which I am glad I bought as it made this so much easier as it contained all the mess.
58B2A62F-4595-44E1-8EB7-5503EE427437.webp

Happy days ...or it was, till I realised I had cleaned it all up and not done the diff :arghh::arghh:

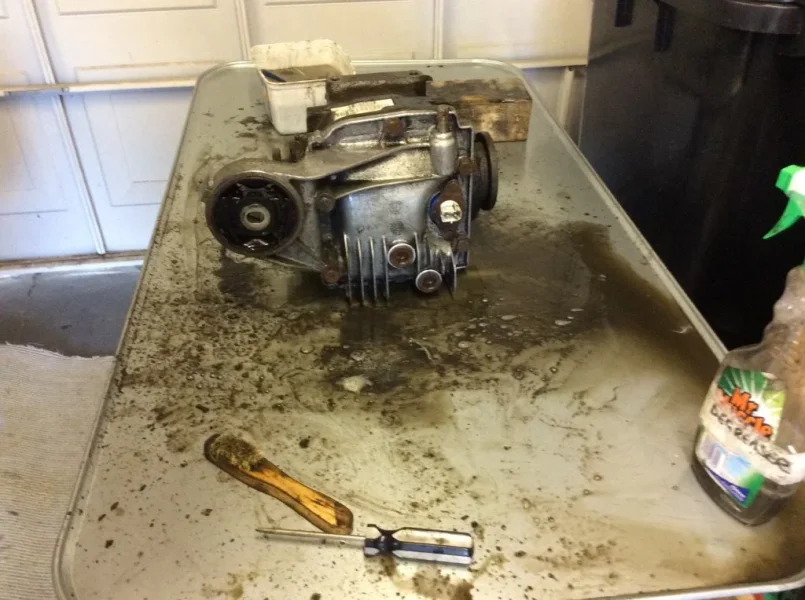
So got everything out again and started on the diff, and it turns out the rear plate is silver in colour:eek:

F6D1F25F-990D-4BD2-AE98-D76DE03D9326.webp

17B43CC7-2061-4AEB-B917-2B5BD2ADE3D7.webp


At this stage I had reached my cleaning boredom threshold so decided to stop.....after all it will still be there tomorrow:whistle::whistle: When I can finish the diff and then clean the beam. :arghh::arghh:

Everything metal wise is in pretty good condition, (back plates / trailing arms / beam) but the trailing arms have at some stage been coated with something to protect them, which unfortunately in places has come off so led to some surface rust, and quite a few areas where it is bubbling so obviously has water trapped . I think my best bet is to take it all off and treat everything.

The bush on the diff looks fairly new but it is starting to separate from its outer ring, so while its out and for the minimal cost of a new one, I’ll change it. Any suggestions on best way to remove it without damaging the diff mount gratefully received :thumbsup:
 

Attachments

  • AD201988-F8F7-4968-B160-E3D5E642C092.webp
    AD201988-F8F7-4968-B160-E3D5E642C092.webp
    99.8 KB · Views: 277
  • 80767D1E-3916-4512-8D2B-6B550A163669.webp
    80767D1E-3916-4512-8D2B-6B550A163669.webp
    99.8 KB · Views: 264
If you have a big hole saw this will cut the rubber. The saw through the remaining rubber and out steel shell with a hacksaw. Then you'll be able to knock it out with a hammer and punch.

Tony.
 
Could try chain drilling Malc, then hacksaw.
 
Great work with the cleaning :thumbsup:​
 
How many Chinese take away boxes does it take to strip down a Zed? Nice thread Mazza :thumbsup:
 
Loving your attention to detail Malc, great thread, keep it up:thumbsup:
 
Back
Top