well as
@Andyboy has indicated I had been a prize plumb and forgot about the locking ring !.. I'm using the excuse it was so covered in rust I didn't see it

however, I spent a number of hours chiselling out every remnant I could muster... this is what I chiselled and hammered out compared to the other side
View attachment 271617
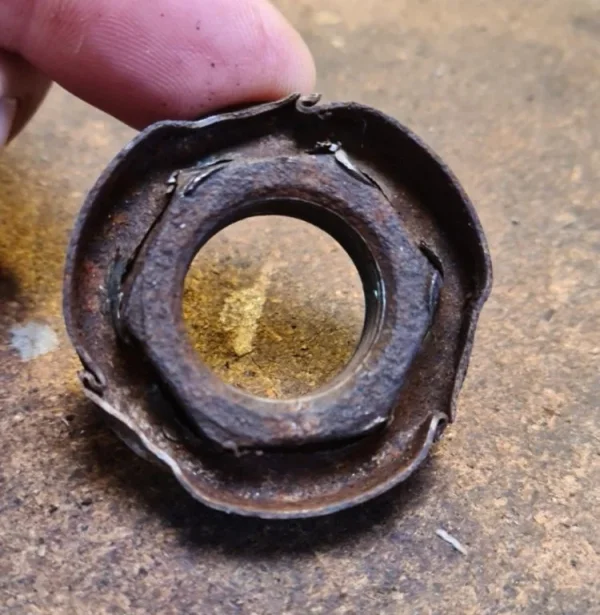
So I'd gotten to the point after several hours.. that I could see the shoulder of the nut all the way round but it wasn't budging
View attachment 271619
so next course of action was to let it cook on a Gas Mark 6..... while I went to get a Gin....
 View attachment 271621
more hammering.... but no bueno...... I'm now thinking I might have to sacrifice the drive shaft in order to hammer it out from the back


")