Bognor Lean-to Project

Mazza

Zorg Guru (V)
Supporter
British Zeds
The M44 Massive
Joined
Nov 1, 2017
Points
175
Location
Bognor Regis
Model of Z
Z3 1.9 M44 Roadster Z3 2.8 Project
Five hours cleaning and painting but for once actually enjoyed it.

First job was to open out the four holes for the crossbeam inserts. Forgot they were M8, :whistle:
But no issue
B7327102-E956-44B7-877A-A1428972C630.jpeg

the hole accepted an M6 insert:arghh:......but as hadn’t been fixed in, easy to pull them out and drill out the hole to accept the larger insert.

Various wire brushes and removed all the rust and crud !!
298CA23C-96C8-4196-954D-F9CAA0B92BD2.jpeg


Then measured the old frame to work out where the M6 insert should go….. and checked it with the bracket before drilling.
Spot on so drilled it out and put the insert in using a bolt, a nut and two washers
C92CDEE7-88BF-4FC5-A417-E58B122A12A4.jpeg

Bracket fitted ok:thumbsup:

4 M8 inserts then fitted.
more ‘special’ tooling
B4803CC1-FC93-4FBD-8257-828E86A20932.jpeg


Then Zinc Oxide primer ( 3 coats)
ED882C7B-5FD2-4202-973C-98034C61DBD1.jpeg


B2E6A3CD-53BE-4539-AC31-920EDE267045.jpeg


Followed by a Satin Black top coat
ED040B9D-C443-4D9E-9BF2-8697760BF23D.jpeg

C7A5C963-CDA3-48D0-9893-4B970D82AF7A.jpeg

Between coats cleaned up all the hardware ready for the assembly tomorrow.
00F8DBC3-B197-488F-B9B5-3C813810D80C.jpeg


so for now letting it alone till tomorrow
F2F12D82-0C0D-40FC-95D2-2546CC978643.jpeg
 
Last edited:

t-tony

Zorg Expert (II)
Supporter
British Zeds
#ZedShed
Joined
Dec 31, 2013
Points
226
Location
Torksey Lock,Lincoln, England
Model of Z
E89 Z4 23i Auto
If Carlsberg made lubricants . . . . . .

Tony.

ps. Looking good Malc on the road by Sunday?;)
 

Mazza

Zorg Guru (V)
Supporter
British Zeds
The M44 Massive
Joined
Nov 1, 2017
Points
175
Location
Bognor Regis
Model of Z
Z3 1.9 M44 Roadster Z3 2.8 Project
Another long but good day today … started af 8am and packed it in at 3 pm ..

First job fit the new engine mounts and the hose bracket to the subframe

Bit of a struggle getting the subframe back into position, but eventually got it lined up and a couple of bolts in. Probably easier if your not laying on your back doing it :whistle:

Every bolt was greased in the hope that they will come apart if they ever have to in the future

Got all the frame bolts in , the steering rack nut and bolt and just nipped them up at this stage.

On to the wishbones, located the main bolt and then the two lollypop ones , plus the ARB link and bracket nuts and bolts.

At this stage got a trolley jack under the wishbone main bolt and jacked it up so I could get the nut on the other end. Needs a bit of pressure or it just spins . (Zedshed tip:thumbsup:)
Once both sides were tight, grabbed the torque wrench and went through all the nuts and bolts in order so I didnt forget any:whistle:

Then came the moment to drop the engine back down onto the mounts…… no problem!!!
Which just left the mounts top nuts to tighten
bit fiddly on the passenger side but eventually sorted.

@Lee remembered to put the heat shield disc on the drivers side:thumbsup:
And Trev ( @Oldguysrule ) remembered to back off the shackle so I could get the chains off the engine support :)

All tightened and done
9682B186-B59F-4F55-9563-84A6BF25E623.jpeg

42FF8770-9393-4202-9CB9-FD58345E29F4.jpeg

69FB9C25-F6E5-4B9E-85B5-4CA431638B60.jpeg


And fixing holders both empty, which is always a good sign=))
F2B8C2B4-9A8B-4D8F-BB3C-7F1D85265CAB.jpeg


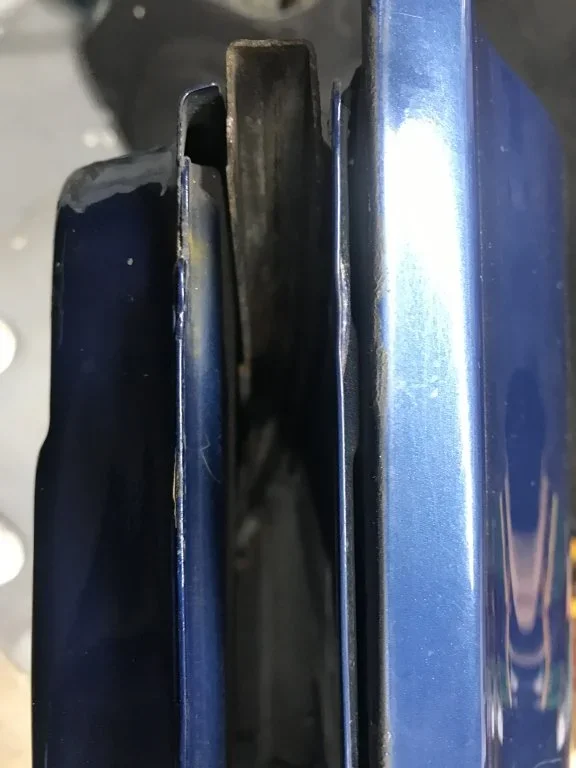
Next …. Reinstate the cross brace…. Nearly had it fitted but had remove it as one of the rear mounting holes had a problem.
So ran a die down the two bolts and a tap in the hole… and problem solved. Must have been a bit cruddy, but easy to assemble after.
I even found 4 of the replacement bolts that I used on the ‘ screws of doom ‘ so used these into the new inserts.
A3ABEB2C-F10E-443B-B7C8-321AC7AFB7C6.jpeg

Crossbrace had been powder coated by Lee a while back so completes the all new look.

On a roll now so looked round for other bits to put back….
Front bumper mounts …. Once I had cleaned and greased the towing eye mount ( forgot to do it :banghead:)
7A6DDD42-8993-45C6-92A1-0E21F7BF41D9.jpeg

Took a bit of freeing off but eventually I could wind it in and out easily by hand.

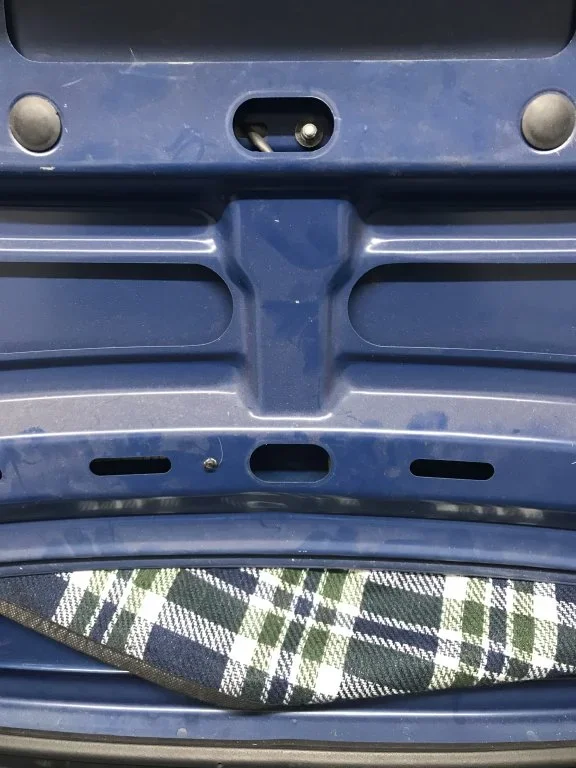
Having got those back decided to put all the front plastic bits back…. And even found all the fixings:)
9127A5FE-0376-492A-987A-63EB57A497BB.jpeg

Pretty much all of this stuff was either damaged or missing when I got the car …. But luckily Andy ( Spurs) had come up with good replacements.

So that was it for today other than to say, I now have this bit of kit
20D8E7DA-0272-4EEB-BC1D-341362C48AC0.jpeg

So if anyone in the south needs to support their engine at some point…. And needs one, … you’re welcome to borrow it
(The sling was a really good addition to the kit)
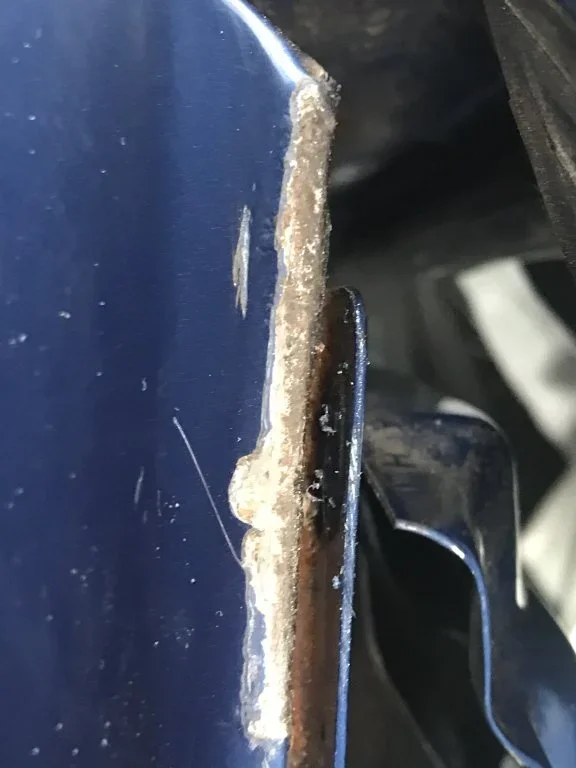
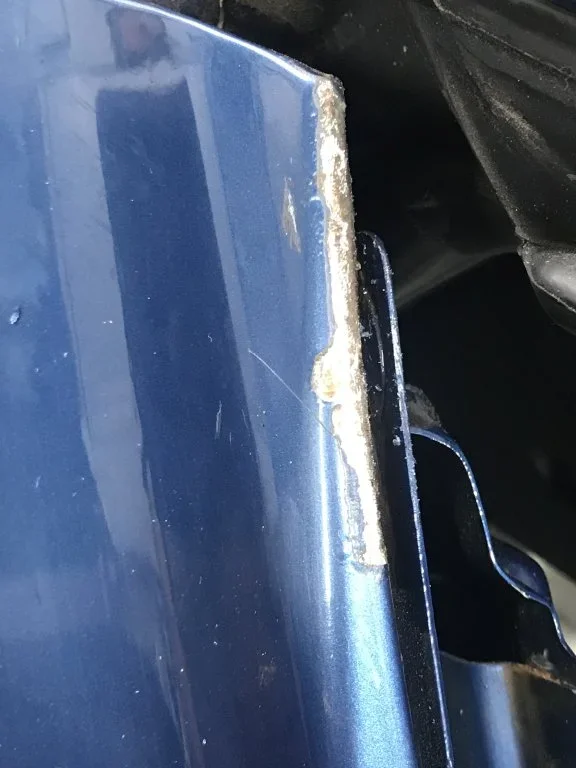
 
Last edited:

t-tony

Zorg Expert (II)
Supporter
British Zeds
#ZedShed
Joined
Dec 31, 2013
Points
226
Location
Torksey Lock,Lincoln, England
Model of Z
E89 Z4 23i Auto
Nice to see empty dog dishes mate, oh and not bad for half a day . . . . . :whistle:
;)=))=)).

Sunday could be the day!

Tony.
 

Mazza

Zorg Guru (V)
Supporter
British Zeds
The M44 Massive
Joined
Nov 1, 2017
Points
175
Location
Bognor Regis
Model of Z
Z3 1.9 M44 Roadster Z3 2.8 Project
Checked the spares today and Adrian , (@Synclare ) you were correct ….
The spare on the 1.9 is a 15” rim thats why it sits snuggly underneath…. The 2.8 has a 16” rim so a ‘ pea in a bucket’ fit…. So what I need is something to fill the space like a big rubber polo mint =)) …. So thats the next project !!!!!

The only car I worked on today was this one:whistle: And a few similar models……..
A1061CB0-30DE-4B26-90D1-8CC639F5DEC7.jpeg
 

t-tony

Zorg Expert (II)
Supporter
British Zeds
#ZedShed
Joined
Dec 31, 2013
Points
226
Location
Torksey Lock,Lincoln, England
Model of Z
E89 Z4 23i Auto
Car-lsberg, Car-ling, I’m beginning to see a pattern here . . . . .

Tony.
 

Mazza

Zorg Guru (V)
Supporter
British Zeds
The M44 Massive
Joined
Nov 1, 2017
Points
175
Location
Bognor Regis
Model of Z
Z3 1.9 M44 Roadster Z3 2.8 Project
Sunny sunday morning so sat in the garage with the sun streaming in and got on with another job.
Passenger seat revised wiring….
CED29025-F8AA-4CC3-A335-508A8378CC36.jpeg

no choice now…. Cut the plug off :arghh:


Get all the tools ready
The one on the left was from an MX5 toolkit….:whistle:
( its a hairdryer… =)) )
CB4792CD-A240-42A9-A1E8-361096D16424.jpeg


Stripped the wiring back and pulled out the 4 heated seat wires and then re-sleeved to tidy it
DF538BB3-E3C5-47E7-AA1B-AEE16660FC17.jpeg


Married up all the colours , stripped , added heatshrink sleeves and soldered them.
9ED6B078-82C6-471B-99D3-EAE69974314D.jpeg


individualsleeved
BE0CE761-AC5B-4E74-9EF6-C7010CDA0EA9.jpeg


and oversleeved
0F449860-B17E-4E53-A013-6703CDE9D50D.jpeg

snd remembered to slide all the sleeves on prior to soldering:thumbsup:

Also added an info label denoting the new wiring colours.
12796020-D7FD-44F2-BAF8-53CBF5657529.jpeg


That was one side done….. but sun had gone in by now…. So getting cold …. And there is footy on the telly …. So called it a day:whistle:
 

t-tony

Zorg Expert (II)
Supporter
British Zeds
#ZedShed
Joined
Dec 31, 2013
Points
226
Location
Torksey Lock,Lincoln, England
Model of Z
E89 Z4 23i Auto
Did a bit of that yesterday fitting a rear interior light on my mates Suzuki Jimny. Dropped the headlining and ran a 2-core from the front light.

Tony.
 

Mazza

Zorg Guru (V)
Supporter
British Zeds
The M44 Massive
Joined
Nov 1, 2017
Points
175
Location
Bognor Regis
Model of Z
Z3 1.9 M44 Roadster Z3 2.8 Project
Cold and wet down on the coast today …. So used the space heater to warm up the garage and got sitting comfortably, and sorted the drivers side wiring.
B0EDD7E6-8895-4945-B80A-7F366238194D.jpeg


Made sure I cut the right plug off ( the black one) also cut the pairs at different lengths so you know which is which.
892EC995-22EF-4EA1-A44B-8BE846469E9F.jpeg


Heated seat wires separated out
991CC0F8-033C-489E-BE9D-7327AE7C2FD3.jpeg


Pvc sleeving over the 4 wires, and then tidied up the join.
F3D87D9A-BF1E-4E96-8E8A-34118FB8584E.jpeg


All the heatshrink sleeves in place.
C93BDB64-A0BC-4E63-8F79-CA58DB4C9D81.jpeg


soldered , and heatshrink located
And loom now modified :thumbsup:
AFF0ADD7-AA24-410F-B1FF-E4FBA52755AB.jpeg


Info label added
7AE92CC5-4D6E-4566-857F-B684E4026D1C.jpeg


Ready for seats to go back in now :)
57229461-1CA5-4369-A654-F66E20DC8FA3.jpeg


There was an issue when I installed all the roll bar plastics, both side pieces were missing their bottom plastic lugs. I wasn't going to bother , but thought it may vibrate, so ground down a couple of metal brackets and fixed them in. ( Gorilla Glue to the rescue)
1E51ED17-63AC-4C13-ACB6-EA7164813356.jpeg

Both sides done….and won’t be seen when the door trims are put back:whistle:
 
Last edited:

Zephyr

Zorg Guru (III)
Supporter
Joined
Aug 10, 2022
Points
136
If you ever consider having a full time job, consider yourself hired.
Labelling the wires is a brilliant move and I wish that these morons I work with did that also.
but unfortunately they dont and I have to sort out miles and miles of dead end cables.
You Sir, have my respect.
134F12EF-552E-455E-B04B-C4C8B118A43E.jpeg
 

Mazza

Zorg Guru (V)
Supporter
British Zeds
The M44 Massive
Joined
Nov 1, 2017
Points
175
Location
Bognor Regis
Model of Z
Z3 1.9 M44 Roadster Z3 2.8 Project
I have to take notes and put bit in bags or I would seriously lose the plot!!!

and …..just noticed from the picture above that I have missed putting 3 of the new sill fixings in. I did all the underside ones on both sides but forgot the ones in the door opening :whistle:

just been out and fitted them … wondered why I had 6 left over =))
 
Last edited:

Mazza

Zorg Guru (V)
Supporter
British Zeds
The M44 Massive
Joined
Nov 1, 2017
Points
175
Location
Bognor Regis
Model of Z
Z3 1.9 M44 Roadster Z3 2.8 Project
Wasn’t going to do anything today as it was raining……but I gave the two seats some leather balm while they are still in the conservatory…. Then the sun came out so went into the garage :thumbsup:

Bit of keyhole surgery to the rust on the tops of the doors. Better do it while all the windows are out. Dremel and a small file to remove the rust. And added a ‘ Steel Filler’.
Let it harden overnight.
13A95A40-E380-4A2E-B71C-D58AA4E71FF8.jpeg
32FCFD49-AA6A-4C5D-97F5-1159474C9E00.jpeg


After cleaning off the rust, this one had a small hole :arghh:….. but filler fixed it !!
1FA0B8B9-E8B0-41CF-969C-2EAEF0CBE5B0.jpeg


Then on to the boot….
, Got the wiring back in place and connected up. Then all the covers put back.

used a bit of earth wire to pull them
731790B6-019C-4CAE-9D1E-D58EE8C1EE7F.jpeg


Two holes like this ….they should have something in them:whistle:
7BB42230-F61D-4AA8-A2E7-45C4E88CB9A5.jpeg


these fit ….but they were sparefrom the bonnet parts
I’ll check the RealOem to see if its the same part number.
A01271C3-24C2-4CF7-9FAE-5CA03585C142.jpeg


other than that only one screw missing so not bad and I’m sure I will find one somewhere.

Fitted the new boot struts. …….

Other thing was the spare tyre…. 16” rim which is like a pea in a bucket fit underneath!!!
But found some old pipe lagging and made this
A2BBC9BA-B01C-4843-9EEA-2C66231D9088.jpeg

4613A785-D292-408C-B540-EE2F6B47F1CA.jpeg

79B292B5-8AE1-4B03-A3B5-AAEDBF013006.jpeg

Now a nice fit :)
Did think of putting in larger rubber buffers underneath…. But this seems to work ok for now.

Thats it for today
 

Attachments

Jack Ratt

Zorg Expert (I)
Supporter
British Zeds
The West Country
Joined
Dec 3, 2013
Points
200
Location
TRURO, CORNWALL
Model of Z
2.8i AUTO and 2.8i MANUAL
I'm loving this
 

Mazza

Zorg Guru (V)
Supporter
British Zeds
The M44 Massive
Joined
Nov 1, 2017
Points
175
Location
Bognor Regis
Model of Z
Z3 1.9 M44 Roadster Z3 2.8 Project
This is like having a day job…. Except I only do about 3 hours and drink lager at the workbench =)) =))

All good intentions to get all the fluids done this afternoon….. till I ran into a slight hiccup!!

picked all this lot up at my local motor factors
10lts of cheap oil , decent g’box oil and decent diff oil ( on par with Opie Oil spec)

0330A0B9-C703-415D-90DF-7A6227C578F4.jpeg


Day started ok … two sets of tank straps sent on their way… one to Holland, and one to Cambridgeshire.

Started by draining the gearbox . ( made sure the filler plug undid before draining it out)
Not too bad and no sign of any swarf in the tray.
8376A93B-438B-4F01-891A-96A244C9FB93.jpeg


So on to the sump plug… surprisingly easy to undo…. And started draining the engine oil…

Mmmm there’s lots of oil draining out:whistle:
FA87B805-87DF-4D89-A750-775179E2DBCF.jpeg


Perhaps I should have emptied out the gearbox oil first…….


8DE83F1B-ED5B-424E-B14F-44EC22764815.jpeg


Bo*****s, Should have put the tray down
E7A378CD-610D-47A4-91D2-0CD2DBF87619.jpeg


Thank god for that , its finally stopped….:whistle:
D0B2DF0E-B559-4096-88A4-08187F170F1B.jpeg


So to the filter …… ah !!! You need a 36mm socket ……. Dont have one!!!:banghead:

So off to Halfords…..
869BBC0B-A311-40C5-AF4C-03AE96E52FC9.jpeg


And filter cap off and a new filter installed.
Replaced the o ring that came with it and then spent ages trying to work out where the copper washer went………till it dawned on me
A2451036-59B0-4FAA-9FC0-4CF60C4913BD.jpeg

You get a sump washer in the kit=)):whistle:=))=))
After refitting both plugs ( correctly torqued), filled the engine with 6.5 litres of oil..

( so I could use the empty can to put the old oil in )

Cleaned up !!
D6374B3A-C3DA-4312-AFBA-A6A2834E48E0.jpeg

Again oil not as bad as I was expecting… and no crud or swarf in the oil.

Was going to fill the diff and gearbox but it was raining and didnt want to lay in the wet doing the diff, so packed up and will fill them tomorrow
910B0900-D435-4A69-A513-3FAFFA57C097.jpeg


The oil I have put in the engine ( budget 5W-30 ) is only going to be in there for the initial start up and will be replaced once I have had the cooling system done. Just to run the engine up to temp in the garage.
( might stay in for a slow easy journey to Basingstoke where I can watch as they do the oil change to put the decent oil in…:whistle:)
Will save me crawling about underneath :)=))
 
Last edited:

Mazza

Zorg Guru (V)
Supporter
British Zeds
The M44 Massive
Joined
Nov 1, 2017
Points
175
Location
Bognor Regis
Model of Z
Z3 1.9 M44 Roadster Z3 2.8 Project
Another sunny day at the Bognor Riviera, so got on with the fluids.
Gearbox first… for which I have a useful bit of kit..
BBB25B45-206C-4C68-A3DA-DED6B197DD2F.jpeg
FF7C34E9-B0A7-4C22-920E-DCFC40DE8277.jpeg

Takes a few minutes to pump all the fluid, then just added a bit more to fill the gearbox. Filler plug then torqued.

Cleaned out the pump, and on to the diff.
343CC4BE-C43C-4F7A-B5C7-8B13A6A3C1B2.jpeg

Same process until diff full and then torqued
Filler plug.

Just the power steering to do, but not sure how to drain out at the moment.

Did a bit of rubbing down on the filler on the tops of the doors , but had to put a bit more filler on. But coming on ok !!
4CA3199A-63D6-4285-A176-4FC5D0254DF8.jpeg

5791ACE7-F56E-4D5A-A2DE-24CAF538A94D.jpeg

Cant do much on that now…

So got the seats from the conservatory and placed them back in the car.
86457AFA-F10F-4C44-93A6-3D7788495F77.jpeg

66DE580A-5D0A-4240-938C-D7726457CD71.jpeg


All electrical connections done but not bolted down yet as battery not connected.
(found all the nuts and bolts though :thumbsup: =)) )

On a roll so…..one last job….
848EDEF5-D196-4B47-BEC4-A9B2467F0C24.jpeg

Put the bumper back on … bit of a pain but eventually got it to line up and even used the bumper mount adjusters ( now they work :))
to align it.
Starting to look like a car now …. Well at least the back does.=))
 
Last edited:
Top