2.2 engine replacement project

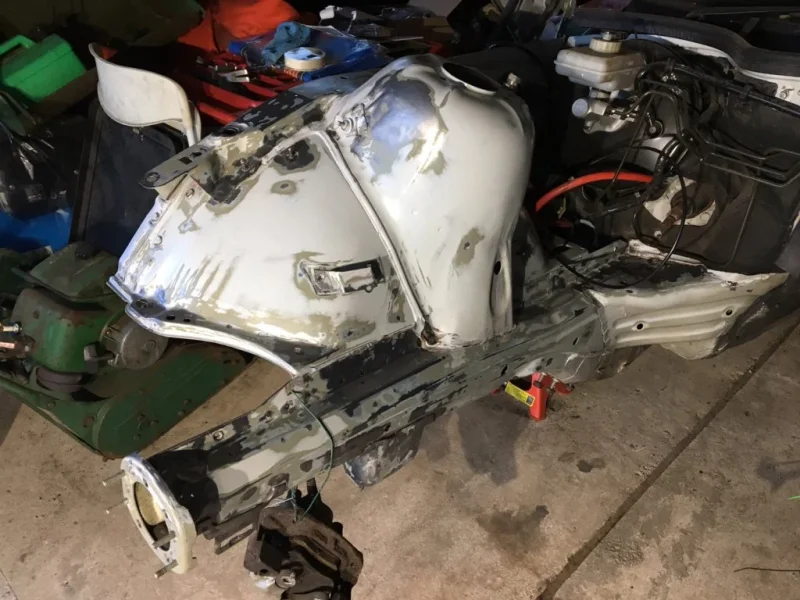
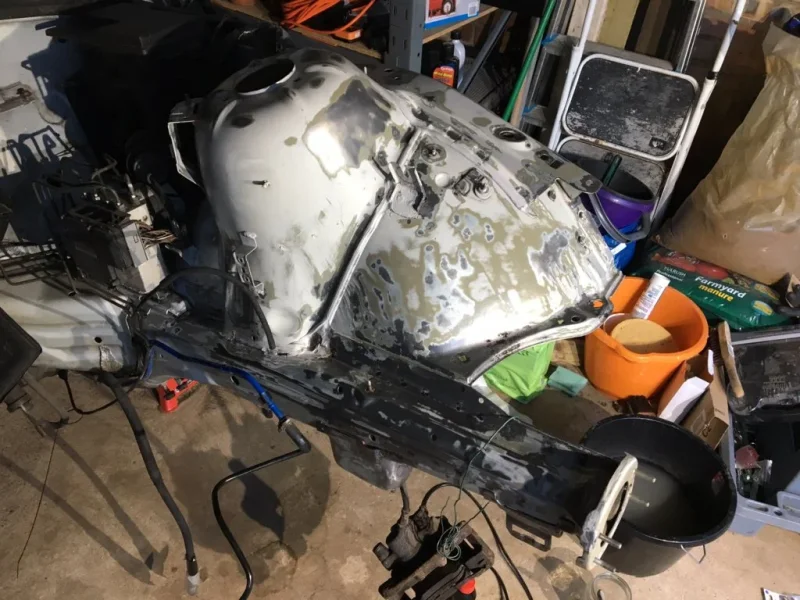
Feathering in is the tedious bit. Fortunately I've done training in dry lining (random diy decision) and do quite a bit of that which is definitely helping.

IMG_1876.webp


IMG_1877.webp
 
T'other side nearly there now too. Done much quicker than the driver's side as I'd found the best tools for the job by then.

IMG_1885.webp
 
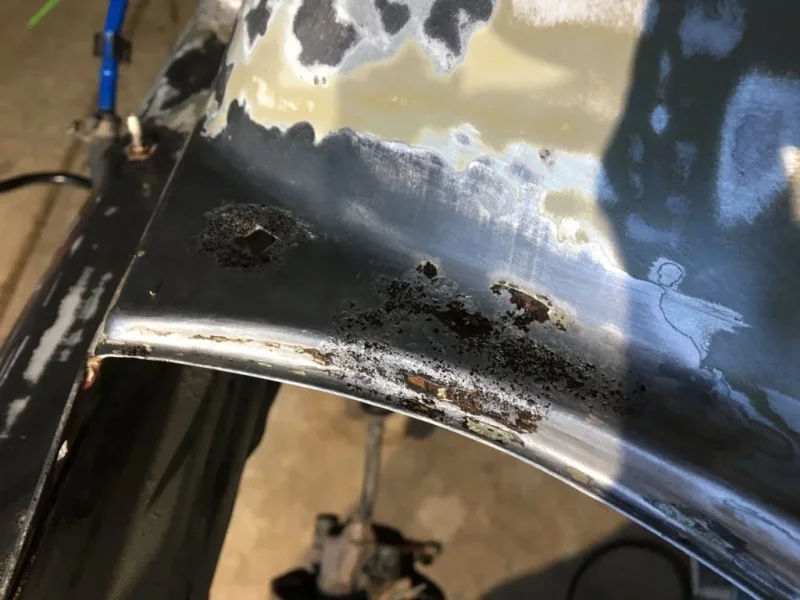
Well I reckon I spent a total of around 14 hours doing the rubbing down. By the end of it I was starting to get a little bit bored... Then washed down, cleaned with solvent and treated with Jenolite. Another 2 hours there. The Jenolite seemed to have done it's job in the close-up photos.

IMG_1898.webp
IMG_1899.webp
IMG_1900.webp
IMG_1901.webp
IMG_1903.webp


The spray booth. I used a 3M mask which worked well.

IMG_1904.webp


All masked up and ready to go.

IMG_1910.webp


Two coats of epoxy primer. I changed from acid etch at the last moment in case it reacted with the sealant.

IMG_1950.webp


3 coats of high build primer. As the weather wasn't ideal it got a helping hand with a heat gun after each coat.

IMG_1955.webp


It was midnight by this stage and I figured it might be better to leave it to harden overnight in any case before putting on the top coat.

Seems okay so far but not counting my chickens...
 

Attachments

  • IMG_1898.webp
    IMG_1898.webp
    114.9 KB · Views: 115
  • IMG_1899.webp
    IMG_1899.webp
    124.6 KB · Views: 110
  • IMG_1900.webp
    IMG_1900.webp
    82.7 KB · Views: 114
Last edited:
As you may notice, engine bay stickers scrubbed off as I didn't fancy masking them up. £35 to replace these! 2 of them have to be custom printed by BMW as the details are different between cars - VIN & build date. Plus the colour code.
 
I know I should have asked before you got so involved with the underbonnet stuff, but I've been trying to sort out a small problem on my own 2.2 (just one of many). There should be a picture attached hereabouts, showing the CCVV, I've changed it in the past hoping to cure the oil drinking problem but no luck there. The picture shows a pipe attached to the valve(no.6) but I can't find it anywhere, and no idea where it goes to. Any chance you could have a look to see where it goes?

It's damn difficult looking under there, as no doubt many of us have found, would love to know where it goes.
 
All done :)

Still trying to work out if it's a good thing you need sunglasses to look under the bonnet now. The colour might be an exact match but it's not exactly the satin type finish from the factory :eek: Though the photos seem to flatten it off a bit.

IMG_1962.webp
IMG_1964.webp
IMG_1968.webp
IMG_1973.webp
IMG_1974.webp
IMG_1980.webp
IMG_1983.webp


And just a reminder of what it looked like before I started.

IMG_1480.webp


Will have to take a bit of a break next week as I've been non stop on it for 2 weeks now.
 
Well worth all the effort in prep.Will look very tidy when it gets its rebuild ....nice work :thumbsup:
 
A few more pics in the daylight this time. Looks okay apart from a couple of small runs.

IMG_2001.webp
IMG_1997.webp
IMG_2005.webp
IMG_2004.webp


Good colour match. This is the blend into the existing paint above the front wing to the left of the seam sealer. A bit of overspray to clean up near the bottom.

IMG_2010.webp
 
If you really want a satin finish you could always give it a light flat and get rid of any bad stuff such as runs and bits and then apply a light coat of satin lacquer, that will tone it down.
Use a tack rag before applying the lacquer.
 
I know I should have asked before you got so involved with the underbonnet stuff, but I've been trying to sort out a small problem on my own 2.2 (just one of many). There should be a picture attached hereabouts, showing the CCVV, I've changed it in the past hoping to cure the oil drinking problem but no luck there. The picture shows a pipe attached to the valve(no.6) but I can't find it anywhere, and no idea where it goes to. Any chance you could have a look to see where it goes?

It's damn difficult looking under there, as no doubt many of us have found, would love to know where it goes.
Don't know but happy to check if I remember when I extract the donor engine as I will be replacing the CCV system.

In the meantime this guy's M54 tutorial videos are second to none. You don't get any of the usual waffle, just lots of easy to understand advice.

He has a series of M54 strip down videos. I think the CCV is covered in this one.

View: https://youtu.be/0x9RgACQTGA


He also has a 2 part video on replacing the CCV but that one's done with the engine in situ so is not so clear.
 
If you really want a satin finish you could always give it a light flat and get rid of any bad stuff such as runs and bits and then apply a light coat of satin lacquer, that will tone it down.
Use a tack rag before applying the lacquer.
Thanks, did wonder about that. I think I'm best being happy with what I've got though.
 
I know I should have asked before you got so involved with the underbonnet stuff, but I've been trying to sort out a small problem on my own 2.2 (just one of many). There should be a picture attached hereabouts, showing the CCVV, I've changed it in the past hoping to cure the oil drinking problem but no luck there. The picture shows a pipe attached to the valve(no.6) but I can't find it anywhere, and no idea where it goes to. Any chance you could have a look to see where it goes?

It's damn difficult looking under there, as no doubt many of us have found, would love to know where it goes.
attachment.php
 
So the small hose goes to the top of the inlet manifold? Will get out there soon, while there's still some daylight, only just finished work and have a steaming mug of tea sat in front of me. Got to get your priorities right, I reckon.
 
Seems a bit strange to fit the valve, but leave the pipe not connected. Will have to dig out the valve I dismantled a while back, I'm sure that the small pipe sucks on one side of a diaphragm that opens/closes the large hose that leads to the inlet manifold and dumps the vapours through the engine.
 
Back
Top
