1999 Z3 2.8 winter project

All progress you’ll get there eventually and have a good record to look back on, lessons learnt rinse and repeat for the next job but satisfaction and accomplishment priceless until the other finds out how much you’ve truly spent

 
All progress you’ll get there eventually and have a good record to look back on, lessons learnt rinse and repeat for the next job but satisfaction and accomplishment priceless until the other finds out how much you’ve truly spent
Not too worried on the total cost. Its getting worked at gradually so wont hurt as much, will save on mechanic fees tinkering away at it and im learning as i go. Day job is IT manager so anything to distract me from that is a bonus. For me its more of a 'i did that' once its all together and saved from the scrap yard for another good few years. Plus really curious how the handling is on one of these wagons restored to new.
 
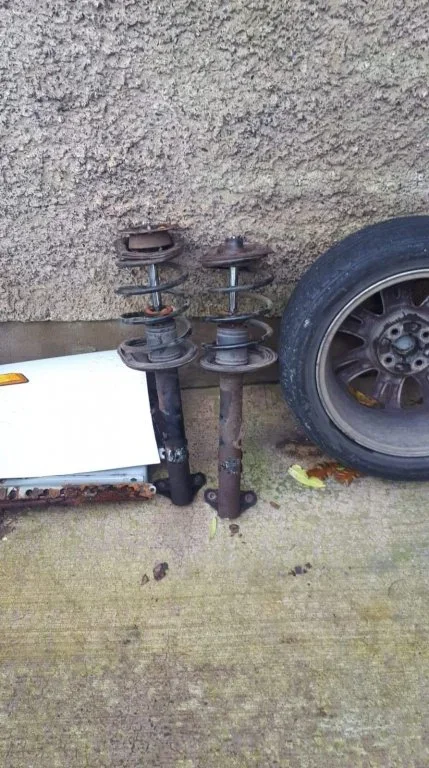
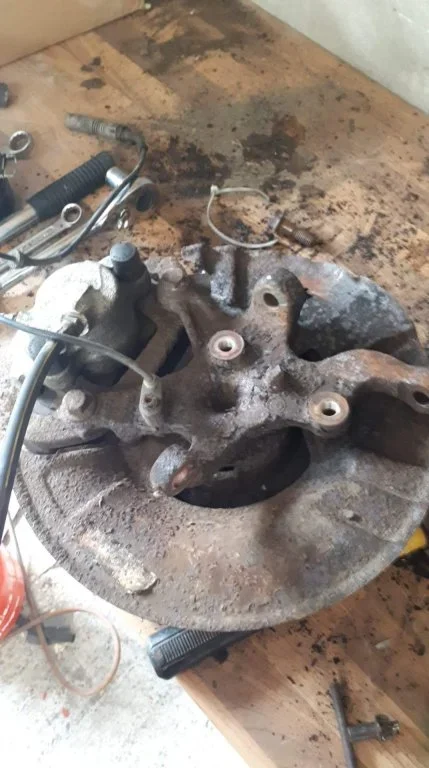
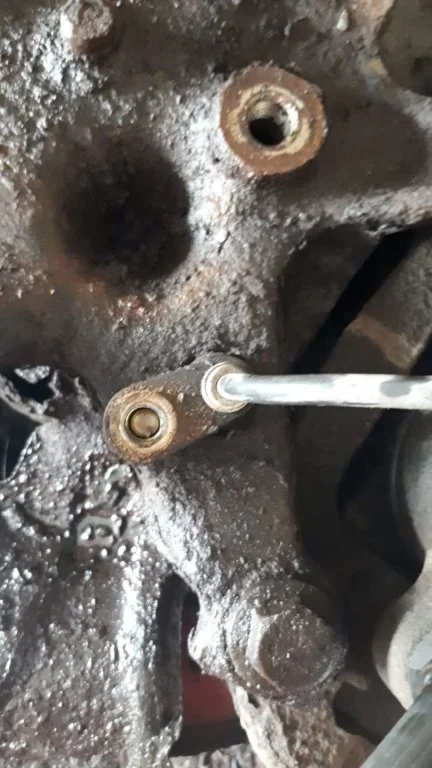
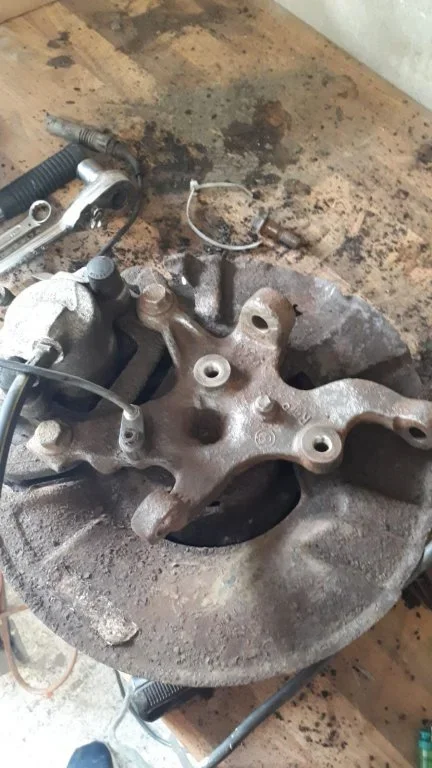
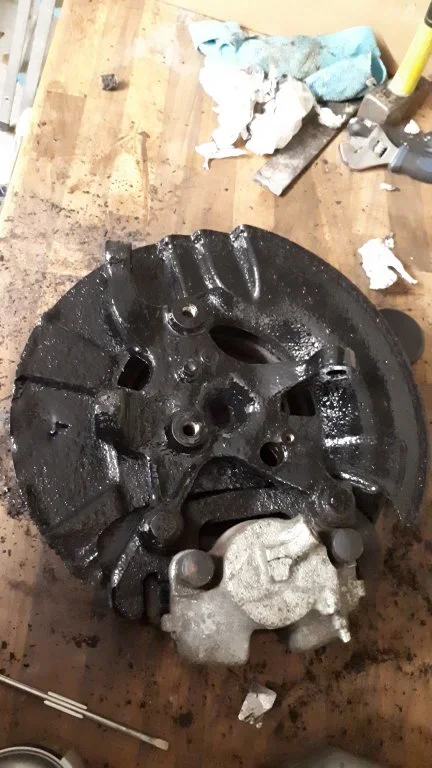
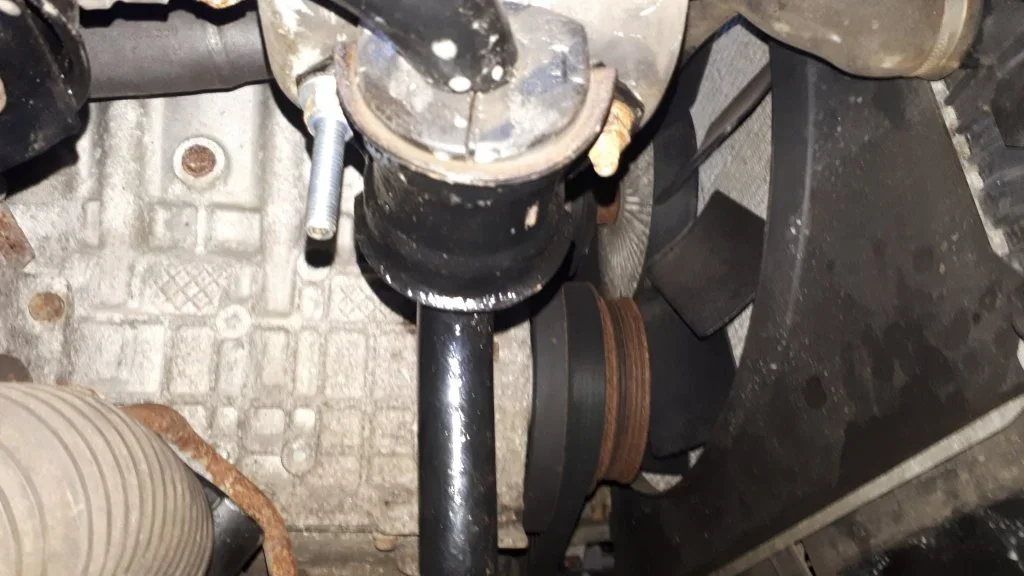
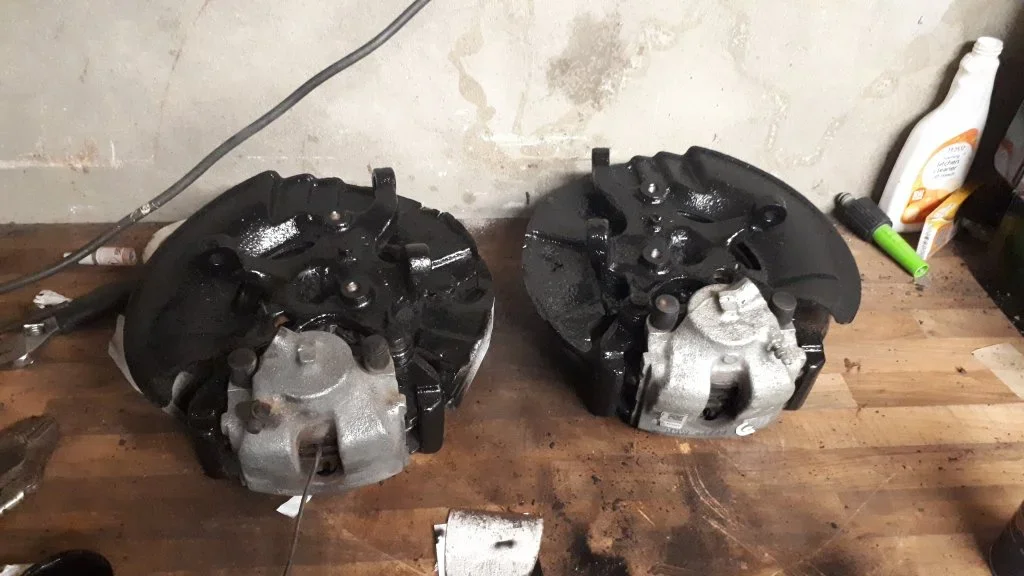
Took into taking the struts off today. Abs sensor siezed solid. One abs sensor snapped and the bolt in the other snapped so that was also fun and adds to more fun later. The caliper mount/bracket will just not budge so gonna drop them down to mechanic down the road to dismantle and do the abs work while he has them. Cleaned the rust off them anyway so will give them a spray in heat proof paint and get a new guard ordered for them.

IMG-20201107-WA0003.webpIMG-20201107-WA0001.webpIMG-20201107-WA0007.webpIMG-20201107-WA0005.webp

All progress 👍
 
Had a free hour this evening so started trying to take one of the abs sensors out. Siezed solid. So got the drill to it and gradually wore it down till i could remove it

Had indended on swapping out the cover, replacing calipers and disks etc too but decided they werent in too bad of shape. Car passed MOT not 2 months prior to me buying it so they cant be too bad. Can always replace once on the car in future.

Im trying to keep costs down a bit this month as just after buying a set of eibach 30mm lowering springs and a full set of sach shocks, these few purchases will finish the front half and can start thinking about exhaust system (which needs bored - mechanic job) and working on dropping out the rear next

ive cleaned one up best i could and hit the whole thing with some hammerite black spray id purchased previously.

Thats one prepped and ready for when the shocks arrive.

20201108_223631.webp

Gonna look about fresh bolts and nuts tomorrow. Keep things looking clean
 
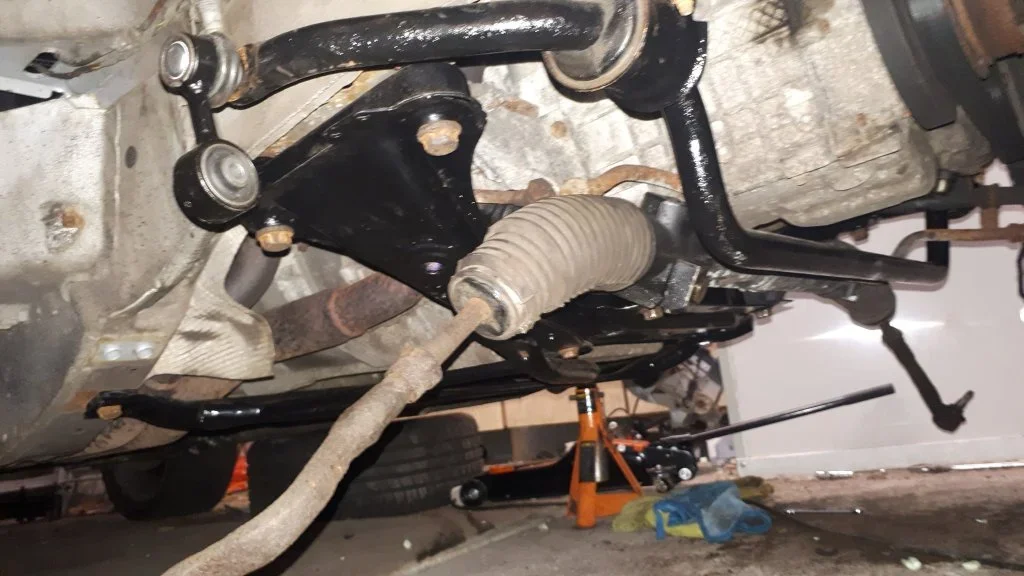
Stuck into starting to put things back together again. Ran into a minor setback where in the rollbar(?) Bolt snapped as i was tightening the last nut on *doh* so going to have to bore it out and tap it and screw a bolt in instead. Not the end of the world just another few additions to the swear jar!

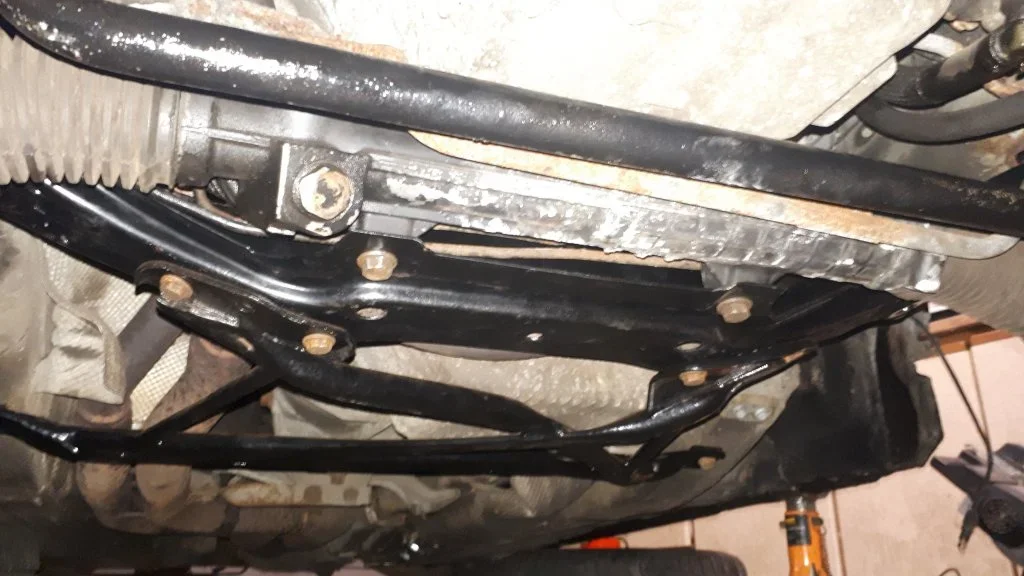
That being said i cracked on anyway and got the cross member back in.
20201111_210229.webp
20201111_210238.webp
Started cleaning the wheel arches for getting them ready for the wax oil treatment and going to drop some paint onto the steerjng rack and a few other spots to shine them up again. Nice to see new pieces going in though. Starting to pull together.
 
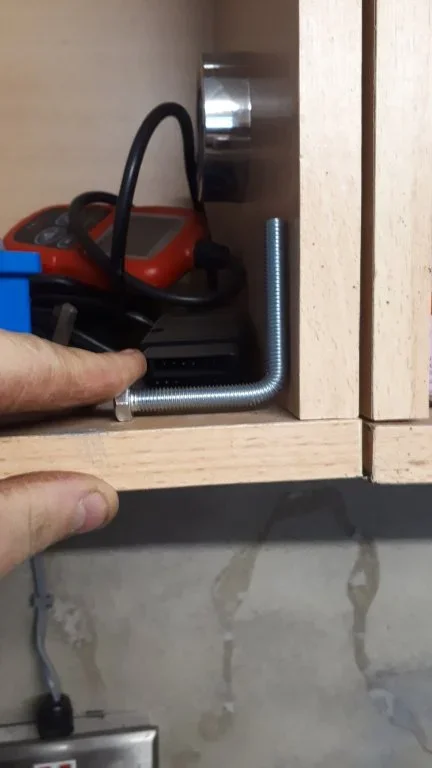
Thanks to tony and his agricultural background we got a cheap and effective solution to the snapped stud issue.

Cut the bolt at the base. Bored it out to 8.5mm. Gradually worked from 2.5-8.5mm.

Went to local hardware shop. Grabbed a few bolts and locknuts (m8 and m10) hammered the m8 to 90degrees cut it to approx required length and fed up into hole. Great we fix.
20201114_122519(0).webp20201114_135134.webp
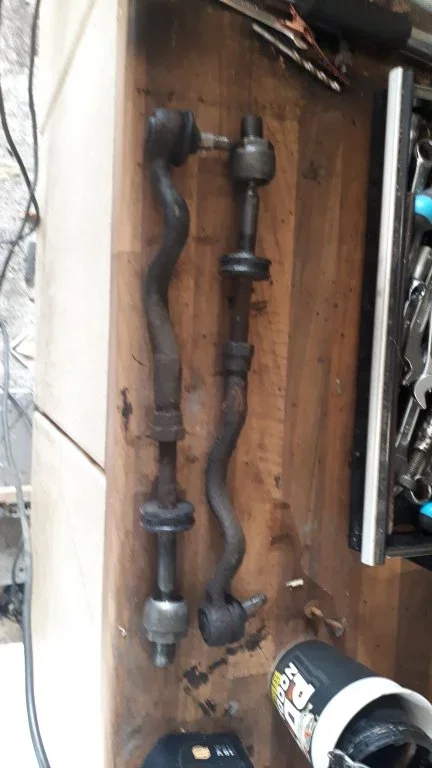
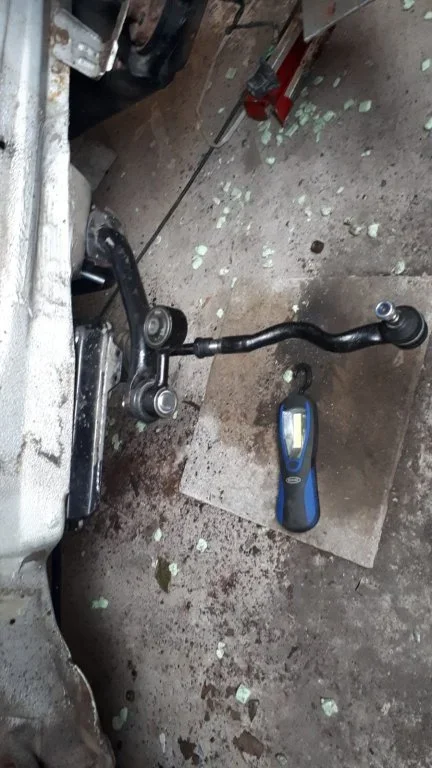
Also removed the old tie rods and fitted new ones today. So much stiffer than the old ones. Gonna be sweet when shes back on the road.
20201114_140233.webpIMG-20201114-WA0012.webp
Removed the old bush from the lollypop also this afternoon. Gave them a quick run over with the wirebrush and gave them a spray with hammerite black.

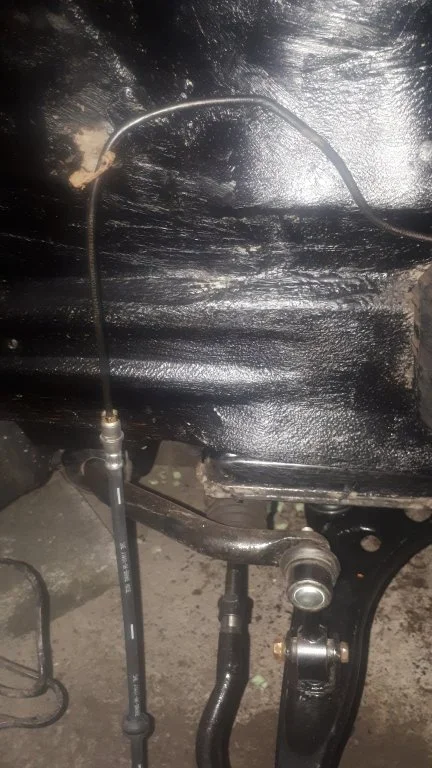
Have my breakline problem to address this week where i need to remove the old end of the hose, but apart from that im pretty much finished what i can do now until the shocks and lowering springs arrive which should hopefully be next week also.
20201114_140233.webp
 
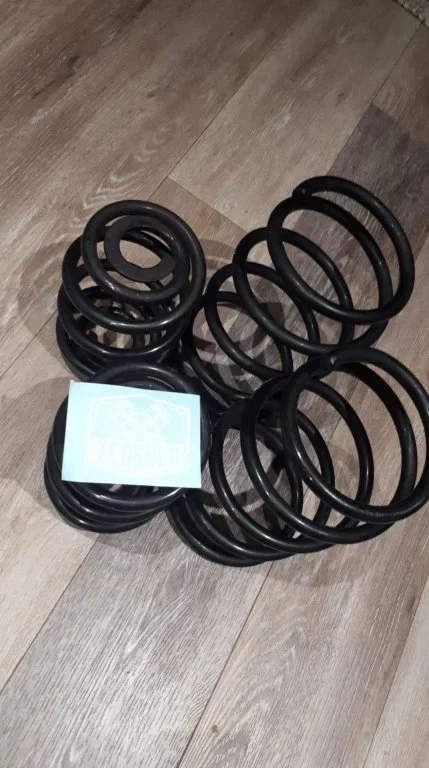
Eibach lowering Springs arrived from @Lee yesterday. Very pleased with them. Like how he slipped in a we sticker with them. We sneaky advert roaming about n.ire :whistle:

received_408783590170861.webp

Ive been pretty much twiddling my finger from last saturday waiting on my shocks arriving (finally got update today that i should expect them on wednesday) so decided to be a bit proactive. Bought 2 additional jack stands and got the rear end raised. We lad was away to bed late tonight so basically all i got done.

Going to start tackling removing the rear end tomorrow night and throughout the weekend when get some free time.

Who is it sells the petroltank straps. Will need a set of those soon also.

Ive askes @Lee start building a parts list reserve as im not expecting this removal to be going back in. Its not pretty from initial assessment. But will know better once its out.

Update expected over the weekend.
 
@Mazza is the tank strap man Andrew. Brilliant bits of kit. Seen first hand.

Tony.
 
@t-tony good man cheers. Couldnt remember. Pm sent regarding. Heard gopd reports just couldnt remember who it was.

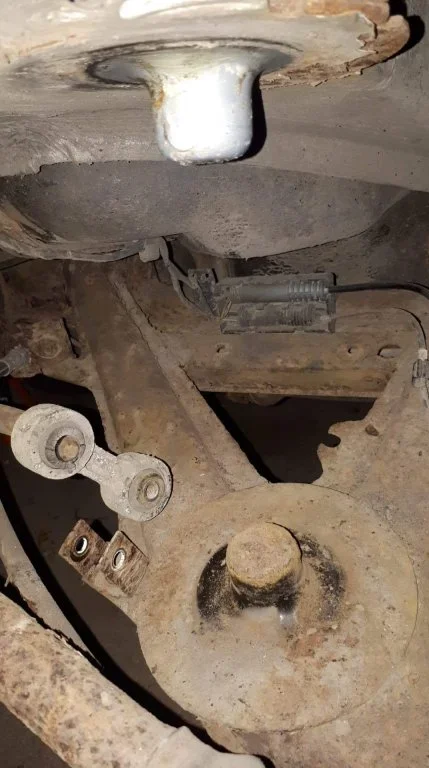
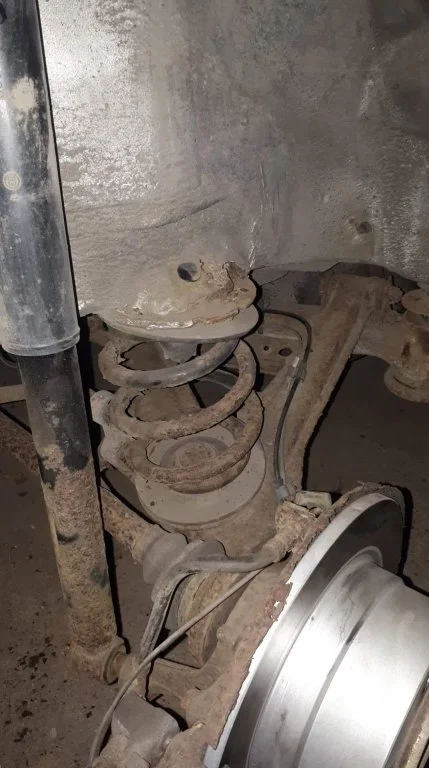
The rear subframe is gonna break my heart. Suspect the trail arms are done. Already know of a hole which is not standard lol
 
There shouldn't be any holes in them that I know of mate, although @Jjim did buy a black 2.2 last year where the MOT tester had obviously knocked a flat blade screwdriver through a rusty scab to fail the car.

Tony.
 
There shouldn't be any holes in them that I know of mate, although @Jjim did buy a black 2.2 last year where the MOT tester had obviously knocked a flat blade screwdriver through a rusty scab to fail the car.

Tony.
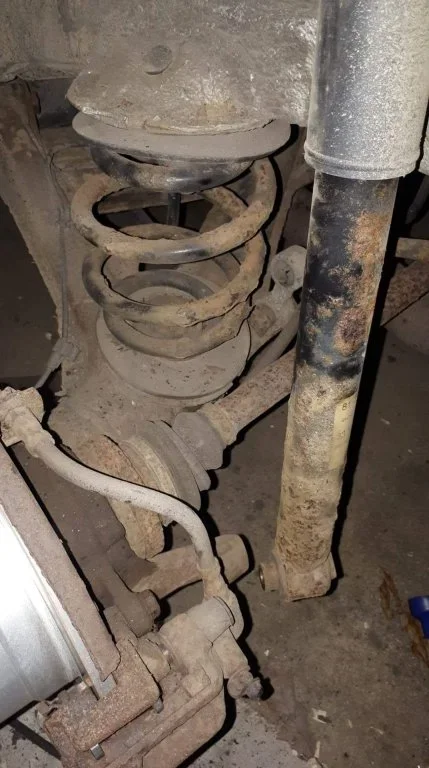
Sorry reread what i said. Its on the trail arm but 100% shouldnt be there. Will know the extent better once all removed though.
 
We bit of progress this evening. Lee once again holding my hand as i go.

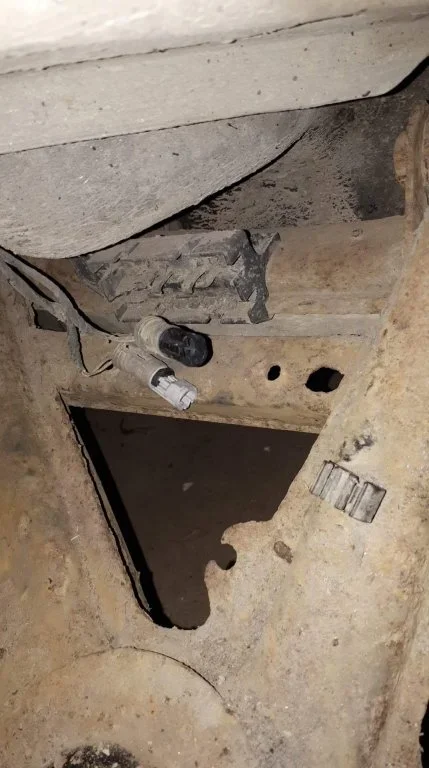
This is everything still attached. Minus wheel and arches. Both sides are much the same
received_1283782965334798.webp

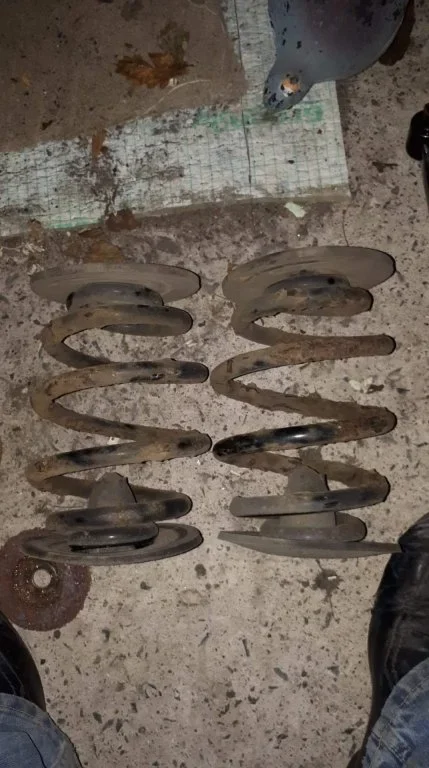
Shocks disconnected and springs removed.
received_2520369371594559.webpreceived_182782850114722.webpreceived_1313227382372486.webpreceived_686843102239871.webp
All are absolutely done but new ones on route and have new springs ready to install.

Couldnt help but think of this gif while i was looking at everything and there sits two new break disks

tenor.gif

On the plus. Apart from the we hole on the driverside trail arm cross bar(?) They might actually sandblast and powdercoat up the best. Still not 100% convinced but they seem solid enough. Clean stinkin granted but a wire brush will take the rough off them.

Will look at doing the rest of the removal next few days.

It will get better. Ive every faith.....
 
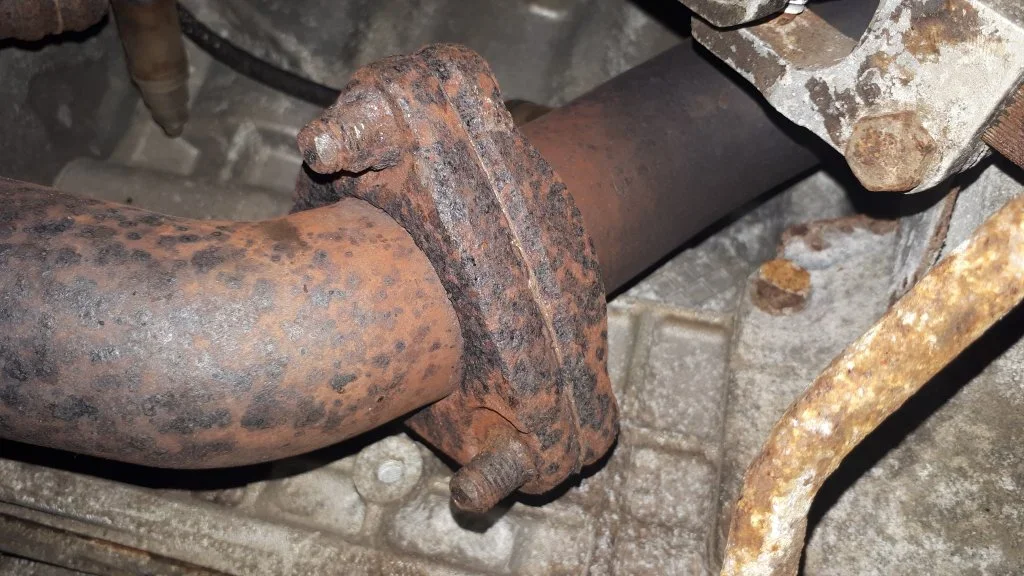
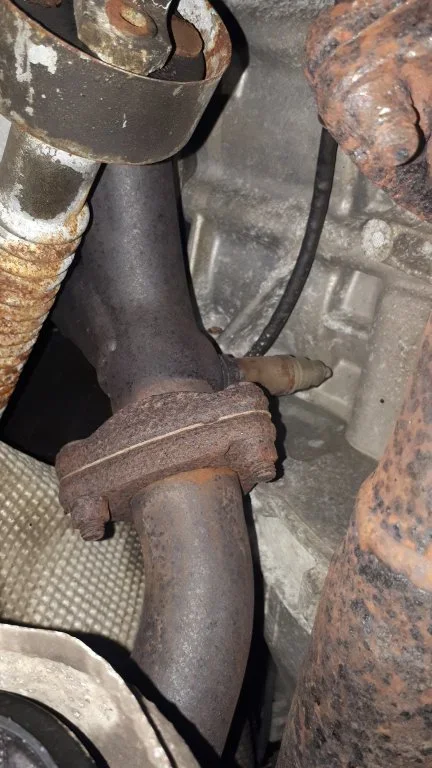
So ive reached the point where i need to remove the exhaust. Im at a bit of bother where the nuts are frozen and disentrated to a point where one genuinely doesnt exist. Im hoping with a bit of patience and ignorance i can get them freed off without breaking anything, cutting anything or having to bore the studs out.

20201121_205437.webp20201121_205432.webp

While i have those soaking in pb blaster (not sure if will help or not but willjng to try) i got a delivery today of break pipes. Got the passenger one installed (not properly tidied up but its in!)
20201123_214125.webp20201123_214920.webp


The drivers side is going to be a bit more of a struggle.

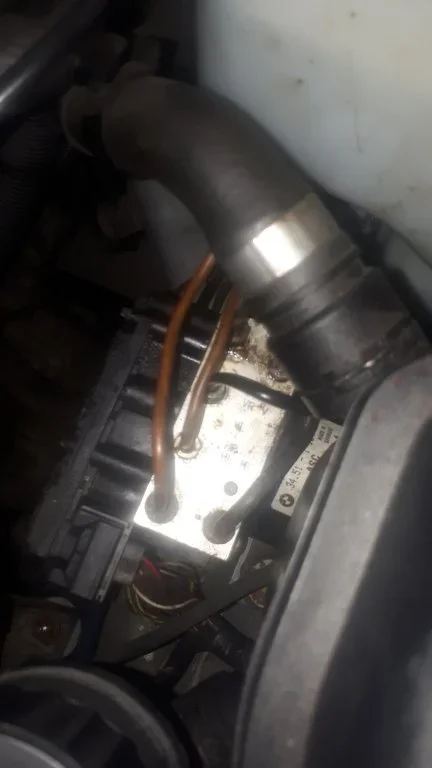
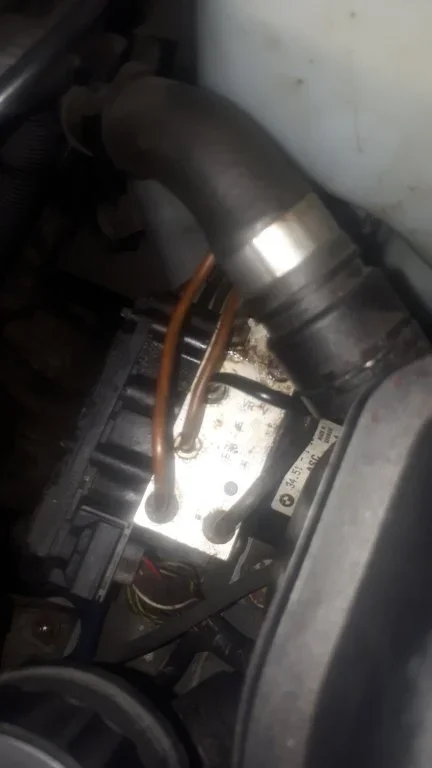
Anyone removed the drivers side abs pipe and successfully installed? Looks like could be quite an awkward we boyo to fit and bend properly with engine etc in the way
 

Attachments

  • 20201123_214125.webp
    20201123_214125.webp
    17.2 KB · Views: 276
Instead of replacing the whole line you could just replace the corroded section as it does look tricky not done myself but patience is a virtue they say whoever said it though needs crucifying.

With the exhaust can you angle grind/trimming the nuts off on the visible two? Or have room to use some heat and a impact wrench to do all three? Hope you can get them off without having to resort to fixing snapped studs. Why nuts and bolts couldn’t have been used in that are would have been easier to sort out.
 
Instead of replacing the whole line you could just replace the corroded section as it does look tricky not done myself but patience is a virtue they say whoever said it though needs crucifying.

With the exhaust can you angle grind/trimming the nuts off on the visible two? Or have room to use some heat and a impact wrench to do all three? Hope you can get them off without having to resort to fixing snapped studs. Why nuts and bolts couldn’t have been used in that are would have been easier to sort out.

RE Break lines: Its not even corroded. the nuts are seized and damaged at the breakpipe connection. Tried a breakline spanner but wasn't enough to grip too, whoever done them prior used standard spanner and left them damaged for future persons problem (yey me!)

The drivers side one might be worth learning how to flare a breakline end because a quick pass last night looks like it will be a absolute job to remove and install new.

As for the exhaust. the grinding is what im going to attempt to do. If I can get the loan of an impact gun i will also try it. as for access im not 100% sure the gun will fit (could always drop the front sub out again to give more room but if can avoid all the better)
 
2nd thought after watching videos on how to flare a breakline. im going to cut and flare the breaklinke =))
 
When you have a rounded brake pipe tube nut use FLAT jawed mole grips. Do not use curved jaw ones, they don’t work. I have never failed to get one out using this method to loosen it.

Tony.
 
Back
Top