My Project Z4

Well that’s next weekend sorted for jobs then better than shopping:thumbsup:
 
You clay bar'd your wheel rim inner faces? - you're sad Paul ;) =))
[QUOTE
Only job left is the wheels. Clay bar inner's and seal, give them a good seal all round and tyre dress.
[/QUOTE]
Not sad mate just passionate, finally let go of the Z3 and warming to the Z4 lots
 
Well that's my latest little project completed, avoided the rain and got the axle stands removed and the wheels back on. Pity my shiny new discs decided at the first sign of rain to show signs of rust, no doubt as soon as the brakes are used it will clean them back up. Finished off with a liberal spray of Wonder wheel sealant on the front face of the wheels, backs done before fitting. Really pleased with how its all turned out, trouble is covered most of it up with the wheels back on.
Wheels back on 20.webp

Front wheel 20.webp
Rear wheel back on 20.webp
 
Looks fantastic with lots of good work good thread,
Just one thing to do , line up the M on the wheel centre caps with the tyre valves job done:ymdevil::ymdevil:
 
Looks fantastic with lots of good work good thread,
Just one thing to do , line up the M on the wheel centre caps with the tyre valves job done:ymdevil::ymdevil:
They are.;) will be subject to inspection at the next Midland Zed shed
 
I'll get me spirit level and Vernier out ready Paul.=))

Tony.
 
Nicely done, thanks for sharing.
 
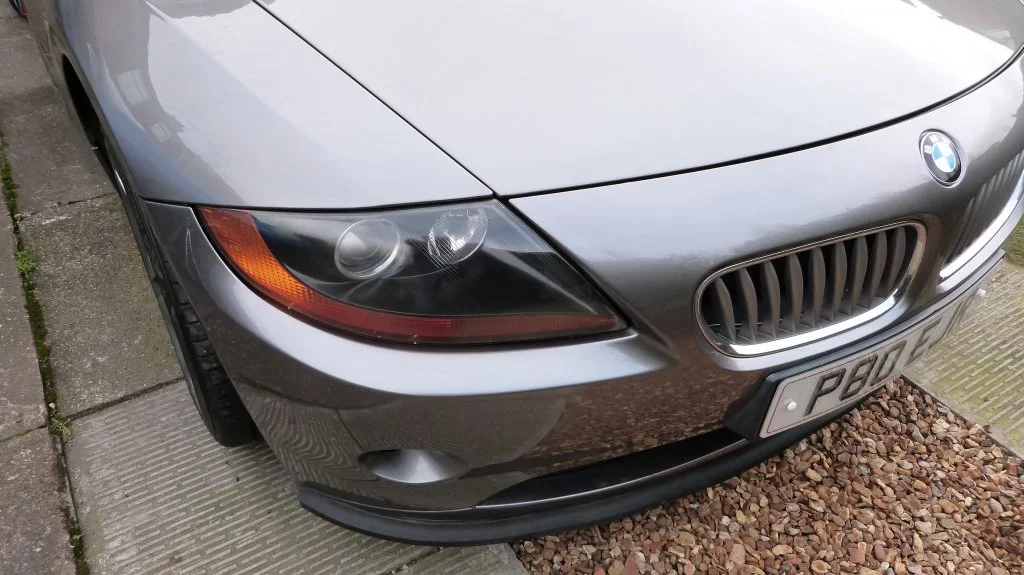
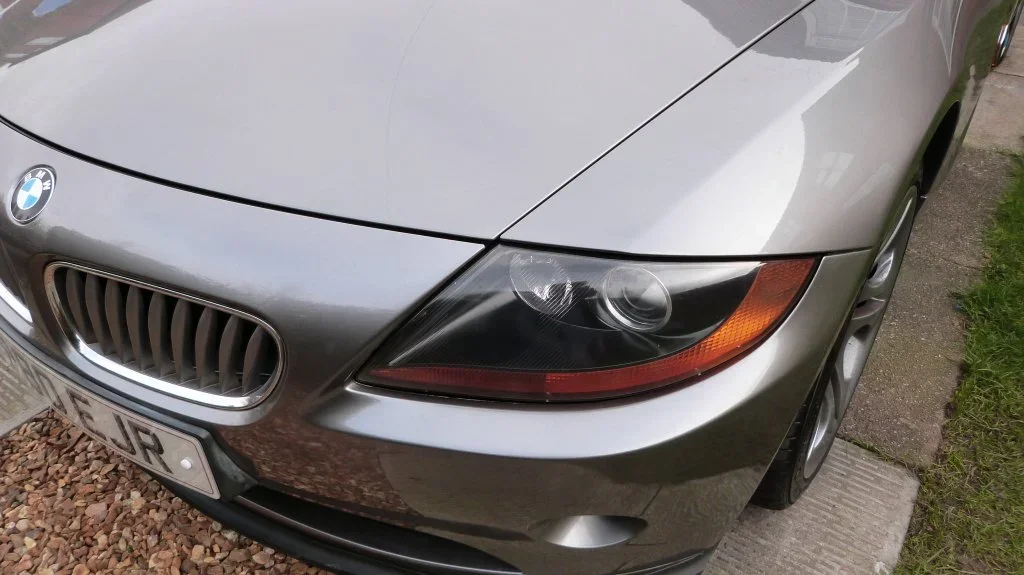
After recently sealing the headlights, or thought i had the lights have gone from worse to worse. So tried drying through the access flap under the wheel arch, that didn't work other than a smell of burning think my hot air gun may be a bit too warm for the job. So reluctantly took the bumper off, amazingly the side clips survived once again, probably the fourth time i have had the bumper off in 2 years so think i have been lucky. Headlights off fairly easy apart from one of the studs rounded off and needed drilling out. Took the inspection lid off amazing how much water came out but still plenty of condensation on the lenses. So what blows hot air but not as hot as the gun, yep wife's hair dryer another special tool i didn't know i had. Worked an absolute treat so after finishing off with a good clean looking good. Just the small matter of putting back on tomorrow and re fitting the bumper without breaking those pesky clips.
Lights 2020.webp
 
Paul, see if you can scrounge some bags of silica gel and put them in the back of the light units, should help.

Tony.
 
Lights and Bumper back on and clips still intact, checked everything works so all tightened up.
Also painted the bumper retaining strip as it was showing signs of age, all bolted down as part of securing the bumper, and as i was in the mood re painted the steering wheel tabs as these were marked a bit.
View attachment 129455 View attachment 129457
Valance strip.webp
Steering wheel tabs.webp
 

Attachments

  • OS Headlamp.webp
    OS Headlamp.webp
    93.2 KB · Views: 296
  • NS Headlamp.webp
    NS Headlamp.webp
    72.8 KB · Views: 302
Yep. Looks bright eyed and bushy tailed now, well, it would if it had a bushy tail anyway !

Tony.
 
What to do when the weather's fowl?
Take the seats out and prepare for paint.
Had the Seat dye kit some while now and finally getting round to doing the interior jobs.
Seats out and placed in the temporary workshop, don't look too bad but signs of wear mainly on the drivers seat as expected.
Seats out.webp

No colour change so should be easy to cover, first job rub down with Leather prep to remove any manufacturer sealant or after market products. Using cotton wool soaked in prep and wrapped in a scourer. Rub down making sure you part any seems and creases to ensure fully cleansed.
Leather prep.webp

After fully scrubbing with the scorer, apply Alcohol cleanser using a cotton cloth for those stubborn areas of silicone etc. that the prep didn't remove.
Leather alcohol cleaner.webp

Time to remove plastic trim backs and mask up those areas difficult to remove. Did look at removing all the plastics but seemed a bit involved and confident will not effect the overall appearance when complete.
Trim backs came off quite easy 2 retaining screws per seat then the four clips just spring off with ease
Seat backs off.webp
Seat backs off with ease.webp

Masked up ready
Masked up ready for paint.webp

First coat of leather paint applied by sponge, taking care to open all creases to ensure coverage. Very happy with results of today, tomorrow will be applying 3 coats by spray and 3 coats of sealant, but that's for tomorrow.
Seats given first coat sponged.webp

Products used from furniture clinic and guided with their excellent how too videos. Finish off tomorrow.
 
Last edited:
And then, when you've had a practice ........... ;)

Tony.
 
What does Jackie think of your workshop Paul ? =)) Hope you didn't splash the curtains !!!:eek:
Did get the Scarborough warning, Summer house for tomorrows spray job plus i will be sleeping there if she finds red dye on the curtains.
 
I blame that Malcolm geezer Paul, bloody bad influence . . . . .=))

Tony.
 
Back
Top