From the pic, I can't see what the problem is with your gelcoat.
I had major issues with my indicators. I got the chrome Karmann Ghia ones with clear lenses. When offered up to the bodywork they pointed downwards. I think my mould differs from everyone else's. When Chris was doing Dan's mould, Dan provided the paintable Karmann ghia ones so I believe Chris did the mould to suit those...hence better fitting on later moulds.
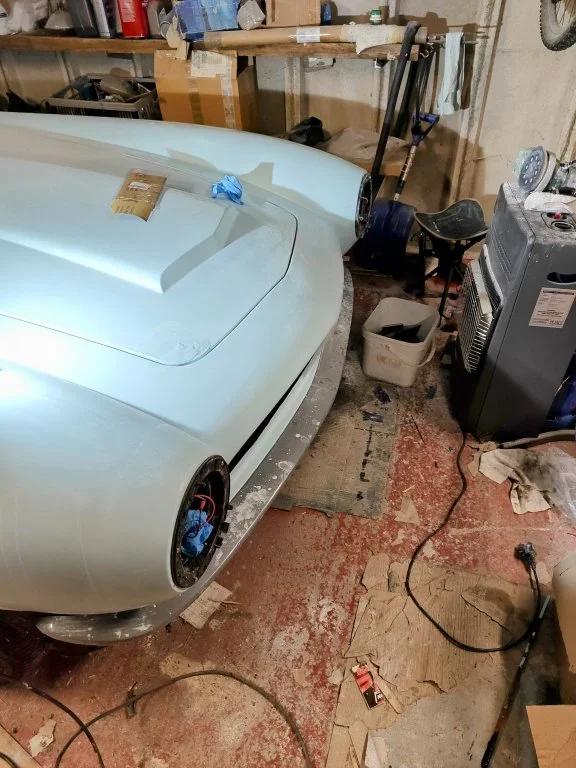
I had to recess mine (sort of retro-mod look) to get them to angle correctly.
I tiger sealed 4 small 45° angled brackets on my grill surrounds (the type kitchen fitters use for angled base plinths). The mesh is held in place with small plates that fix through the angle brackets into the bodywork. I'm going to try and wrap the chrome work


")
