ZedShed(Midlands).

Looking forwards to getting one of these.

View: https://www.youtube.com/watch?v=QaT16t4jjhY


Tony.
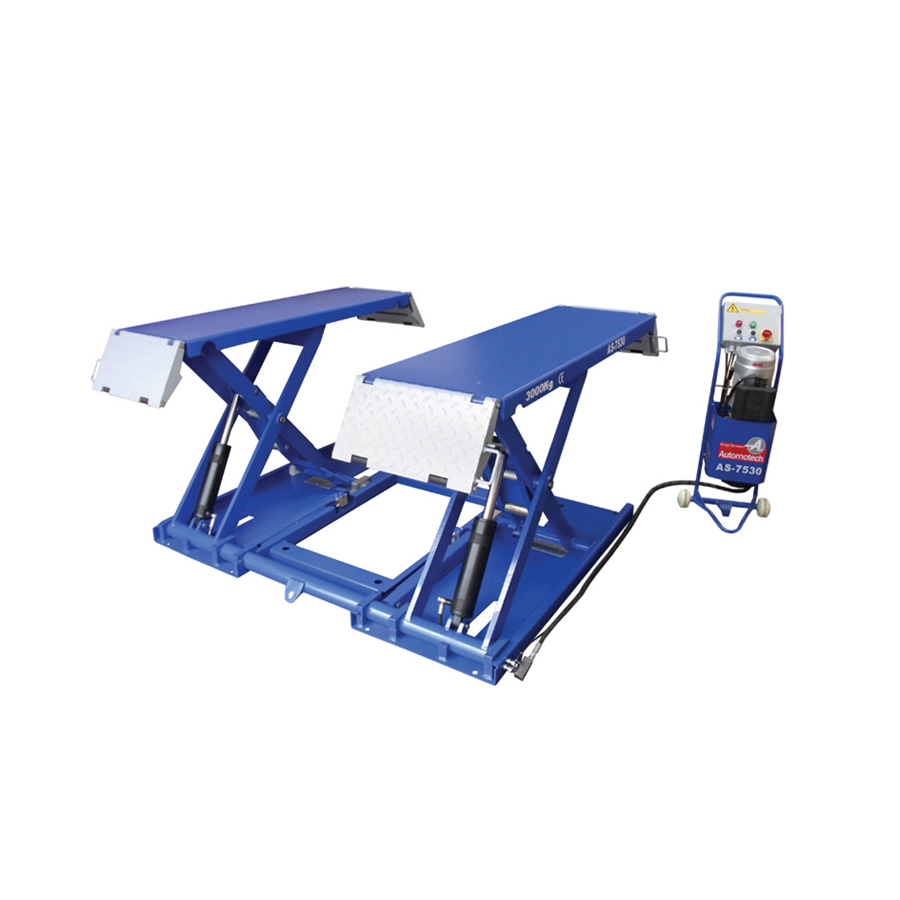
Only problem with this type is it severely limits the access under the centre of the car, that's why I changed mine to this.
 
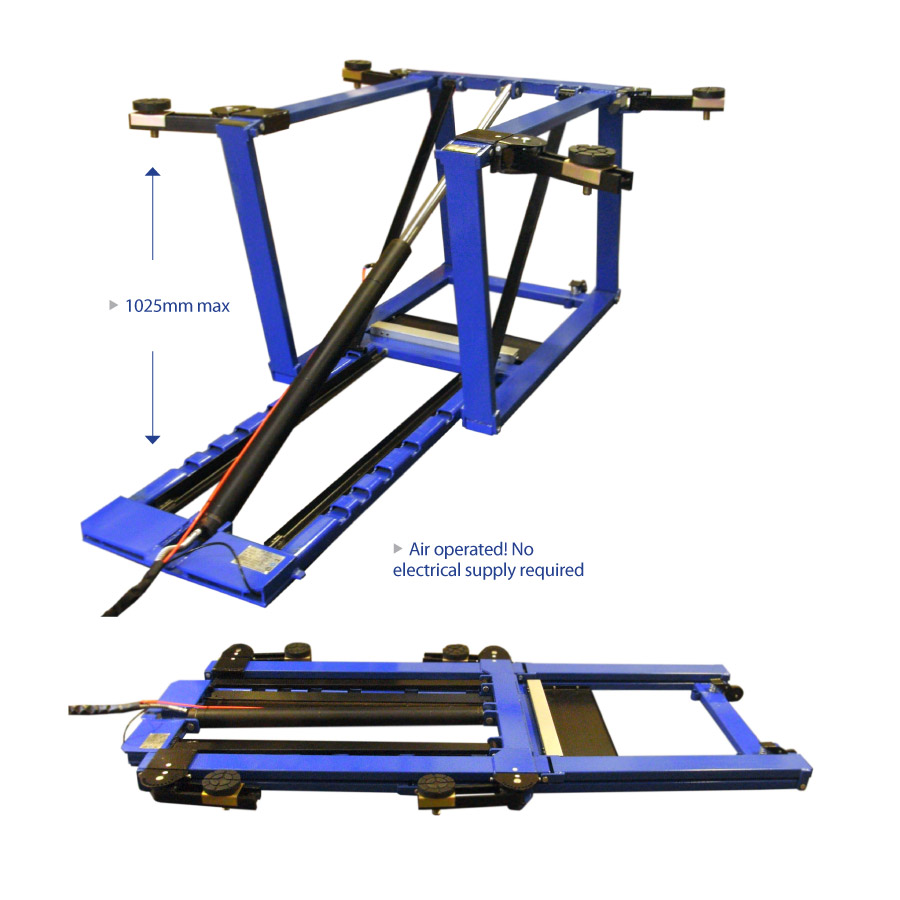
That type has limited lift of only 1m max. by what I read Niall. The one I’m looking at (haven’t decided yet, so all info happily received) only has the cross piece at the centre unlike many that have 3 cross pieces. I don’t think I will be doing any gearbox drops at my age. Did you have the same one I’m looking at please by the way?

Tony.
 
SUCCESS !! But you’ll have to wait for pictures. Made a jig in about 10 minutes.

Tony.
 
That type has limited lift of only 1m max. by what I read Niall. The one I’m looking at (haven’t decided yet, so all info happily received) only has the cross piece at the centre unlike many that have 3 cross pieces. I don’t think I will be doing any gearbox drops at my age. Did you have the same one I’m looking at please by the way?

Tony.
How high do you want to go? It puts the centre of the wheel at chest height for me.. No my previous one was this, similar issue with central rams, but worse than the one you are looking at.

 
The one I'm looking at raises to 50” which is why I went to the extremes of raising the garage door lifting mechanism. Also using it outside the higher lift height will be useful.

Tony.
 
Run-ups completed after figuring out how to cut a taper on my table saw.
2 pieces for the sides of the run-up.
20210223_122118.jpg

Next I had to trim the top of the rear piece (which houses the coupling to the main ramp) and make them square. Drill and screw both ends.
20210223_142437.jpg

Screw on the top piece.
20210223_140549.jpg

and repeat.
20210223_144722.jpg

Then make sure they fit onto the main ramps.
20210223_171247.jpg

Then road test.
20210223_172057.jpg

This is allowing 30" working space against the wall.
20210223_172119.jpg

Going to mark the floor for permanent positions and possibly put screws in or possibly just pins.
20210223_172949.jpg

I'm very happy with how they've turned out.

Tony.
 
Is that to make it easier to get in and out ;) :whistle::whistle:
 
Side benefit mate :whistle:

Tony.
 
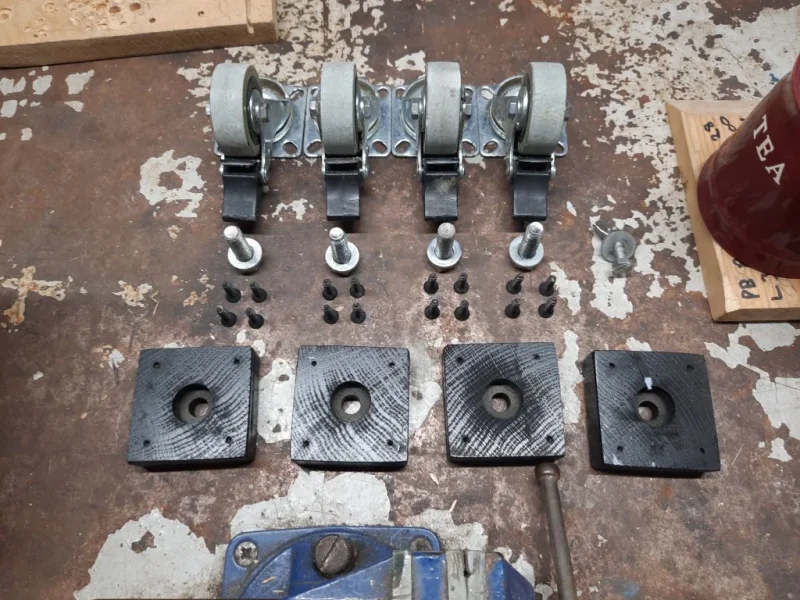
The Eagle eyed amongst you may have noticed the casualty laying on top of the table saw. I made some 2" square block from reasonable quality plywood to attach castors to the legs of my old engine trolley. This afternoon when I moved it it hit an edge of one of the pit boards and the ply split on 2 of them and the castors fell off. One top of the upturned blue mop bucker are a set of new ones made out of a piece of Oak that Gary gave me. I painted them last thing so should be ready to put back together in the morning.

Tony.
 
I don't have the height, especially near the walls for a 2 poster Adrian. The one I'm leaning towards offers the best use of my garage, more so now I have raised up the door lifter mechanism.

Tony.
 
following this thread with interest.. :thumbsup::thumbsup:


sod all to do with ramps and a lift,


I'm eager to see the next random-pattern curtains.....

I'll have you know my dear late Mother-in-law had exquisite taste. Not her fault she was colour blind.;)=))

Tony.

ps. In actual fact these were in with their caravan awning s which we will sell on at some point. Bless Dot and Reg. Good people.
 
The Eagle eyed amongst you may have noticed the casualty laying on top of the table saw. I made some 2" square block from reasonable quality plywood to attach castors to the legs of my old engine trolley. This afternoon when I moved it it hit an edge of one of the pit boards and the ply split on 2 of them and the castors fell off. One top of the upturned blue mop bucker are a set of new ones made out of a piece of Oak that Gary gave me. I painted them last thing so should be ready to put back together in the morning.

Tony.

Trolley repaired this morning.
New blocks fitted and castors refitted.
This is what had happened with the plywood blocks.
20210224_101504.webp


And its back in action.
20210224_114934.jpg


Tony.
 

Attachments

  • 20210224_101626.webp
    20210224_101626.webp
    181.3 KB · Views: 103
Last edited:
You have been busy. We've just been getting ready for decorating as the new bungalow needs some updating. This will be our project for a while
 
Just noticed you have a Pit on the other side of the garage, did you ever use it, I suspect the advantage of a lift will be a relief from crawling down into it. Often thought I should have put a pit in when I built my garage but with the lift I am glad I didn't. Still keep the drive on ramps to use outside the garage, my Korando won't fit in the garage so use them for that vehicle. Not worth the effort of pulling the lift out of the garage to put it on that and get a hernia doing it even with the wheels that come with the lift.
 
The pit is a long story Col, I dug that by hand over a couple of weeks delivering the spoil to my parents place 2 miles away and levelling their drive with it, tipping by hand too. The guy who built the walls got butyl sheet that wasn’t big enough in one piece so there was a join. Consequently water gets in which was a pain but I bought a boat bilge pump which soon shifted what came through the blocks over night to enable me to use it.
since they dug the lake next door and raised the field level with the spoil the water table is now much higher and the pit sirs with around 2.5 ft of water. I have a submersible pump but rarely bother to empty it. IF, we have a long dry summer I’m going to pump it out and start filling it with rubble then concrete over it. The water in there constantly rots the boards even though it’s not touching them. Moral of the story is don’t scrimp on the Butyl.

Tony.
 
Today I cut some finger grips on the sides of the run-ups to aid fitting/removing them.
20210225_123342.webp
20210225_123422.webp

Drilled 4 holes with a 20mm Forster bit, chopped out the edges with a chisel and finally smoothed with a sanding stone in my cordless drill.

Tony.
 
Back
Top