Winter Taken Its Toll

Spent the weekend working on the car, phase one never really got of the ground, which was removing the panels, so started of by removing all the rust while in situ, at one point I nearly gave up as I thought the corrosion had gone to far:

To Much.webp


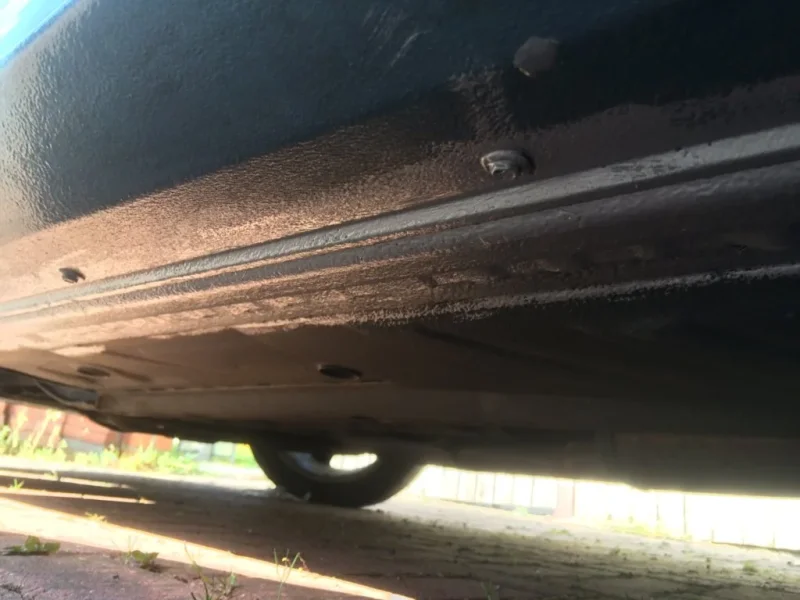
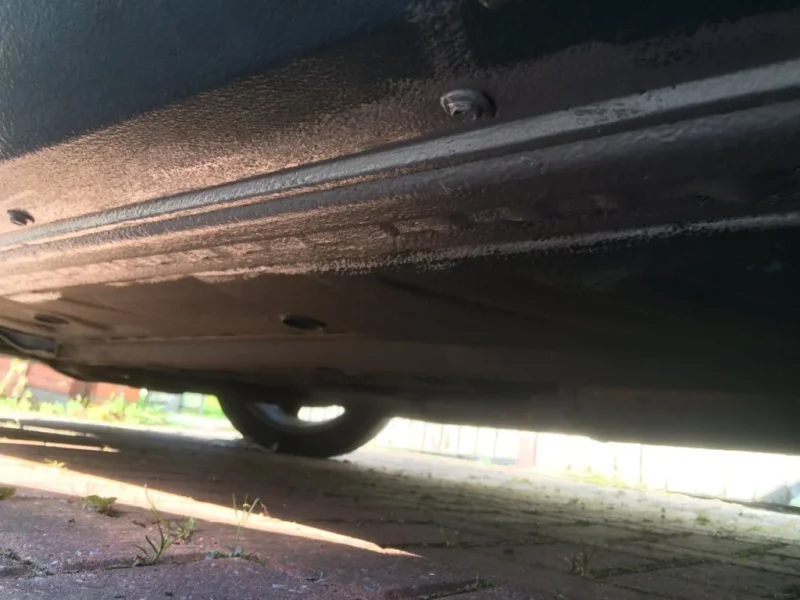
But after getting the wire brush on the car what seemed like heavy corrosion was the underseal coming of with a small amount of surface rusting underneath. "Phew":)

So I continued with the wire brush in the drill and removed all the problem areas on the car.

rust 1.webp

rust 2.webp


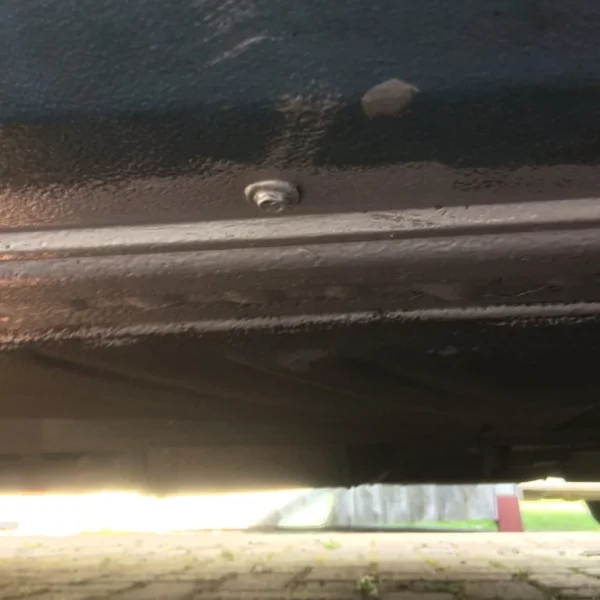
There was a small amount of metal loss on the off side front sill but all in all not as bad as I feared.

I am really pleased so far as to how the job has gone, and am waiting for my phone to upload some photos of some before and after shots, which in my opinion are something else, and shows what can be done,

If the Rust Bullet claims stand up I will be more than happy, it is easy to use, easy to sand to a smooth finish, and the coverage is brilliant, in fact it is a better product than filler primer for filling in any pits or deep scratches. Very Impressed so far (but time will tell)
 
Last edited:
I'll be following this as I need to have a look at mine once it's off the road in the winter.
 
Glad it is going well so far Jim. :thumbsup:
 
After spending two days removing the old undercoat and all the rust this is the result:

First treatment of rust bullet on front arch:

IMG_0304.webp


Rear wheel arch rubbed down waiting for second coat of Rust Bullet:

IMG_0305.webp


After nearly writing the car off due to what I thought was excessive corrosion, and spending hours removing any corrosion and loose underseal and then coating with rust bullet:

IMG_0311.webp

IMG_0317.webp
IMG_0310.webp


Will leave the Rust Bullet on for a week to cure properly, have ordered some Aerosol paintable undercoat to do the underside of the sills and will then use loads of filler undercoat to get rid of all imperfections around the wheel arches, it should be ready for the top coat in a few weeks, not sure how good a match this will be until it goes on, but fully prepared if necessary to hand it over to the professionals if needed.
 

Attachments

  • IMG_0312.webp
    IMG_0312.webp
    35.6 KB · Views: 225
  • IMG_0313.webp
    IMG_0313.webp
    18.6 KB · Views: 234
  • IMG_0314.webp
    IMG_0314.webp
    14.6 KB · Views: 225
  • IMG_0316.webp
    IMG_0316.webp
    69.7 KB · Views: 230
  • IMG_0318.webp
    IMG_0318.webp
    77.7 KB · Views: 213
Last edited:
Soon looks much better Jim and then the doubts change to satisfaction.:) Even if you do have to get the top coat done by a pro you've done nearly all the prep.

Tony.
 
Looks better already Jim, great photos. :)
 
Good progress Jim. I did complete liners and sill removal last time treating them with Kurust followed by Zinc oxide primer and Hammerite. The front edges need doing again so I have just ordered some Rust Bullet as per your recommendation.

Are you still intending to take the panels off? If not, I would recommend that you at least take the wheel arch liner out to see what's going on in the lower areas behind them.
 
I was thinking the same, I'd take them all off and take a look, my goal is to buy every panel second hand sort them then get them spayed so I can swap over bit by bit, also I have learnt from having a MX5 that rust is like a iceberg in that most of it is well hidden under the surface and if its not done properly and you miss just even the smallest bit it will be back in weeks :(
 
Good progress Jim. I did complete liners and sill removal last time treating them with Kurust followed by Zinc oxide primer and Hammerite. The front edges need doing again so I have just ordered some Rust Bullet as per your recommendation.

Are you still intending to take the panels off? If not, I would recommend that you at least take the wheel arch liner out to see what's going on in the lower areas behind them.

Time is my enemy at the moment, I need the car Monday to Friday, My re-thought intention now is to SORN the Zed at the end of September, get a Audi A4 Carbrilolet (Fancied one for a while) for General Family Trips, strip all the panels off the Zed and complete a full rebuild of body and running gear, so my fix is a temp one at the moment, problem I had was the the screws holding the wheel liner on were a pig to get off without grinding them I did not have a 8mm socket suitable (the socket needs to be very shallow to lock onto the nuts correctly), so time beat me.
 
The trick with those very shallow headed trim screws Jim, is to grind the socket down and get rid of the tapered seating inside of the hexagon. It gives instant fit on the bolt head. Vauxhall and Mercedes to name but two use these type of screws and they're a bloody pain TBH.

Tony.
 
Time is my enemy at the moment, I need the car Monday to Friday, My re-thought intention now is to SORN the Zed at the end of September, get a Audi A4 Carbrilolet (Fancied one for a while) for General Family Trips, strip all the panels off the Zed and complete a full rebuild of body and running gear, so my fix is a temp one at the moment, problem I had was the the screws holding the wheel liner on were a pig to get off without grinding them I did not have a 8mm socket suitable (the socket needs to be very shallow to lock onto the nuts correctly), so time beat me.
That's the problem with it being a daily driver. My plan is to do it over the winter, slow time, and do a proper job. :thumbsup:
 
Time is my enemy at the moment, I need the car Monday to Friday, My re-thought intention now is to SORN the Zed at the end of September, get a Audi A4 Carbrilolet (Fancied one for a while) for General Family Trips, strip all the panels off the Zed and complete a full rebuild of body and running gear, so my fix is a temp one at the moment, problem I had was the the screws holding the wheel liner on were a pig to get off without grinding them I did not have a 8mm socket suitable (the socket needs to be very shallow to lock onto the nuts correctly), so time beat me.
Sound plan - looking at your `before' pics there will be some internal work to do. I must have been lucky (for a change) as my liner screws came out quite easily with a socket and driver. They'll be coming off again in the next few weeks so I hope they are as easy.
 
.......... Treated mine 2.5 years ago but a lone pimple has re-appeared :( and needs treating before it spreads into a rash........
Checked wing panel today Waxoil treatment still looked intact from inside with slight pimpling on bottom outer edge
IMG_1862.webp


- a little probing however revealed this
IMG_1865.webp
 
@jonco, that's not too pretty! Although the paintwork on Rosie is much better than my original Zed I'd hate to start poking around under there in the same way. :nailbiting:
 
Thankfully no holes on mine, just caught it in time, but will need further probbing after the summer. But Hey Ho, what do you expect for a 17 year old car. Easy fix Jonco, if it was me I would drill out any rot creating a clean base for repair, use Rust Bullet to halt any further corrosion, fibreglass a small piece behind damage (otherwise any repair will sag), use fiberglass fine chopped strand and resin mixed to fill the hole pushing it into any void, and then sand down, finaly using a smooth filler to get any small inperfections level off with 300 grit paper , Use Filler primer as first number of coats (until no defects are showing), 800 grit wet and dry in between coats of filler primer and finally 1000-1200 wet and dry to blend everything in. Prime, Topcoat, Clear Laquer, and then Leveler to blend the new laquer in to the old laquer (used sparingly)
 
Back
Top