Ramair.

I've only just realised that I said I would post more pictures once I got my PC back, so here they are - there might be duplicates though.
014 (11).webp

015 (12).webp
016 (6).webp

Standard air box, this had to come out, so all fixings retained and packed away for safe keeping.
017 (6).webp

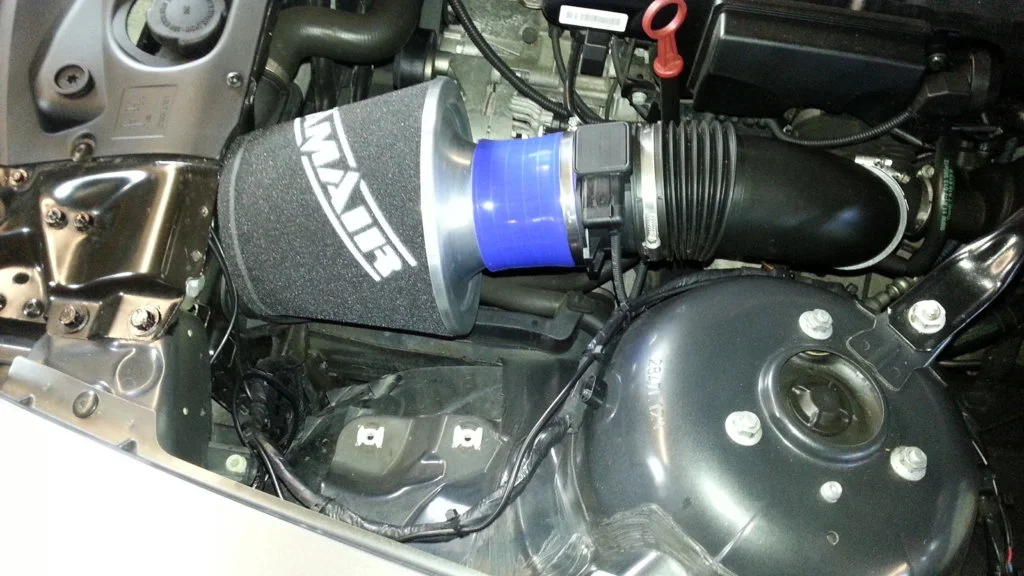
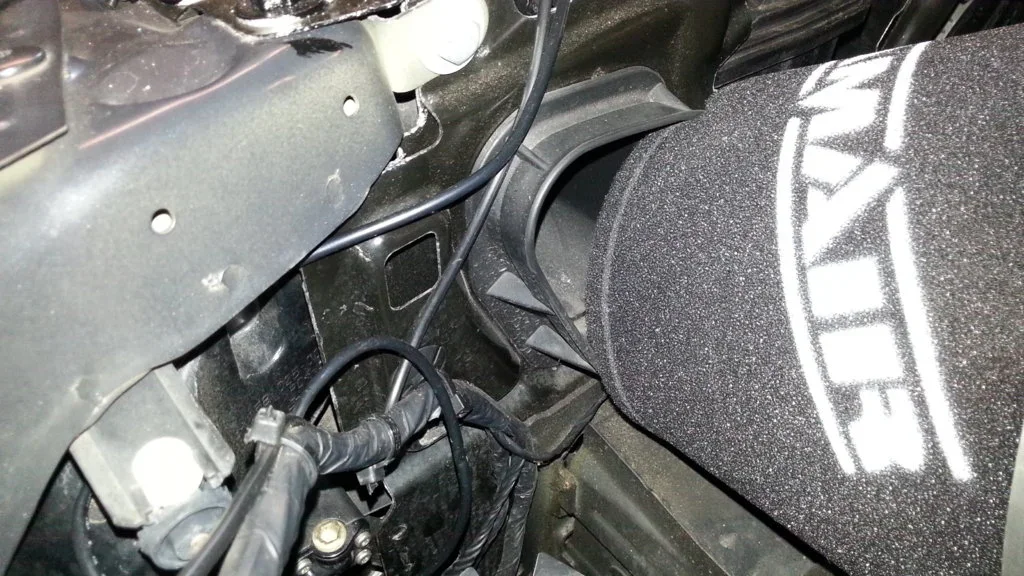
Quite a big space left which is quite handy because this Ramair is large and is fitted with it's open face tight against the cold air feed from behind the grille which is on my radar for modifying soon.
024 (3).webp

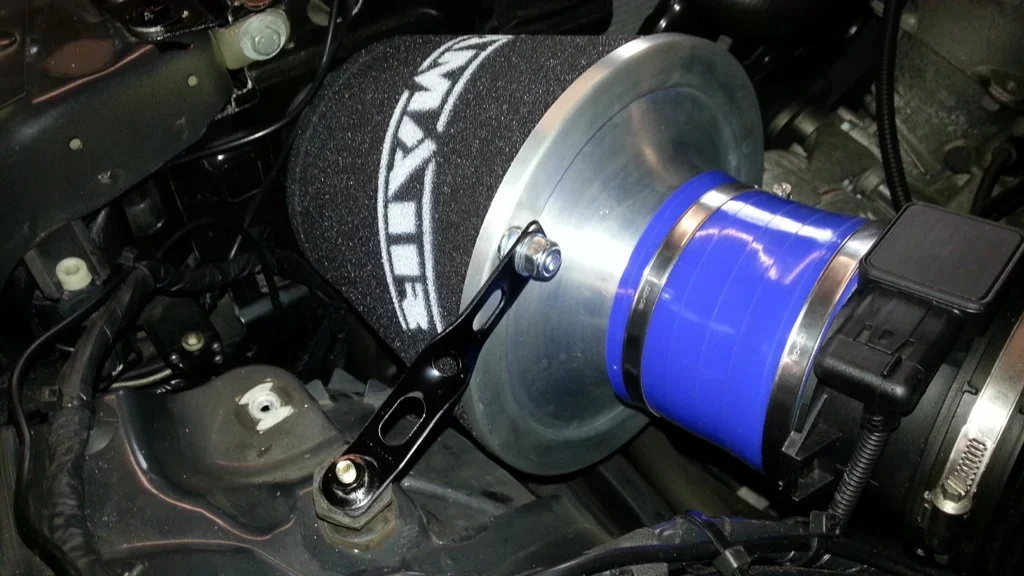
I made the steady bracket out of a piece of hole and slots bar, twisted for strength and rigidity, painted satin black and baked.;)
022 (6).webp

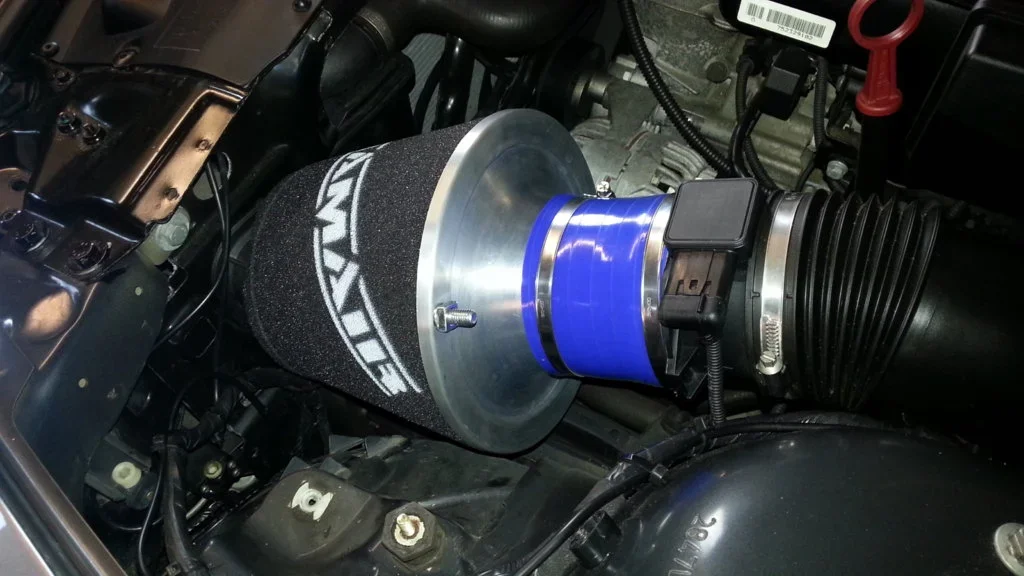
I found a rubber fuel pump mounting bobbin which had a 6mm thread and that nicely went into a hole vacated by on of the original air box screws.Locates the filter but also leaves some vibration damping too.
021 (5).webp

I purposely positioned the other end of the bracket's fastener "outside" the cage and filter so that on the very unlikely event of it ever coming loose it could never get inside the induction and therefore into the engine.
Overall I'm very happy with it, sight and sound!:thumbsup:

Tony.
 

Attachments

  • 023 (5).webp
    023 (5).webp
    74.7 KB · Views: 282
  • 018 (4).webp
    018 (4).webp
    94.9 KB · Views: 282
  • 019 (6).webp
    019 (6).webp
    75 KB · Views: 298
  • 020 (7).webp
    020 (7).webp
    136.7 KB · Views: 331
Cheers for that Jim. When I put one on my Z3 I put a similar mounting between the engine and the heat shield too, they work a treat. Now if I could only remember where I liberated them from ..................................... ?

Tony.
 
Cheers for that Jim. When I put one on my Z3 I put a similar mounting between the engine and the heat shield too, they work a treat. Now if I could only remember where I liberated them from ..................................... ?

Tony.
Just keep an eye on your customers cars and I'm sure you'll "Find" a few you could liberate JIM
 
Sorry Jimbo, slip of the old stylus!

I'm definitely not easily offended... Rating has been undone :)
 
Has anyone made or managed to find a heatshield for the air filter?
 
I have to confess that I still haven't made a top for mine yet. I bought a tool to install rivnuts for the process but that's where it ended up to now. When I make some more bits I'll add them to this.:)

Tony.
 
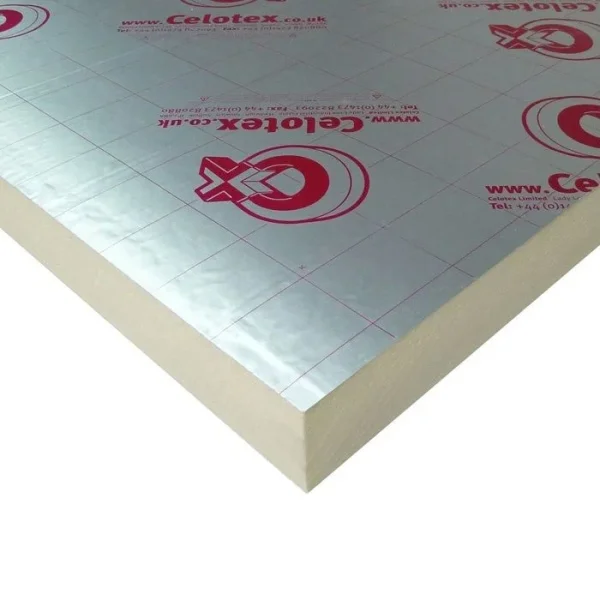
any one think some 20 to 30mm insualtion board like in the photos, would be an effective heatshield?
 

Attachments

  • 30mm-celotex-tb3030-insulation-board-2400x1200mm-185-p.webp
    30mm-celotex-tb3030-insulation-board-2400x1200mm-185-p.webp
    35.3 KB · Views: 274
It could be but it's very bulky and not easy to shape I would imagine.

Tony.
 
Has anyone made or managed to find a heatshield for the air filter?

From my journal ...

Another project I've been wanting to do for ages is to make a heat shield to go around the cone filter.Made some templates up from cardboard to start with.

68479-b2bbbeb961c11d31c9036f9503a19277.jpg


The pipe that goes from the rad to the expansion tank is in the way as it runs up the side of the original air box and I'd need to make a cut out in the shield for it to fit. I thought about one from an ///M as these go around the side of the engine bay but I didn't really fancy spending £130 on a bit of hose so I cable tied it around the side following the loom. It's actually a pretty good fit and doesn't get in the way anymore.

68481-a6df75888e36ff4f330c7c213b06b01a.jpg


More templates were made before I got a fit I was happy with. Made it in 2 sections one for the bottom and another that wraps round the back and side of the engine.

68482-b755667445c6e7f890bcba0ec53751f4.jpg


Getting there

68483-b23b3ea8676778629da64e56ab7ee381.jpg


68484-5b9c095a8dba00c5c9a43893feff5da3.jpg


I decided to spray it in matt black so it looks a bit more OEM, might even carbon fibre wrap it eventually. Put some trim around the edges to neaten it up and fixed the bottom part with a couple of self tappers to the chassis rail and riveted the 2 parts together. I used one of the old brackets from the filter to attach to the shield to keep it nice and solid and another one from to keep the filter secure.

68485-a35e01a619ea870b27100b1f4ddcfd52.jpg


On the 2.8TU there is an integrated cold air feed in the headlight housing which directs the air straight to where I have the filter positioned. You can just see it below.

68486-c4144da47eb832665ef223731d14abd7.jpg


68488-e22eed44b55b202970d64c572b9f91e1.jpg


And all finished.

68490-573918aa6c1f668a657ab4f942e90830.jpg


68489-72edf4e09905e43815324d4eab75be50.jpg


After making a heat shield it was time to get another cold air feed upto the filter. I got some 3" flexible hose which I planned to route from the front mesh grille in the bumper upto the heat shield directing cold air through to the filter. There doesn't seem to be much space and the only way I could go was from the grille, through the back of the under tray and up behind the radiator into the bottom of the heat shield. The hose is 3" thick and it was a very tight fit between the fan shroud and belt so I had to compress it down slightly and cable tie it to the fan shroud so it doesn't come into contact with the belt. I cut a hole in the heat shield and put the end trim through this connecting to the flexible pipe and the bottom end is temporarily held in place behind the grill with some cable ties. I had to make a hole in the back of the under tray for the hose to go through but it's worked out pretty well, whether it helps I haven't got a clue it's just another thing I fancied doing. I think I will put the front trim piece properly in the grill in future rather than just cable tied against it. I also changed the old induction kit to a larger Ramair unit.

img_4982-jpg.73471


img_4983-jpg.73472


img_4988-jpg.73473


img_4986-jpg.73474


img_4992-jpg.73476


img_4990-jpg.73477


img_5008-jpg.73478
 
Looking good Dave:thumbsup: It just doesn't happen in minutes though, does it?

Tony.
 
Looks a good job you done there Dave! Fancy coming to Norfolk to do the same to mine? :thumbsup:
 
Even introducing the engine side shield certainly made a difference on my car.

Tony.
 
Absolutely mate, it's the cutting , bending trial fitting that takes the time. I really should get back to mine.

Tony.
 
Back
Top