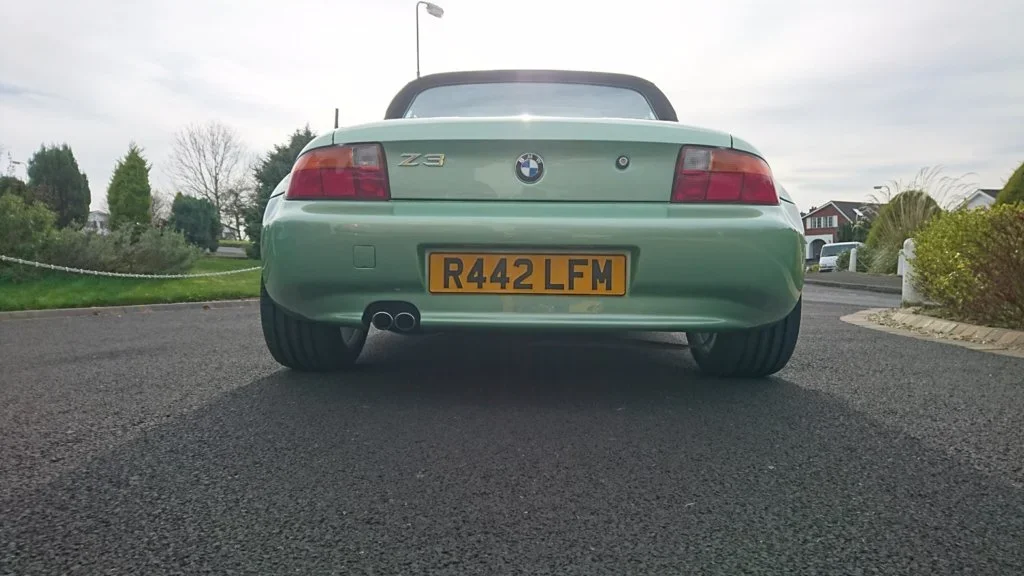
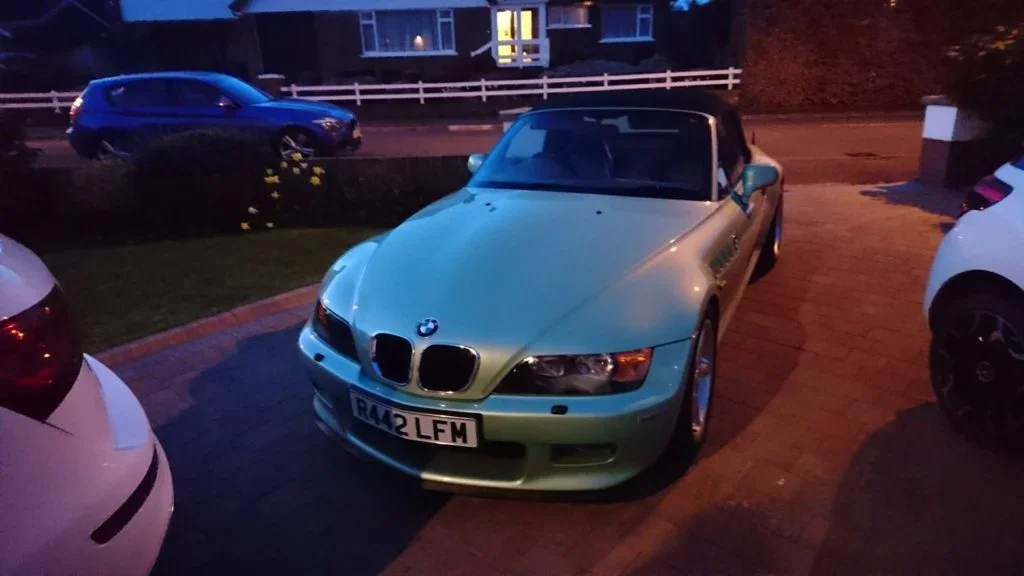
Looking for a Z (Now found & Built!)

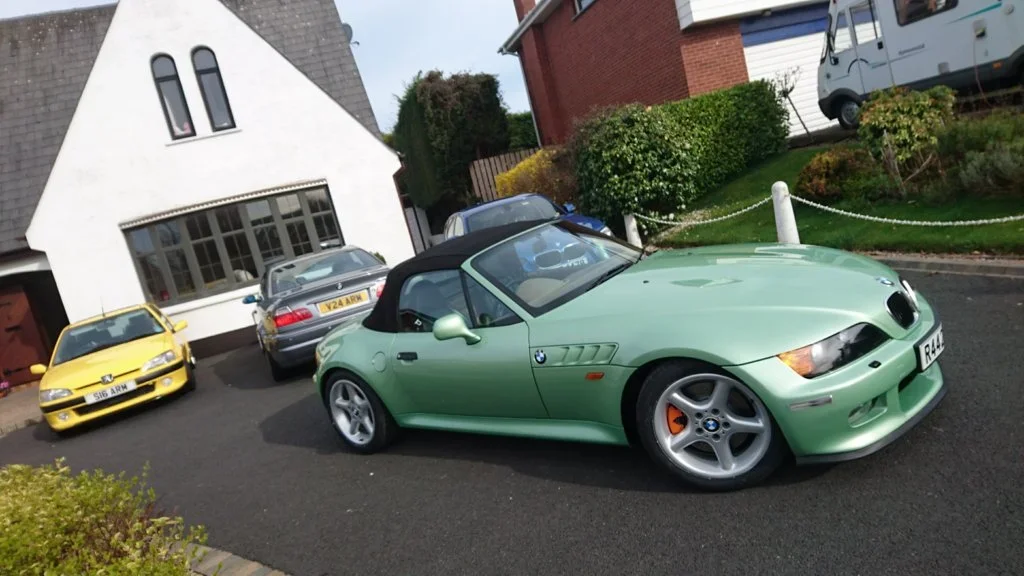
Another hour on it tonight and the first pass is done.... :cool:
DSC_2509.webp

Took a quick walkaround video...

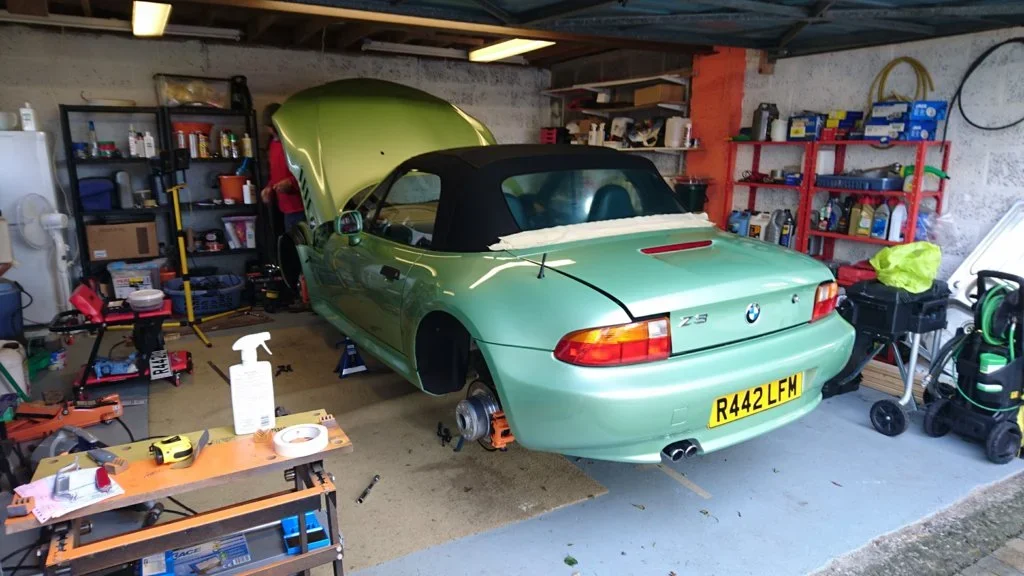
As you can see, it's missing its wheels again as they're away for some fresh rubber, but should be back tomorrow.
 
Last edited:
Excellent results - that's a handy thingymijigger you got - great work!:)
 
Aaron. If you ever get bored once your dads car is finished, I could always drop mine over :whistle:.
Purely to stop you getting bored you understand. :whistle::whistle::whistle:;);)
 
Top job. One exceptionally clean Z3 ( Another reminder i don't have a garage :( )
 
Great work as usual, your almost turning it into a museum piece I would be scared to drive it!
You'll be pleased to know you're partially to blame, as back when my hunt for a Z started, your build threads were some of the first i read through and after seeing you swap panels and treat the vulnerable zones, I thought, hey that looked easy, must do that too.
Then i got carried away....:thumbsup:

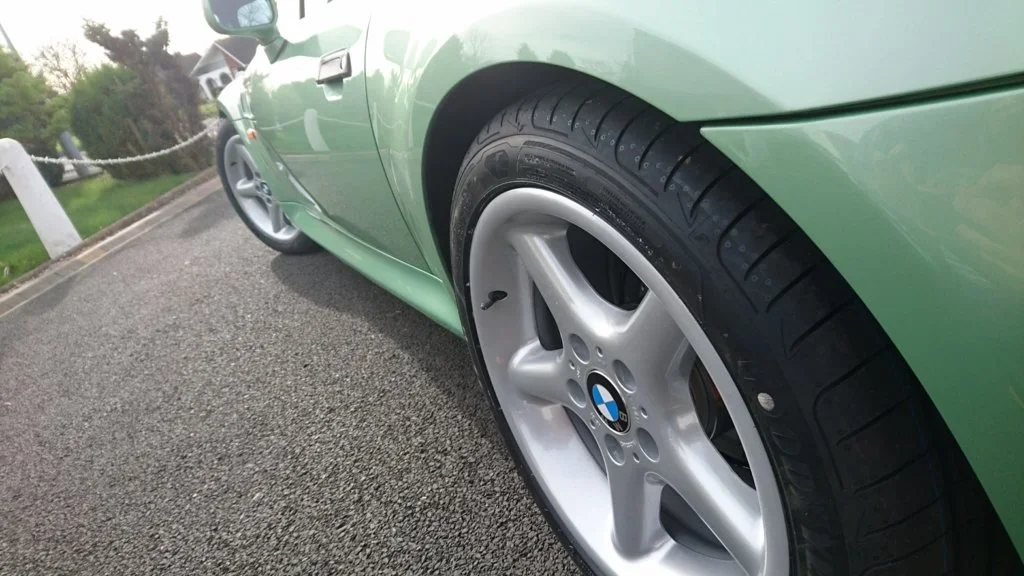
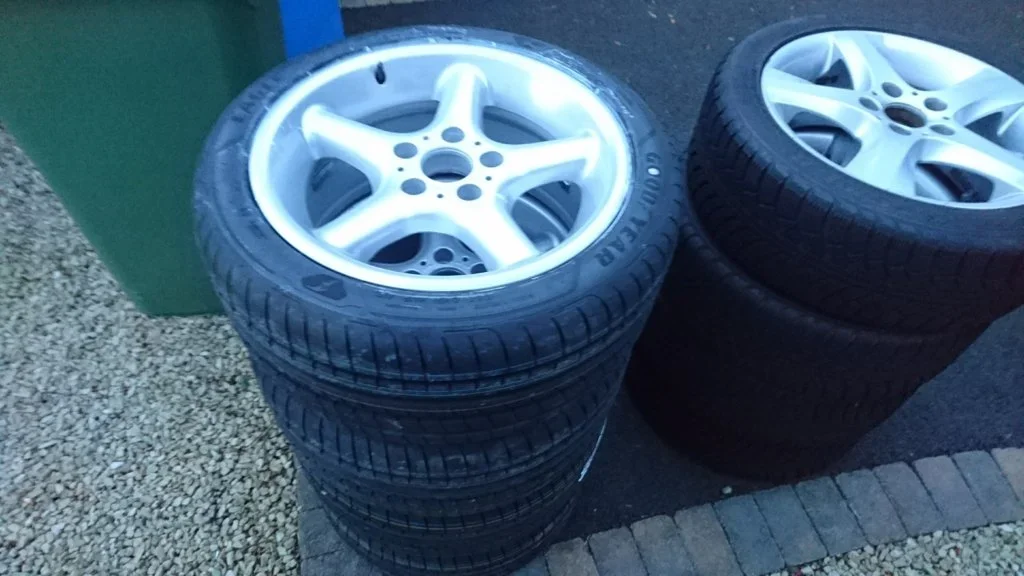
Anyway, back to the build. Got the wheels back with fresh Goodyear rubber though they'll need another clean and wax tomorrow.
DSC_2515.webp

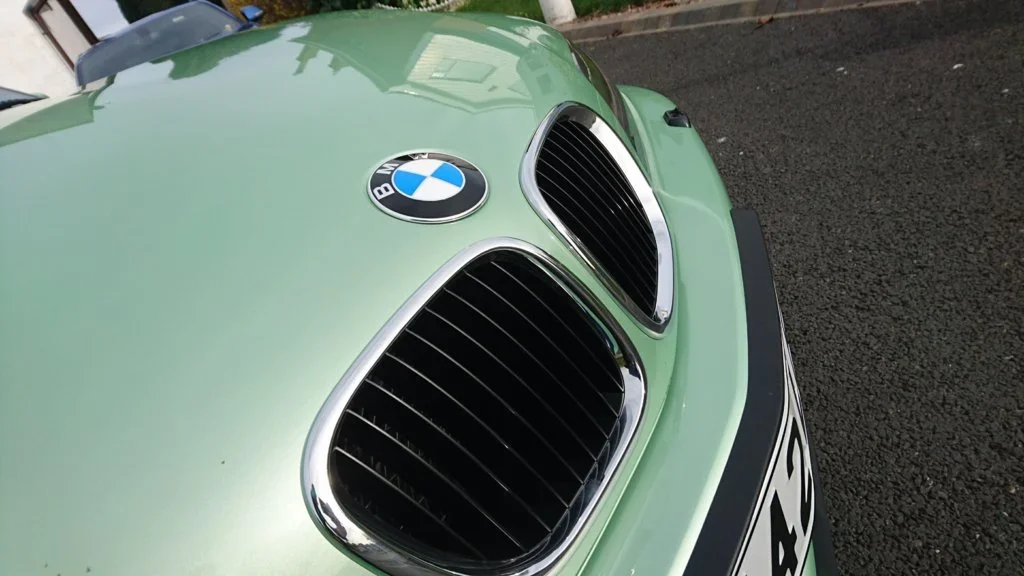
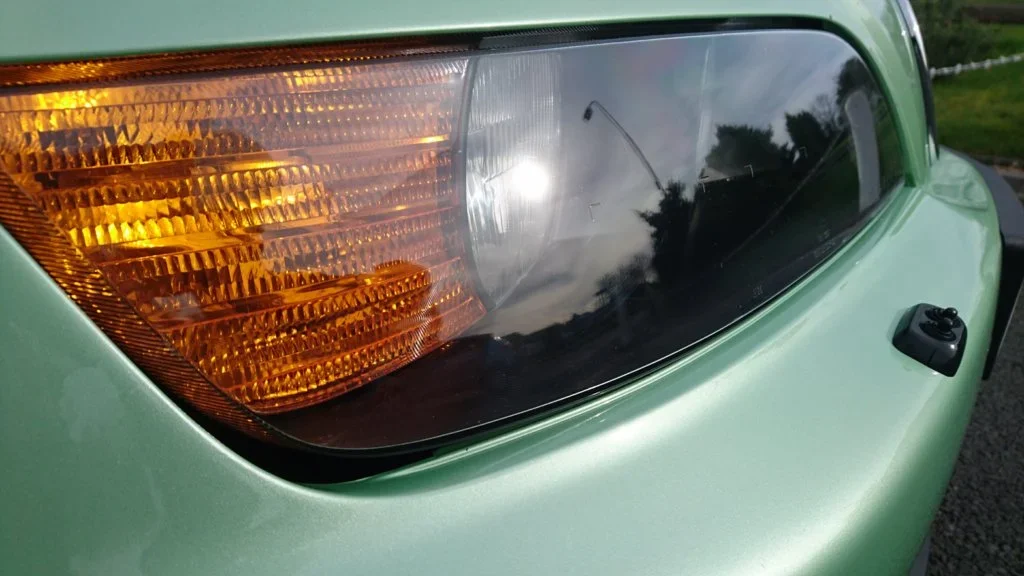
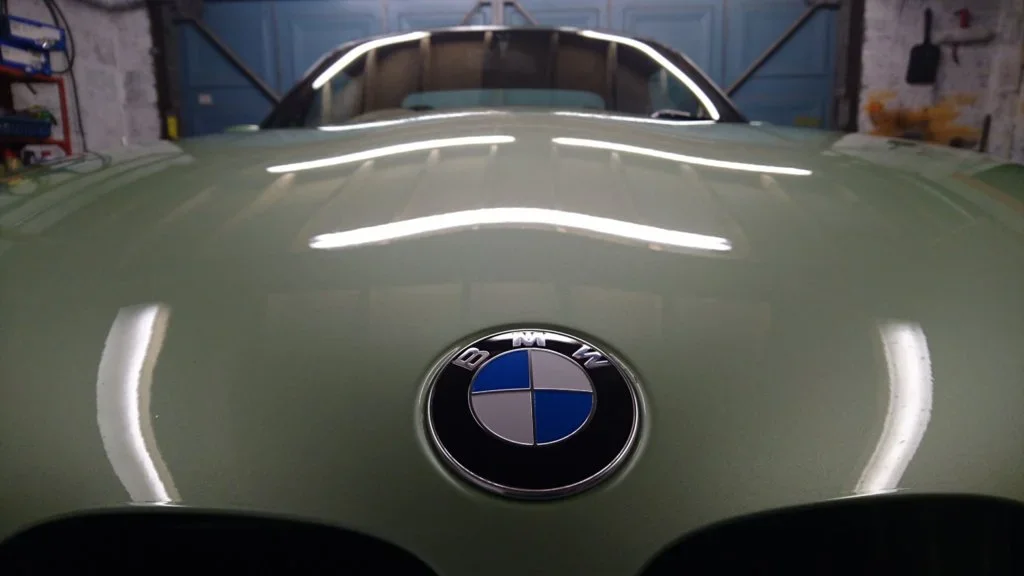
Spent a bit of time on the car. This time, a quick pass with the finishing wax. Doesn't look a whole lot different to yesterday so didn't bother with any pics, but i'll do another coat tomorrow, followed by some AG HD Wax and that'll be the paintwork done for now.
Might have a go at some of the stone chips, but only if we've time.

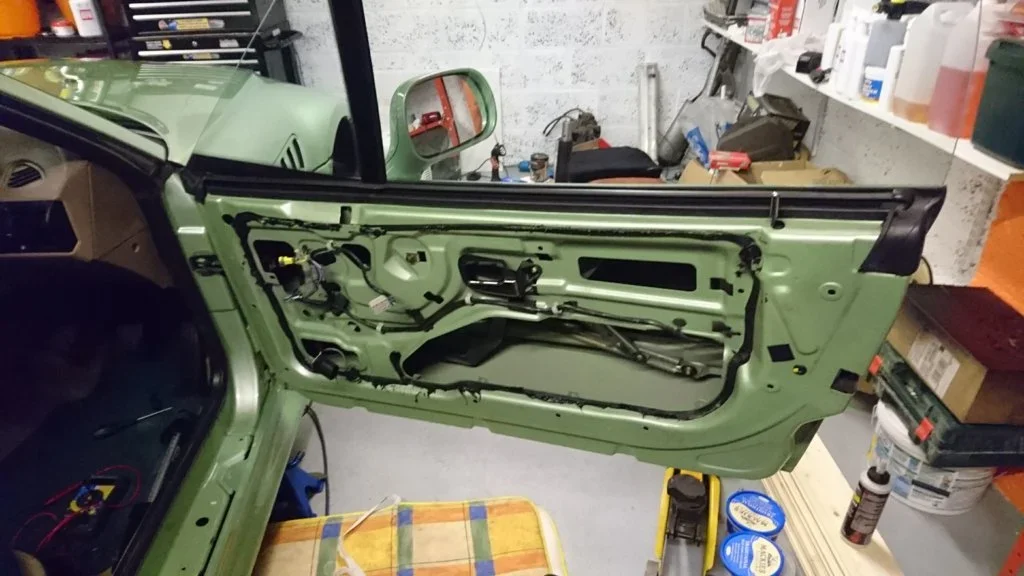
One problem we still have to tackle is the drivers window issue.

Basically, the fuse blows when you try to put it down. It's fine going up, and the passenger window works fine both ways.

DSC_2521.webp

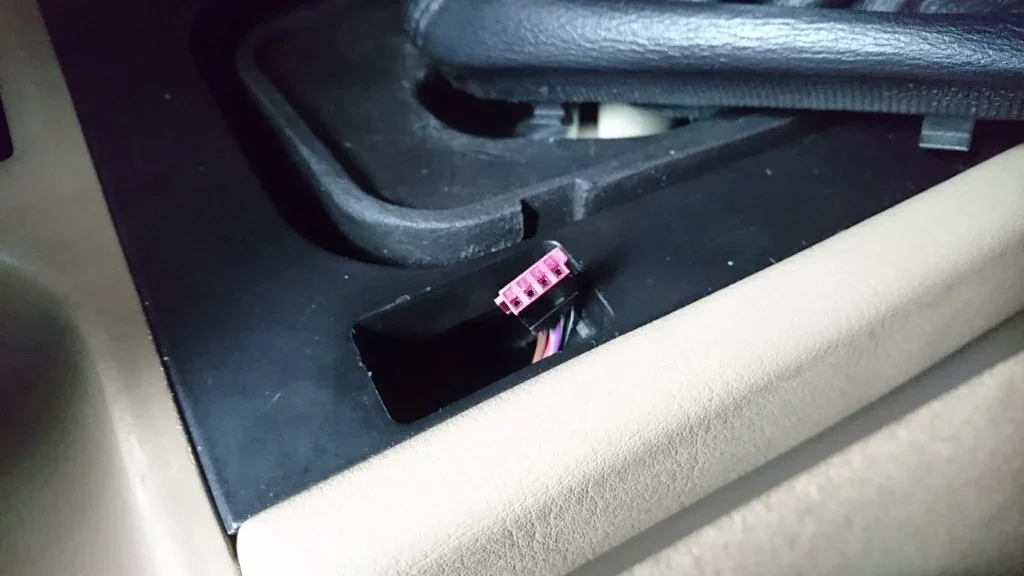
I've swapped the switches, no difference, so switch is fine.
DSC_2528.webp

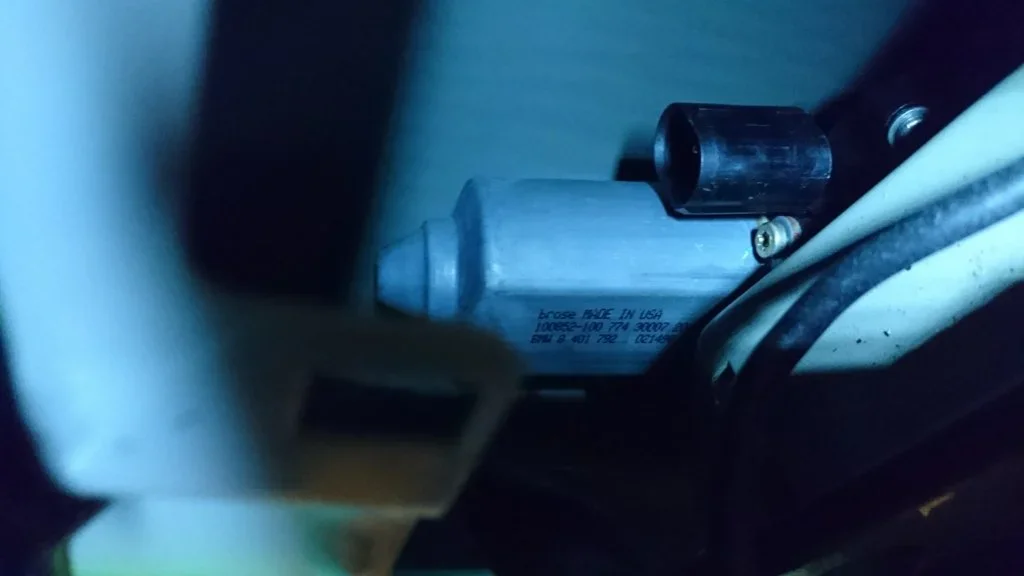
We disconnected the window motor, fuse still blows.... so motor isn't the issue.
DSC_2523.webp

I can hear the relay click briefly as you push the button but then the fuse blows (again). So the cabling between switch and relay is fine.

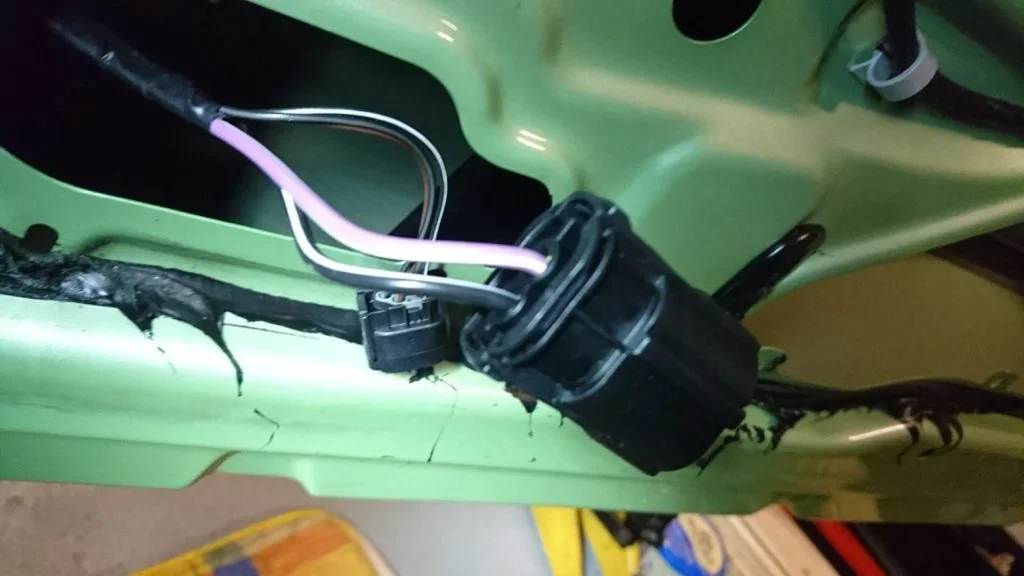
It's a 30A fuse so that's some serious current, so looking at the window motor, there are only 2 cables capable of carrying 30A so assuming it's one of those. One is Purple/White and the other Black/White.

DSC_2525.webp

Both are open to earth at the moment, so suspect one (or both) of these has shorted or the relay is faulty.

I pulled back the rubber tube between door and body but can't see any damage and any further access in the cabin will involve taking more bits of trim off.

Does any one know which of these two big cables is supposed to be the live? or are they both live (up/down) using the door as earth?

Or has anyone any thoughts before we start pulling more bits of interior trim off?
 
Last edited:
I think i remember someone posting a problem with windows blowing fuses turned out to be the wing mirror wiring if i remember correctly may be worth checking:thumbsup:
 
I think i remember someone posting a problem with windows blowing fuses turned out to be the wing mirror wiring if i remember correctly may be worth checking:thumbsup:
Yes, I also remember that, try disconnecting the mirror, sounds a bit odd but electrics can be that way, great build by the way
 
mmm, wing mirror wiring.... can't see it unless the fault was a short in the connector block. I guess could happen if some conductive debris was shorting the pins.

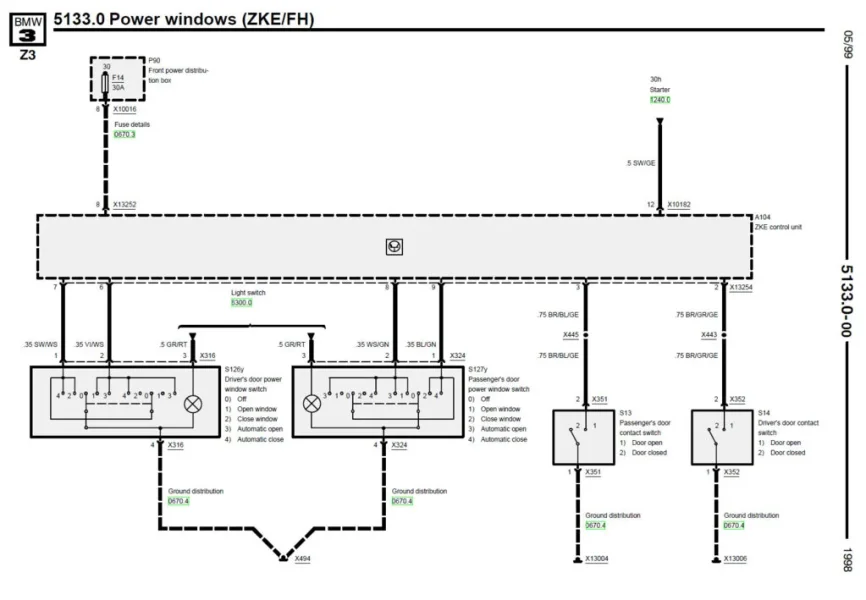
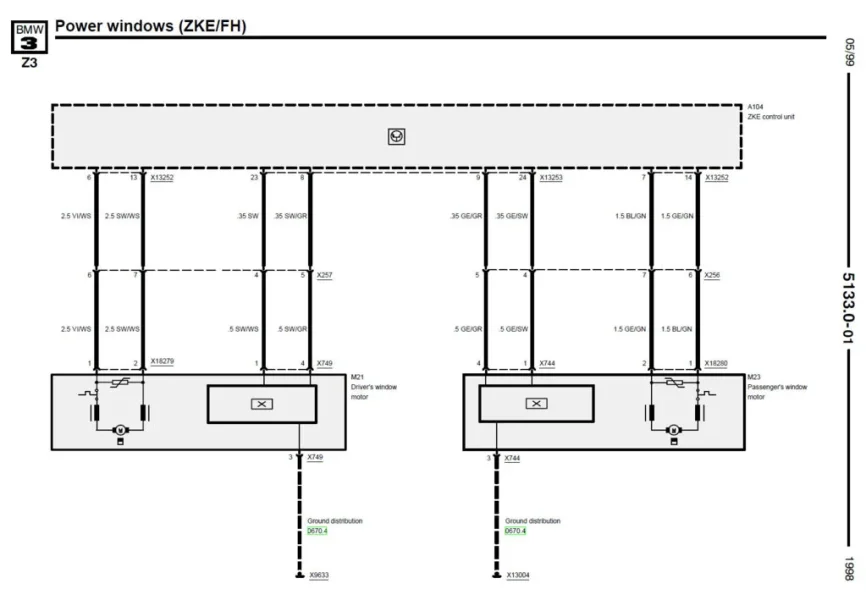
I've got the wiring diagrams and and fairly sure the short is located on the cable somewhere between the ZKE controller (GM4 ?) and the x257 connector on the door, or possibly within either of these two things...

Something that i find very suspicious is that both cables on the x18279 connector are connecting to ground.
pw1.webp pw2.webp
Anyway, my next step is to disconnect the x13252 and that will let me know if the controller is at fault.
If not, then disconnect the x257 and that will let us know which side the cable is shorting.
 
Have you swapped the relay?
The relays are part of the ZKE (GM4) so i'd need to desolder them and my soldering skills aren't up to my own standards so I wasn't going to attempt that.
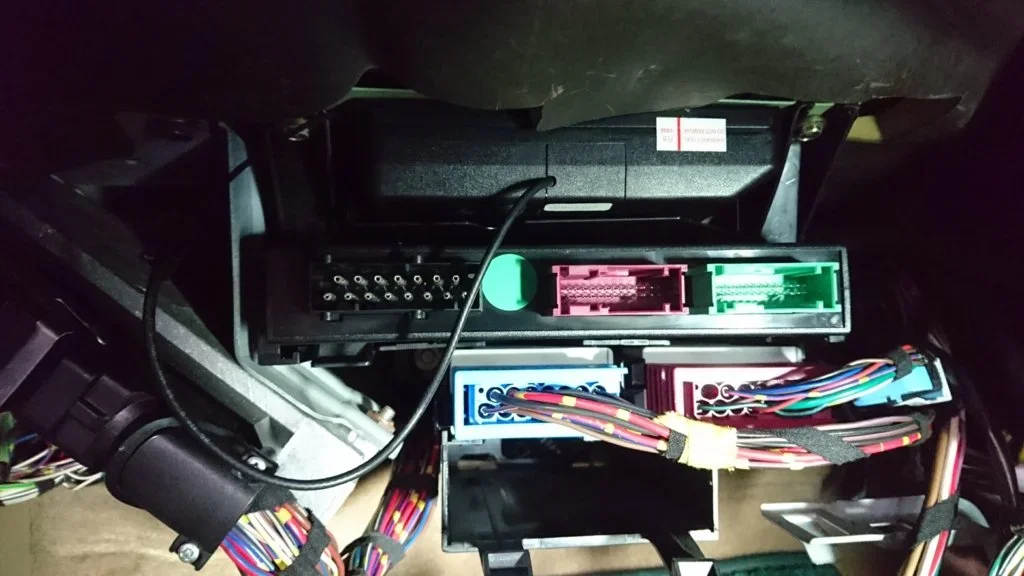
However, we have isolated the problem to the ZKE module.
DSC_2575.webp

After stripping the glove box, I disconnected the loom and the power cables no longer shorted out.
On one hand, i'm glad we don't have to replace any cabling as that could have been a pain, but on the other we now either need a replacement module or I'll have to get someone to swap in some new relays and hope that sorts it.

Anyway, now that we know there's no issue in the door or cabin, I can finally put this car back together.
DSC_2576.webp

So, one last check of bolt torques, brake hoses, and refitting any remaining clips and on with the wheels and bumper trim.
Another quick once over with the DA wax and it was time to get it off the axle stands.

Got a replacement spirit level for my trackace and did a quick wheel alignment for 0 toe..

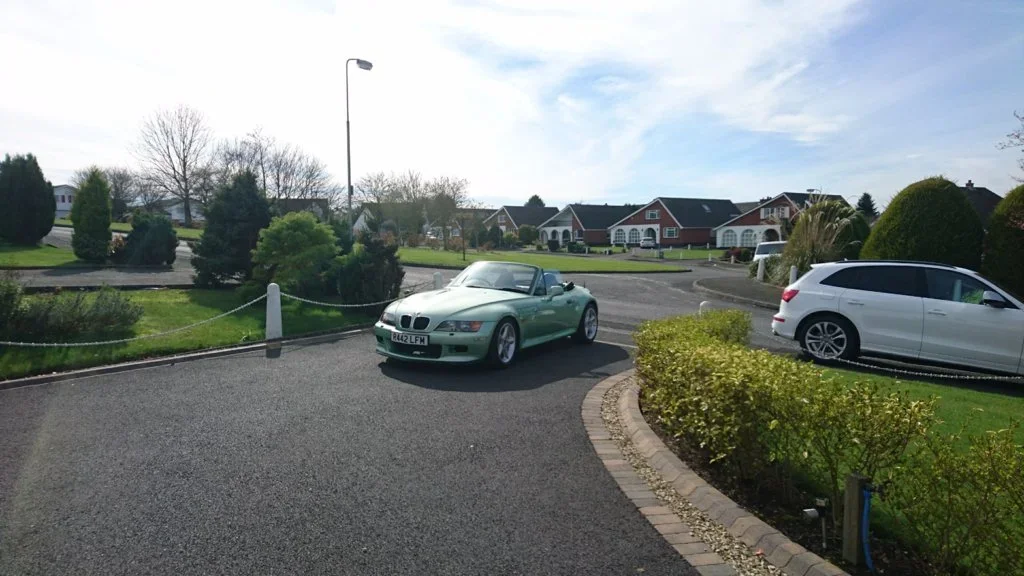
It was a lovely day, so roof down, and out of the garage.
DSC_2579.webp

Time for a quick drive to make sure all is well.... and it is!:thumbsup:
DSC_2581.webp

Well it's been a fun journey to get to this stage.

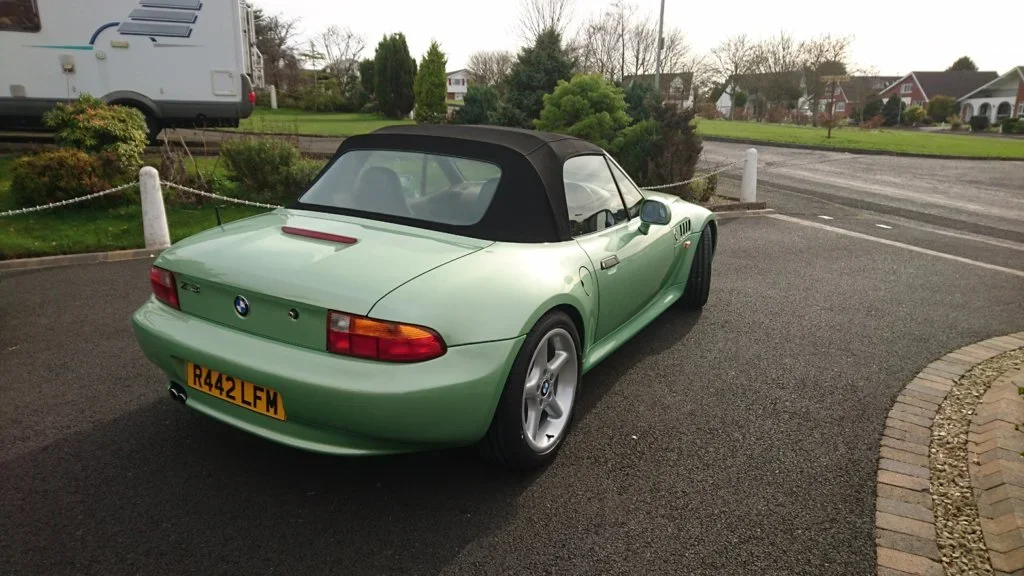
Looking at what we now have, it's almost unbelievable that this car was sent to the scrap yard for breaking. I'm so chuffed to have saved it and given it one of the best homes a car could have.
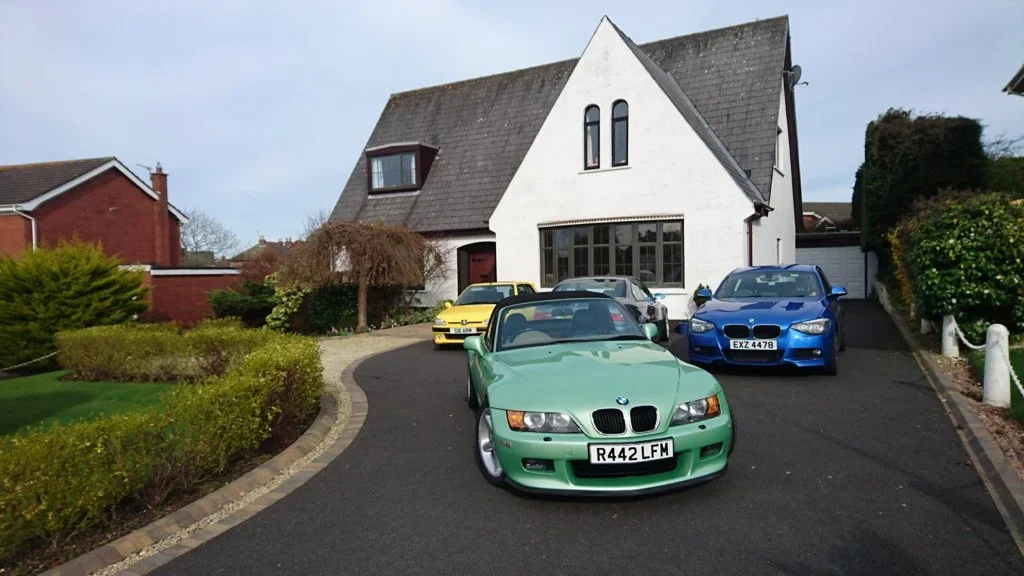
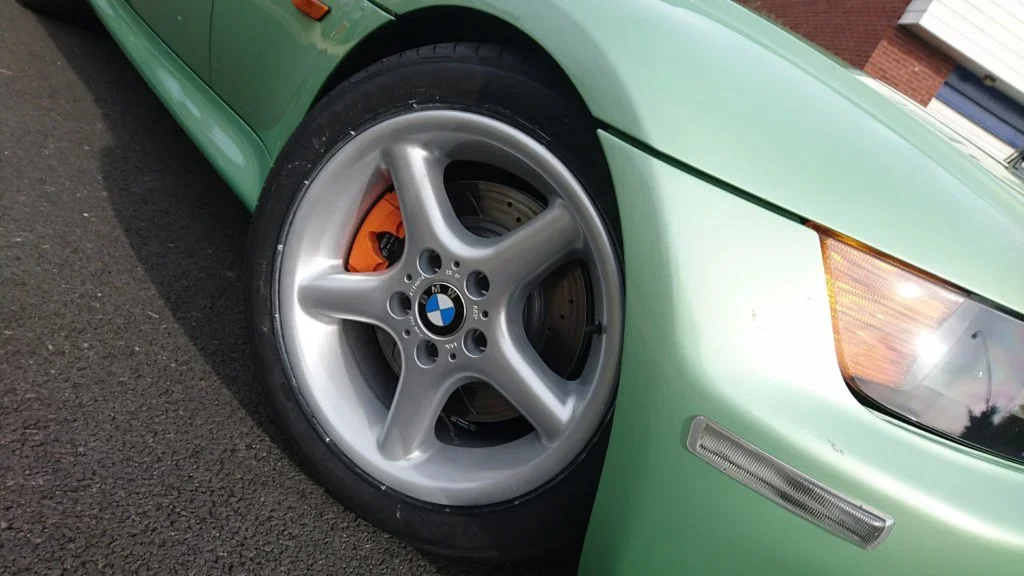
DSC_2580.webp DSC_2583.webp DSC_2585.webp DSC_2587.webp DSC_2589.webp DSC_2590.webp DSC_2592.webp

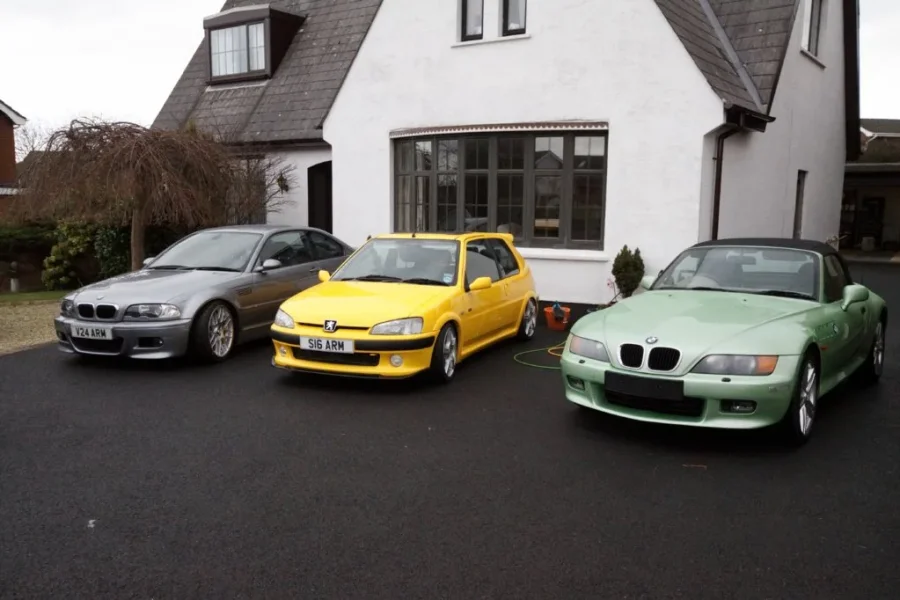
Not a bad looking fleet going on here....
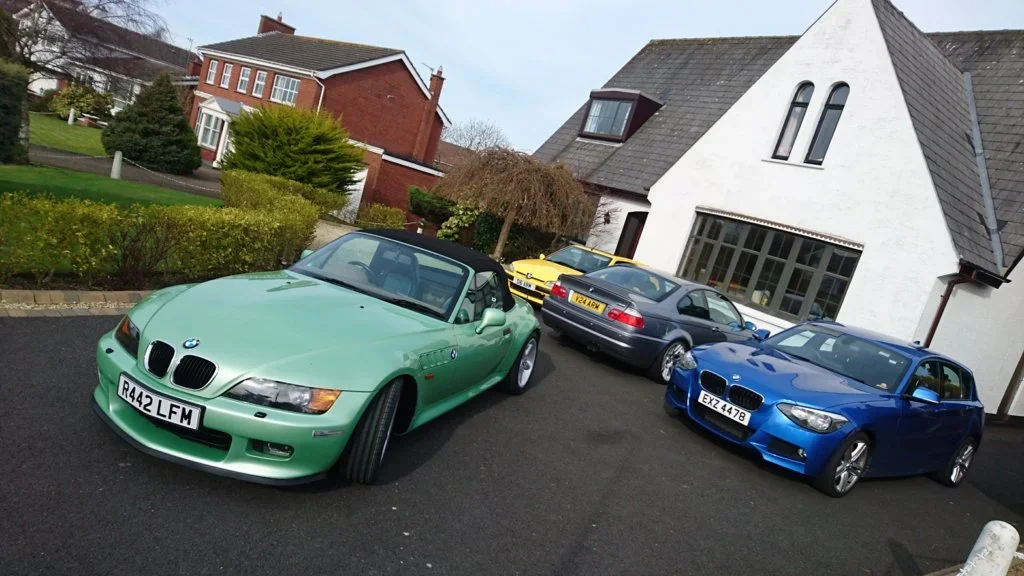
DSC_2593.webp

Anyway, with this stage of the restoration now complete, I took it to my dads and left it off....:(

DSC_2595.webp

He'll be out and about in it tomorrow no doubt but it'll hopefully be back on Sunday for another wash/wax and if the weathers up to it, I'll hopefully give her a bit of a road trip next week.

As for whats next, I'll probably hunt down a replacement ZKE module and get this window sorted and we still have to fit the Apollo induction system, well I already know it fits, but wanted to let my dad do something on his own to finish it off.

Also, I'm sure it'll not be long until i pick up an M50B25 manifold and pull the back axle off for some fresh adjustable bushes and to powdercoat the entire front and rear subframe assemblies in a nice bright orange finish.:)
 
Well done Aaron, cracking restoration.

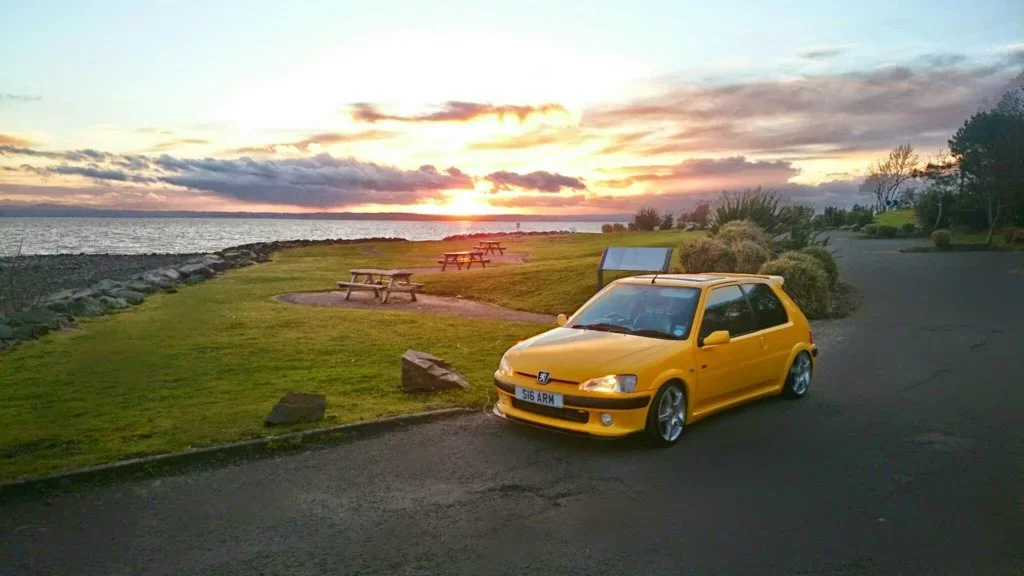
But is that a 106 gti? If so... Moar pics
 
Great work - and well done for saving a car from the scrap heap and bringing another Zed up to standard - the car looks super too!
 
Just caught up with this. Cracking job mate and a really good read. :thumbsup:
 
Great write up. Just shows what can be done with knowledge time and money.
 
Well done Aaron, cracking restoration.

But is that a 106 gti? If so... Moar pics
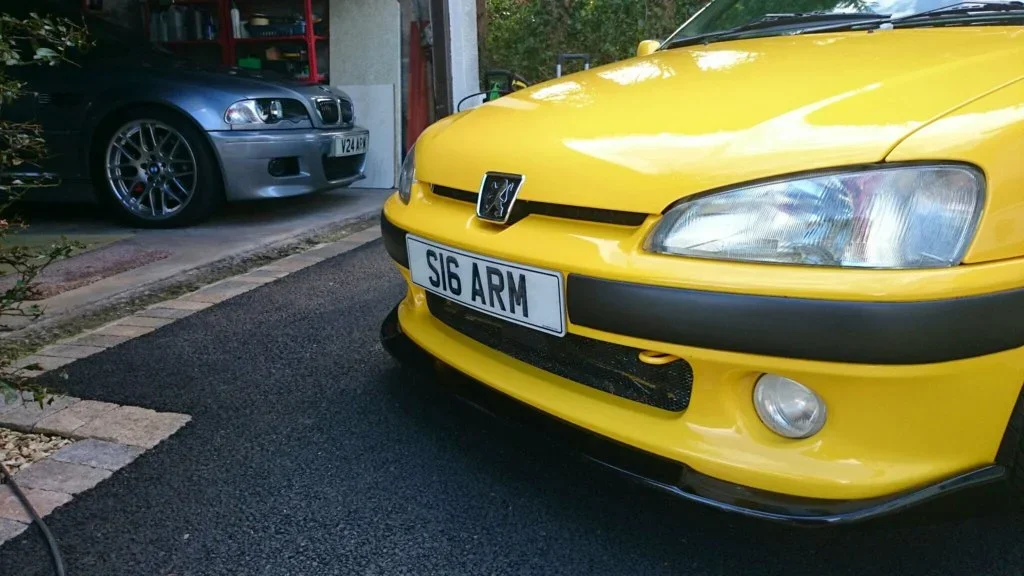
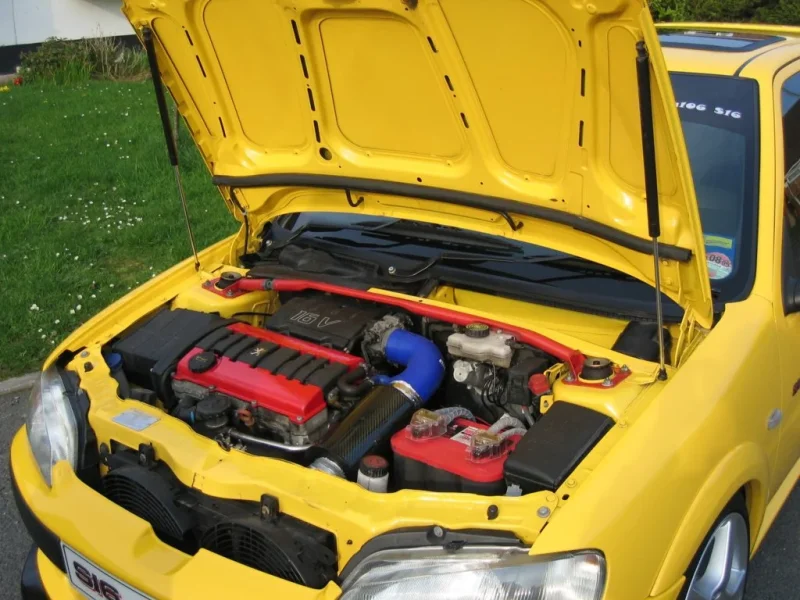
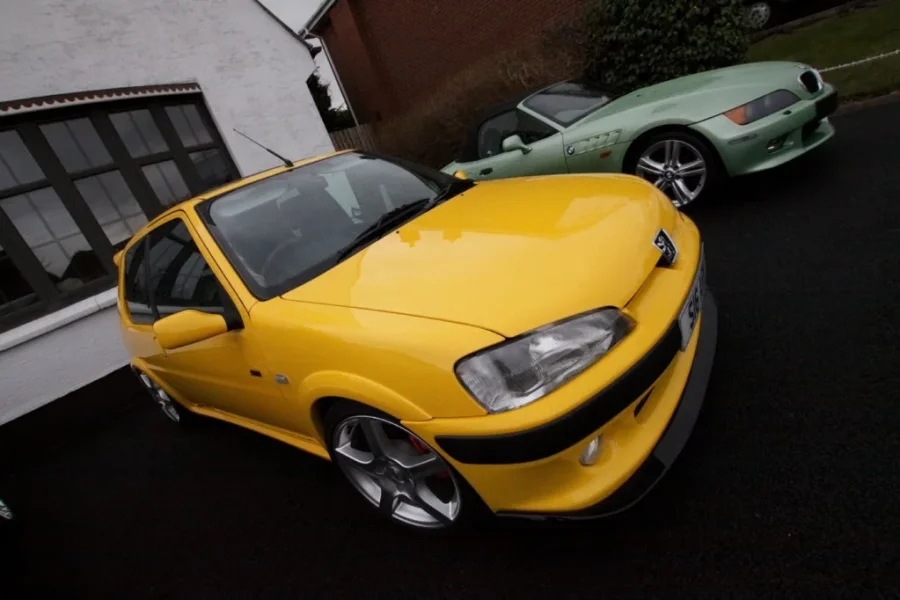
Cheers, and not quite, it's a 106 S16 (my 3rd 106), which is exactly the same as a GTI, but I wanted it to be special so it's 1 of 4 that were registered as S16 (2 others were Peugeot Sport rally cars).

DSC_000001-4.webp
DSC_000001.webp
 

Attachments

  • IMG_1524.webp
    IMG_1524.webp
    116.3 KB · Views: 252
  • IMG_2585.webp
    IMG_2585.webp
    85.8 KB · Views: 267
  • IMG_2597.webp
    IMG_2597.webp
    62.9 KB · Views: 247
yea, it's back. So my dad's had the car for a day and given it a few short runs. All was well except for a slight knock at the rear right that he reported yesterday.
I knew the rear subframe bushes are soft so has thought this may be the issue and was going to check them today however on the way here this morning the knock suddenly got a whole lot worse. He wasn't far away so limped home the rest of the way here.
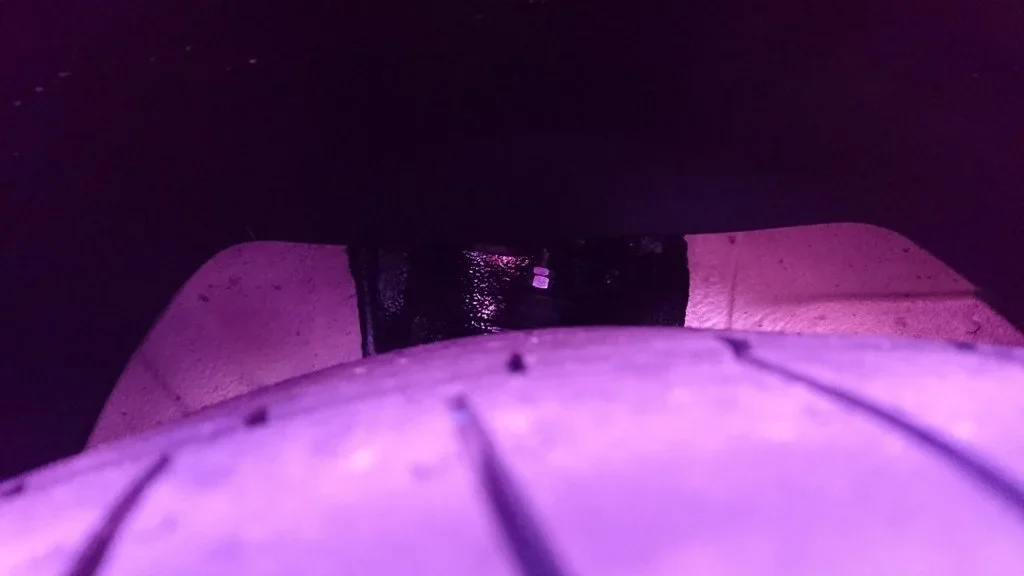
I was about to jack it and check out the rear subframe mounts, but a quick glimpse in the wheel arch and the problem was obvious....

DSC_2598.webp
Yeah, that's not right.
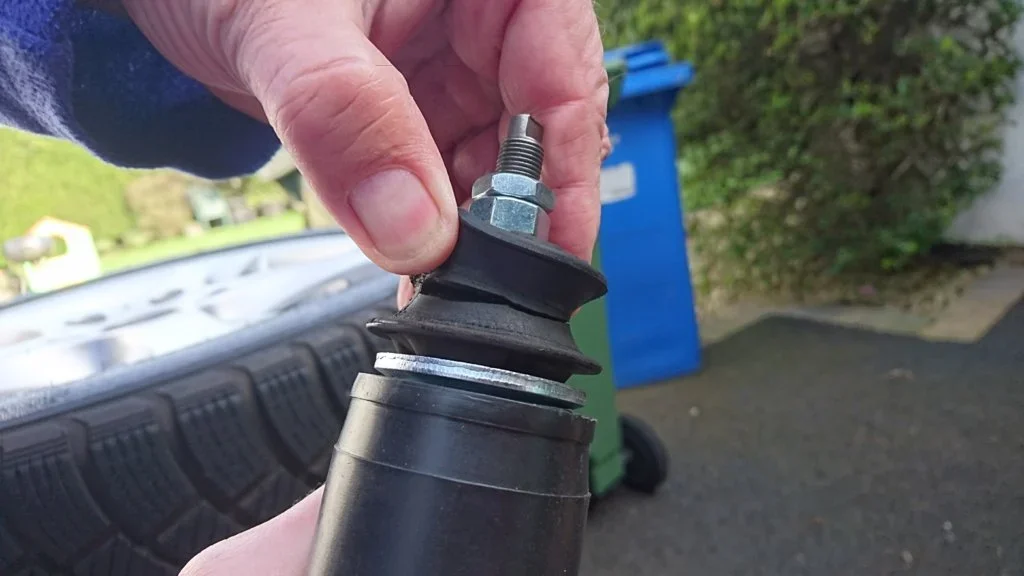
So, popped the rear shock lower bolt off andout it fell...
DSC_2600.webp
Oh dear. I'd suggested using Powerflex top mounts but they looked to be in good condition so they were on the list for later in the year when we tackle the rear subframe...
Anyway, as you can see, the rubber had split and the bush had ripped out of the mount.

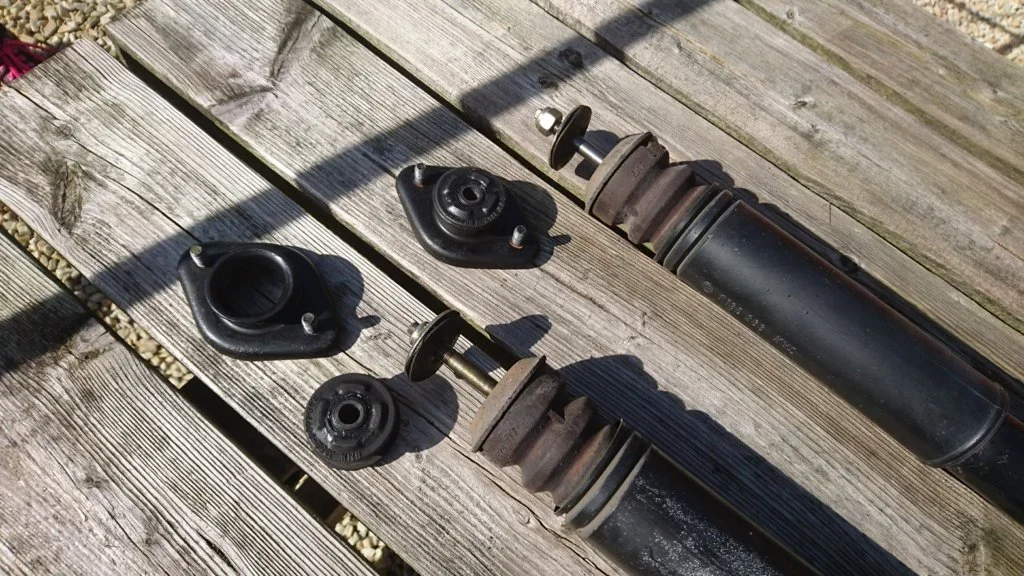
Fortunately, i still had my M3 rear shocks in the shed so 5 mins later and i had the car back on the floor. I swapped the other side too and was surprised to see quite a lot of deformation around the edge that i know wasn't there 50 miles ago.
We already know the original shocks were knackered so I'm assuming the bushes had got very brittle over the past few years and now with new shocks they've been pushed over the edge towards catastrophic failure.

DSC_2685.webp

Anyway, it was an easy fix for now and i have the Powerflex top mounts on order which are of far better design.

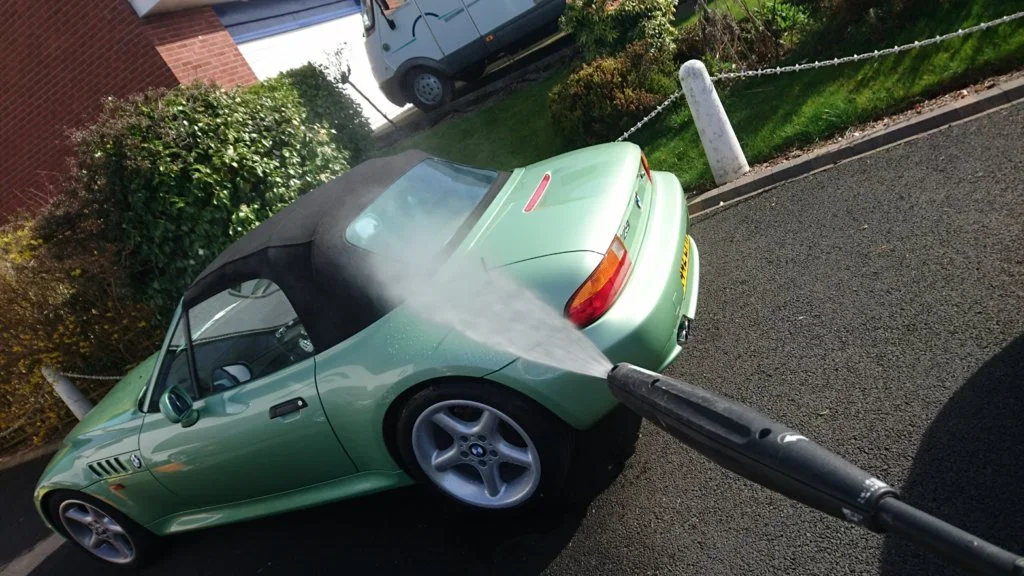
I'm off work this week and the weather's looking promising so hope to give it a good run. Time for a wash.DSC_2687.webp DSC_2688.webp
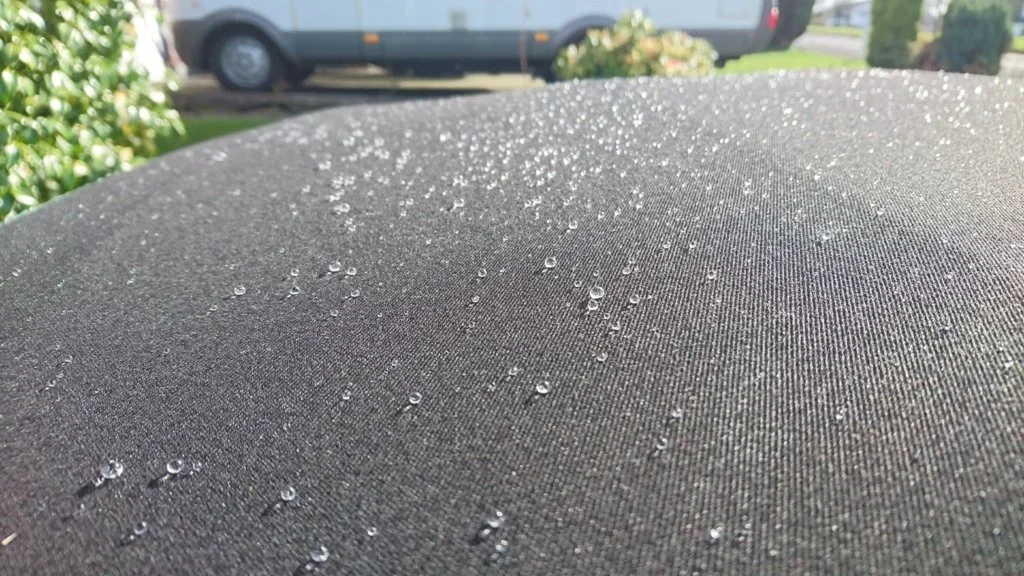
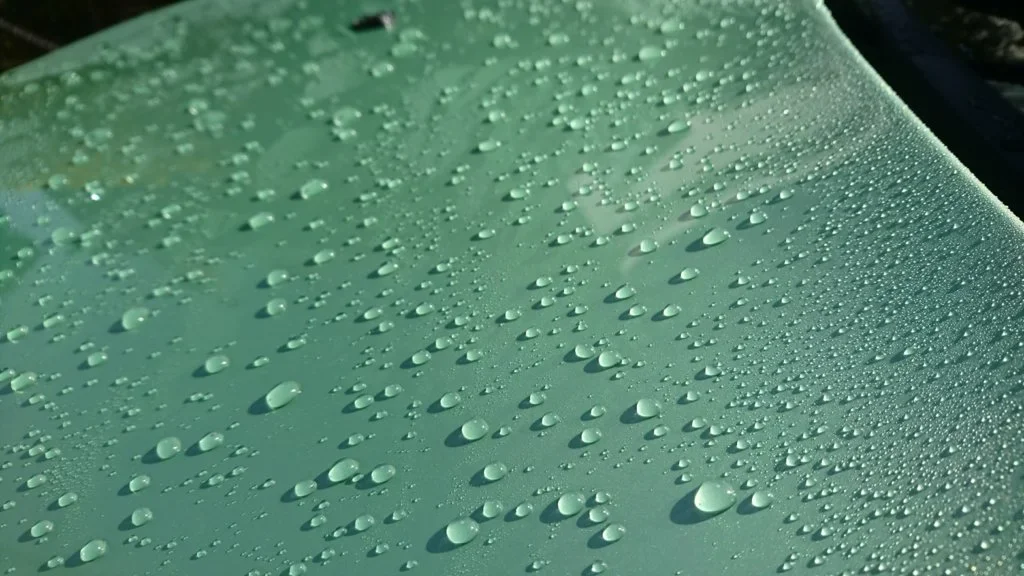
Lol, hydrophobic much.....
DSC_2690.webp

Mmmm, beading.....DSC_2691.webp

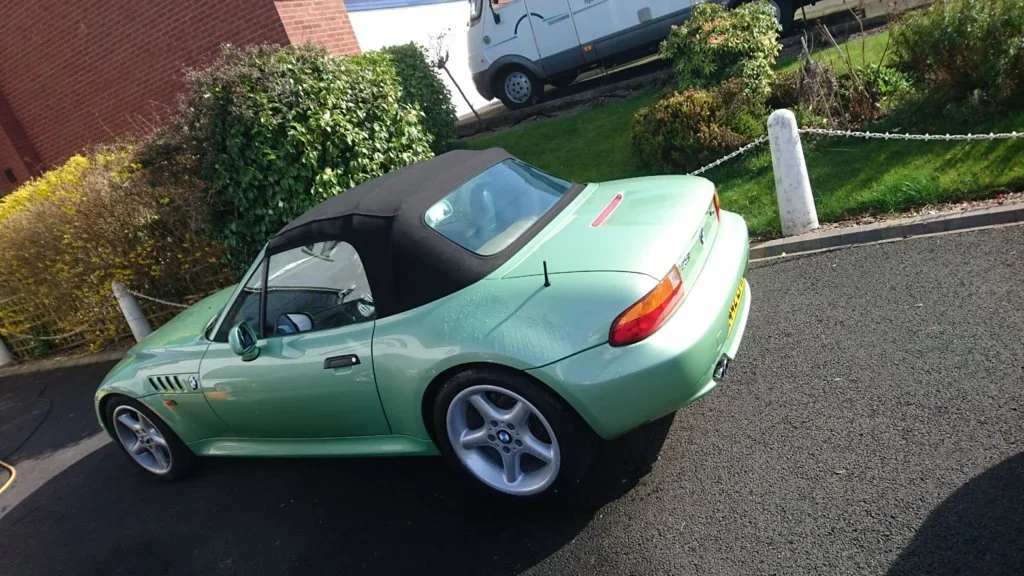
Forgot to take a final photo so you'll have to take my word for it, but it looked pretty decent for a 20 year old car...:thumbsup:
 
Back
Top