FxSlin - 97 Z3M & 97 1.9 Z3

Eddie Zedder

Zorg Guru (III)
Supporter
British Zeds
Joined
Jun 10, 2015
Points
148
Location
Megawatt Valley, Notts.
Model of Z
Z3 2.0
Just read all of your thread, excellent work that you have done, keep it up. :thumbsup:
 

fxslin

Zorg Guru (I)
Norwegian Zeds
Joined
Apr 17, 2017
Points
95
Location
Oslo, Norway
Model of Z
///M & 2.8
Killed some time in the garage today as well, nice to do little things when the sun is out:)

After I installed the hoops, I basically lost my wind deflector as the one I had was a "no hoops" version.
I was planning to buy a clear perspex one from ebay, however after looking at the prices (approx 160€ to Norway) . I found the prices to be a bit steep for a piece of perspex.

But a local store here sells perspex plates (1200x800x4 mm) and my neighbor just bought a clear perspex deflector from ebay. So I thought maybe I can make one my self, so I decided to let this be "lets see if I can do it project". Went to shop and bought the perspex plate and borrowed the original from the neighbor as a template. (I have never worked with perspex before)

This was the target:
s-l1600.jpg.87c3fc519d986f3adcf24497280d3e92.jpg


Getting ready with the "template":
pic1.jpg.3b211258411a2e0bd577ac921d46c960.jpg


After some cutting and sanding of the edges, I got this rough version looking similar to the template:
pic2.thumb.jpg.37811e93e95660b8358c8c93e4bf3bf6.jpg


Then I needed some Velcro straps. Bought some cheap self gluing Velcro stuff at the same shop as the perspex plate. Glued them together and ended up with 4 of these:
pic3.thumb.jpg.adc68276ebbf51f9f7f68a01cf33dc98.jpg


Now it was ready for test fitting, was a good fit:
pic5.thumb.jpg.11f9472a272412fb419821ca21b794e2.jpg


However the original has the "flaw" that when installed, the top compartment can't be opened. However I seen it somewhere that there is an elegant solution for this (I believe I read about on this forum, just don't remember who to give credit for this idea). The solution is to bend the lower part a bit backward to create enough space for the lid.

Getting ready for heating and "bending":
pic6.thumb.jpg.8101bd6f7655ee8b1d66cce8545c5f1c.jpg


Also made my self a template for the "perfect" angle:
pic7.thumb.jpg.06cde22366e0ce872cde15ffe3c6f0af.jpg


Unfortunately I forgot to take pictures of the end result. The bending went good, however I was a bit restless and pushed to hard. So it developed a small crack in one of the bend corners (hardly noticeable).

Anyway, after some more sanding to get smooth and nice edges I ended up with this (still need to wash of the fingerprints and dust):
pic8.thumb.jpg.8ceae8266055f27fe8e421908cc2198e.jpg


The "bend" works nicely and I can open the lid:
pic11.thumb.jpg.fd7b30eabfab42f1eb8616b025334bc2.jpg


Some more pics:
pic9.thumb.jpg.ec8ac8f77405edf1ba5cab336db2f985.jpg

pic10.thumb.jpg.4d589eaed5c923f0f97bf7efc926f751.jpg


I think I manged to get close to the original and the cost was 1/3 of the price for an ebay variant. ( approx 40€ + 2 hours of fiddeling)
pic12.thumb.jpg.6ab8c0700df61f0a89270c04ed2e64fe.jpg


Had a quick test drive. Works perfect with the windows up, almost no turbulence. However with the windows down, it is a bit more turbulence than the previous one I had. The old one is a mesh and I believe this helps alot. Since it allows some wind to go trough.

However I have a few ideas to improve the design and reduce the turbulence when the windows are down. I plan to use the one I made to test them out and when I get a solution that works better ( if I find it tough :) ). Then I make another one with the remains of the perspex plate (only used 1/2 of it) I still have and do the bending a bit more careful this time. However the one I made looks good and the crack is barely noticeable, so its not rush:)

All in all a good day, since Sweden also beat Canada in the World Hockey Championship ( Sorry, Canada :) )
 
Last edited:

oldcarman

Zorg Guru (V)
Supporter
Canadian Zeds
The M44 Massive
Joined
Feb 11, 2014
Points
188
Location
Pine Falls Manitoba can.
Model of Z
1.9 M44
I was going to congratulate you on a job well done up to the point you through in the "sorry Canada"!! Now I need to reconsider!! lol Nice job and the Swedes played a good game, Obviously better than Canada did, JIM
 

billz

Zorg Expert (II)
Supporter
British Zeds
Joined
Dec 4, 2011
Points
226
Location
Langley Mill
Model of Z
Z4 3.0si Individual Ruby Black Last one produced in this colour combo
Just read through this. Great work and the Z looks so much better :thumbsup::thumbsup:
 

fxslin

Zorg Guru (I)
Norwegian Zeds
Joined
Apr 17, 2017
Points
95
Location
Oslo, Norway
Model of Z
///M & 2.8
Nice job and the Swedes played a good game, Obviously better than Canada did, JIM
Thx :) Yes Sweden played smart in this game. First goal was a lucky bounce though. However this was a close game, could have gone either way. But having the best goaltender in the world on your team helps:)
 

fxslin

Zorg Guru (I)
Norwegian Zeds
Joined
Apr 17, 2017
Points
95
Location
Oslo, Norway
Model of Z
///M & 2.8
Becoming more and more a blog this now:)

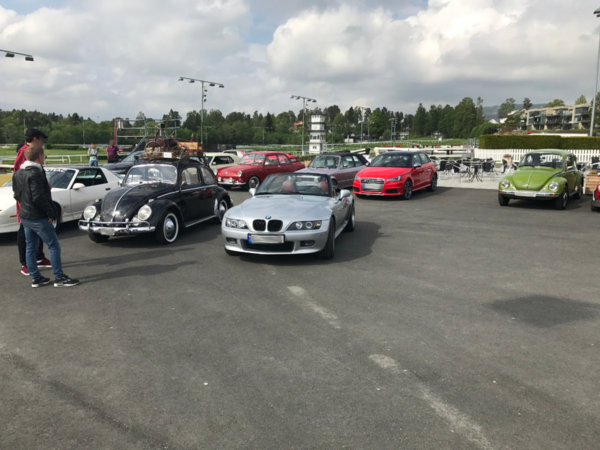
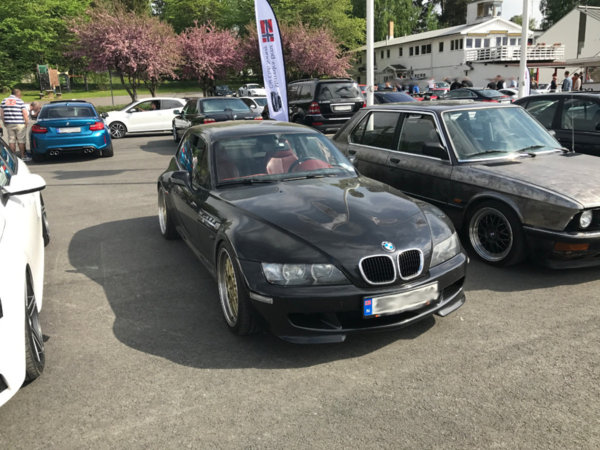
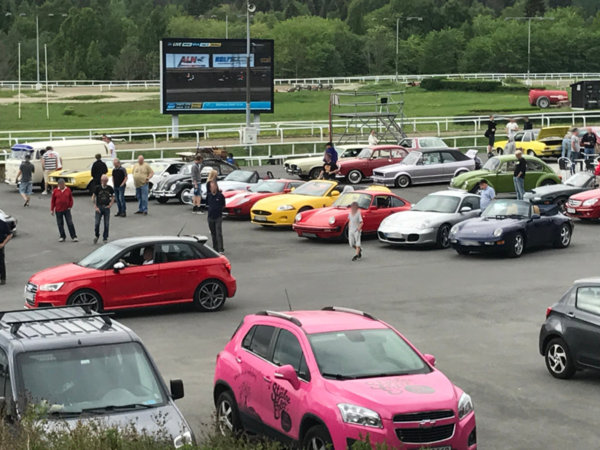
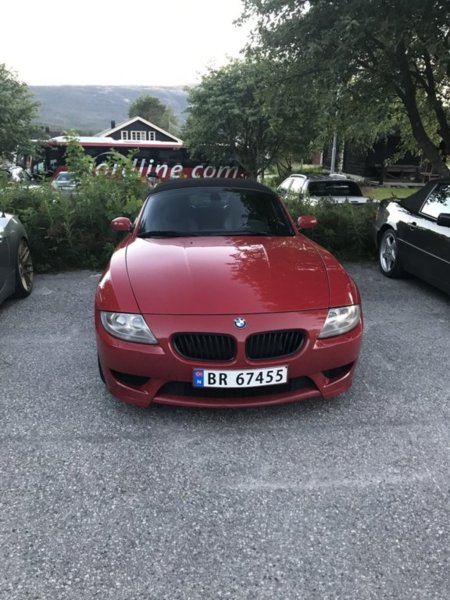
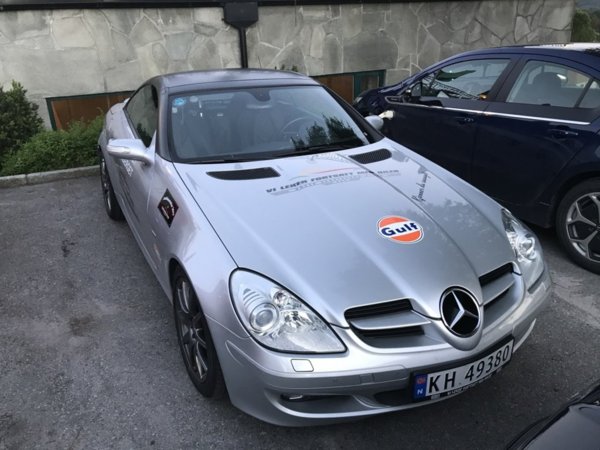
After a long weekend with the family, it was time to get some Zed time:) So a mate and myself took the Zed over to a C&C meetup, was a good turn up (approx 80 cars) even tough the weather looked a bit "wet". However can't complain was driving with the top down and was nice and warm.

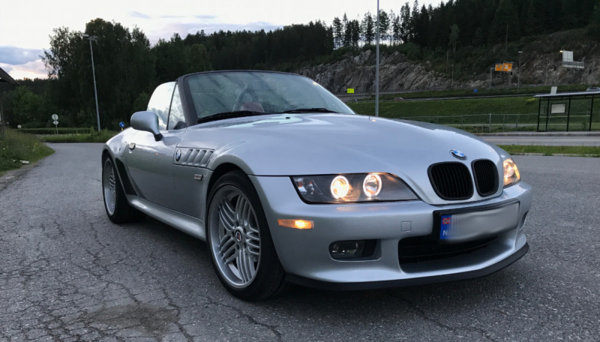
Was a bit lucky upon arrival and got placed in the center of the venue:
pic1.jpg
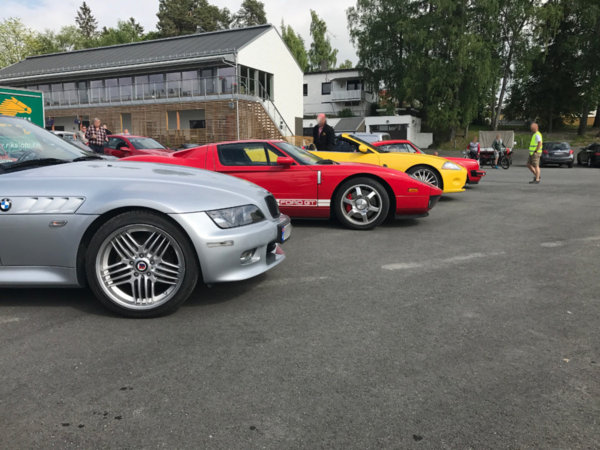
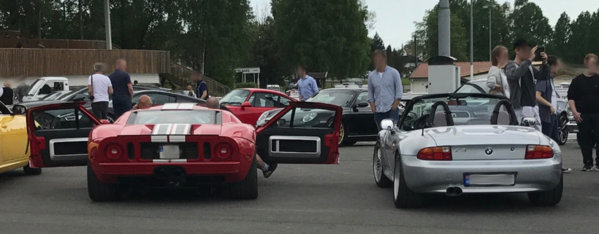
Suddenly a nice Ford GT was parking next to the Zed (The Zed flexed muscles to show off :) )
pic2.jpg
The Ford showing off some nice rear layout...
pic3.jpg

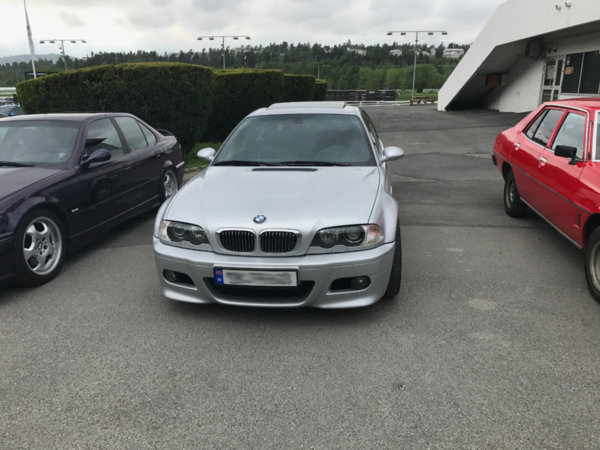
Ok enough Ford, lets show some BMW's. A nice M3 was there:
pic5.jpg

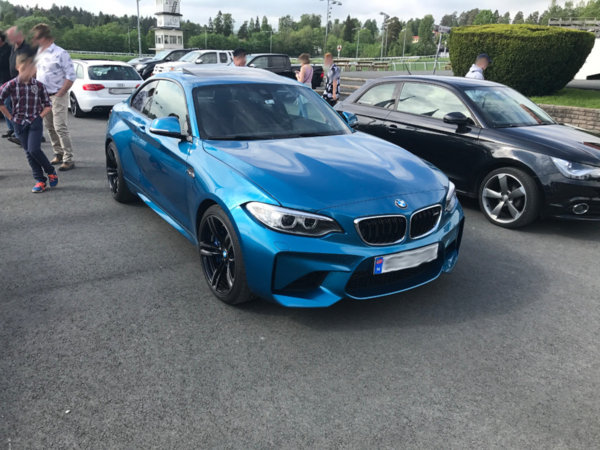
And a awesome M2, love the color:
pic8.jpg

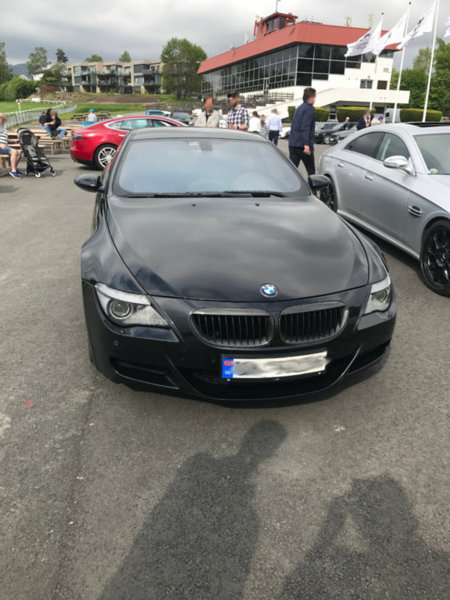
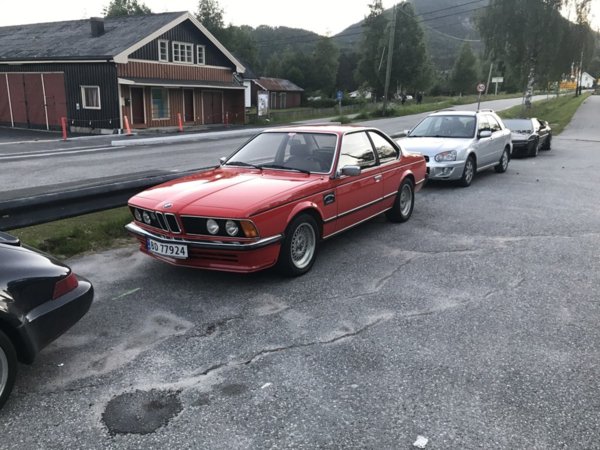
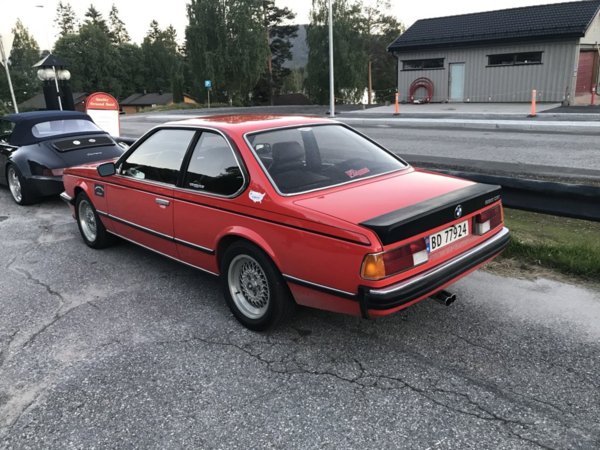
A "small" M6
pic6.jpg

The only other Zed that I could spot there today, not often I see them with same Taninroth seats as I have.
pic7.jpg

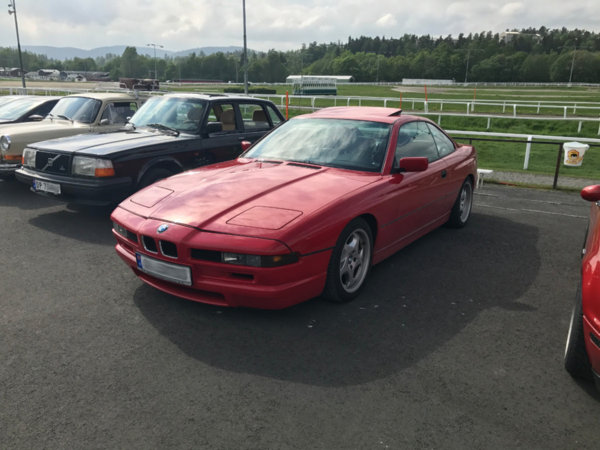
And a real classic...
pic11.jpg

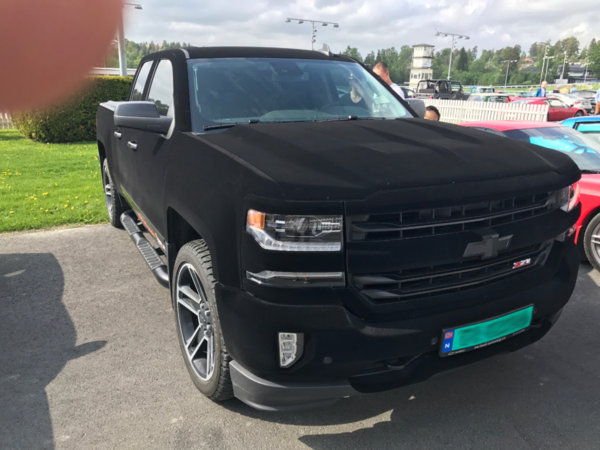
And with C&C's one get see "strange" cars, this one had some kind of velour in it (I believe it was PR stunt for a audio company):
pic9.jpg

After some time people and we got bored, so we left and drove Zed instead:)
pic4.jpg

And I believe that Google photos like my Zed, it keeps coming up with "Artistic renderings" of when I washed the Zed (gave the cars a quick wash this weekend):
pic10.jpg
 
Last edited:

fxslin

Zorg Guru (I)
Norwegian Zeds
Joined
Apr 17, 2017
Points
95
Location
Oslo, Norway
Model of Z
///M & 2.8
Time for a minor update again!

Been mostly just enjoying the car lately. However this week I spent some time preparing the car for spring time trip (more a summer trip this year) with my sportscar club this weekend. During this week a small package for the Z3 arrived as well.
I've been looking for a lip for some time and have not been able agree with my self which one I like best. However I saw @gookah pics with his black lip, so I decided to test something like what he did until I find a lip I really like. So one piece of cheap "garage port rubber" was ordered as a temporary solution.

Wanted to have it one before the trip, that means some garage time:)

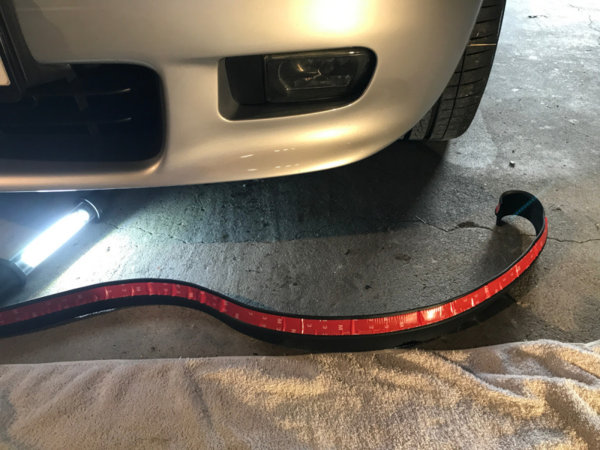
A long black piece of rubber with some 3M tape on:
pic1.thumb.jpg.9f9655beb3333e9b0227265d431f86d1.jpg

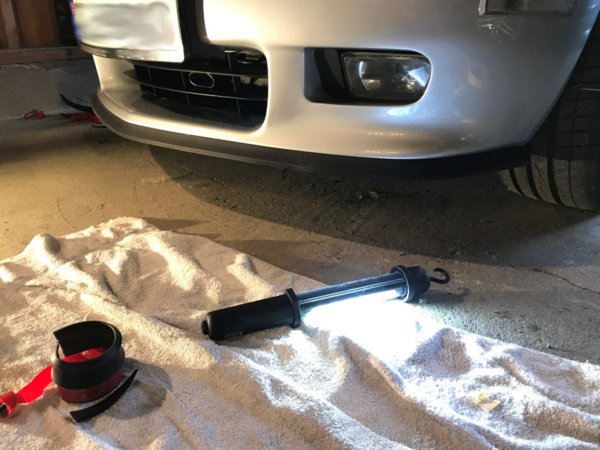
After some serious cleaning/drying and 15 minutes of work. It looked like this:

pic1.5.thumb.jpg.19b882ad2087c6ddca1b409155ccf263.jpg

Almost there....
pic2.thumb.jpg.49ed17b95450b08a4bb9fe38dceef056.jpg

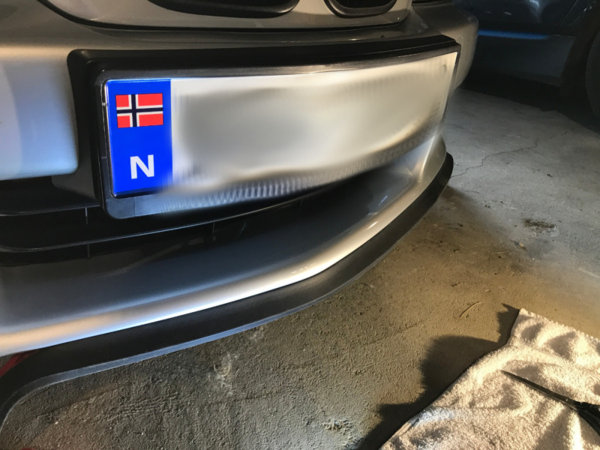
And the final result, with the mandatory before and after shoot:

pic3.jpg.8a500b751fe8db18303ec7aab316d0b7.jpg

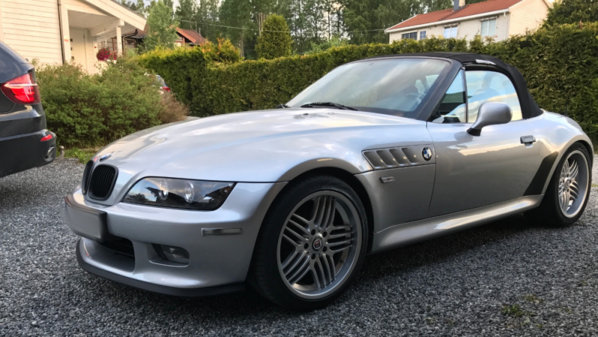
A few more shoots. I know this is not everyone cup of tea, however I'm satisfied with solution for now. The black lip fit with the rest of my black details.

pic4.thumb.jpg.5b6a2ee1de8bddba1e46fd4cf5bf6ff3.jpg

pic5.thumb.jpg.753d378714cab2ebe1056f5b3bcd1958.jpg

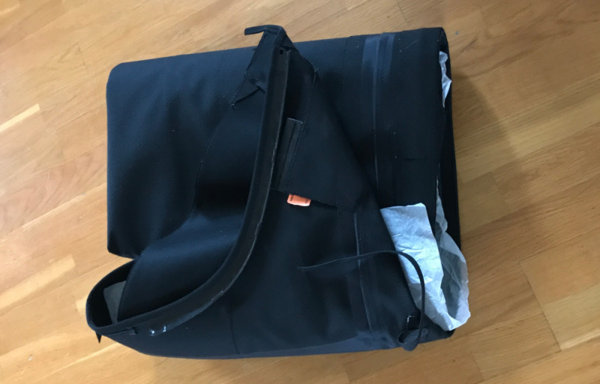
And finally, before anybody comment on the state of the softtop, I did recieve my new top as well this week. However the installation is a more complex and time consuming operation, I've decided to plan the process a bit and make sure I have a mate or two to help. With this one installed on the car should be pretty much overhauled for now :)

pic2.thumb.jpg.c7dc7b7f9d69f9d9082f6e4febee6c62.jpg
 

Attachments

Last edited:

DavidM

Zorg Expert (I)
Supporter
British Zeds
Joined
Apr 25, 2013
Points
208
Location
Ireland
Model of Z
2.8 Roadster
Definitely adds a bit of depth to the front end.
 

Devon Z

Zorg Guru (III)
Supporter
British Zeds
Joined
Jan 1, 2012
Points
144
Location
Brixham, Devon
Model of Z
99 2.0 Individual
Looks good, looks like the same stuff they sell eBay? Been thinking of giving it a go but my bumper needs a repaint so maybe after that.
 

Dino D

Zorg Guru (V)
British Zeds
Joined
Mar 28, 2014
Points
176
Location
Kent
Model of Z
2.8 Manual
Looks good, looks like the same stuff they sell eBay? Been thinking of giving it a go but my bumper needs a repaint so maybe after that.
Yep on eBay. I got the Rhino lip.
Looks good in dark cars too, easy enough to remove and refit for a repaint (or have the body shop fit it with bumper off but can be done with car jacked up a bit).


Nice addition there @fxslin .
I did mine about 3yrs ago now as temporary look until fitting a Reiger but like it as is, and being flexible never breaks if you bump it so it's stayed.

@Rha roy did his rear bumper too, finishes it off and hides the spare week better.
 

Rha

Zorg Guru (V)
Supporter
British Zeds
Joined
Oct 26, 2014
Points
181
Location
Hemel Hempstead, Hertfordshire, England.
Model of Z
Z4 coupe sport.
Real nice Z @fxslin with your own stamp on it. Your hard work has paid dividends. The rubber lip spoiler suits all Z3s and IMO looks better than most other options. Liked my front one so much I test fitted some left over to my rear valence, wasn't sure but left it on and it grew on me so hard fixed it. Here's a couple of pics in case you've missed my previous posts on it.
IMG_0725.JPG

IMG_1014.JPG

IMG_1012.JPG

After fixing it on the rear I noticed it hides the spare wheel carrier which is a plus.:thumbsup:

RHA, Roy.:happy:
 

fxslin

Zorg Guru (I)
Norwegian Zeds
Joined
Apr 17, 2017
Points
95
Location
Oslo, Norway
Model of Z
///M & 2.8
Looks good, looks like the same stuff they sell eBay? Been thinking of giving it a go but my bumper needs a repaint so maybe after that.
Yes, was the cheapest EZ Lip clone I found. However worked well.

I did mine about 3yrs ago now as temporary look until fitting a Reiger but like it as is, and being flexible never breaks if you bump it so it's stayed.
I'm afraid I'll be in the same situation my self. I start to really like it and it will look "empty" if I remove it now.

Here's a couple of pics in case you've missed my previous posts on it.
Thx a lot, nice to see some other options. I'm still debating on my rear and what do to there. (if I'm to do anything there tough).

Great thread and really inspiring stuff :thumbsup:
Thx a lot!
 

fxslin

Zorg Guru (I)
Norwegian Zeds
Joined
Apr 17, 2017
Points
95
Location
Oslo, Norway
Model of Z
///M & 2.8
A little travel letter! This last weekend myself and wife joined the Norwegian sportscar club (NSK) for this year springtrip.

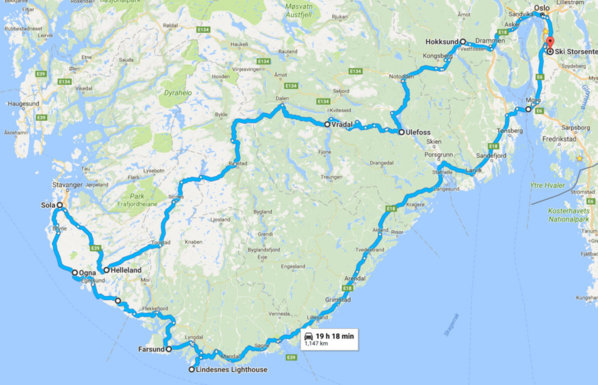
This would be our first long trip with the Zed and about 1100km was planned to be driven over the course of 4 days. With highlight of displaying my Zed at the Wings and Wheels exhibition at Sola (close to Stavanger).

This was the route planned:
map.jpg

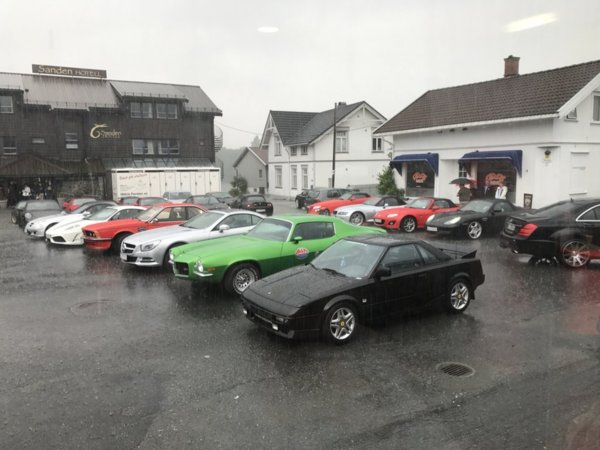
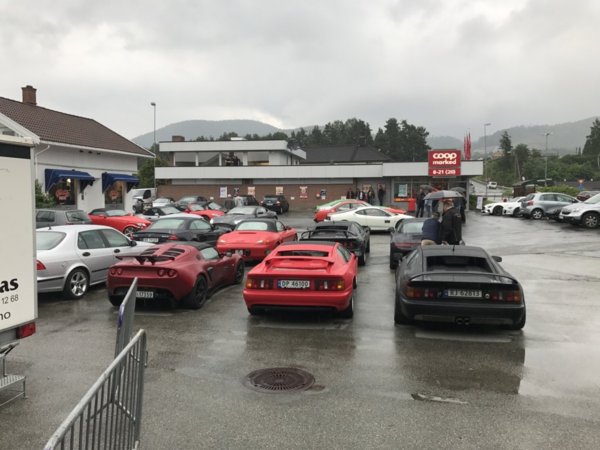
48 cars from the club showed up at the rendezvous point in Hokksund. Have to admit that the Zed was a small size engine compare to lot of the other cars ;-) The start was unfortunately very wet, however we were all in good spirit and the forecast looked good!

IMG_1949.jpg

IMG_1948.jpg

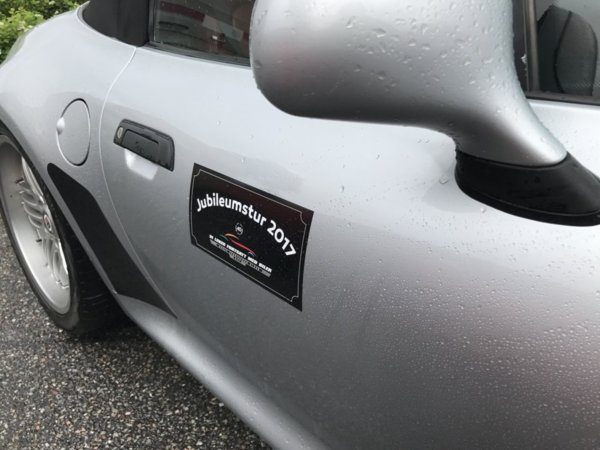
Before we started we had perform some decal tuning, I didn't get any extra power tough:)
(The club turned 40 years, so this was kinda a celebration trip as well)
IMG_1954.jpg

Our first stop was at Ulefoss, a small little village. When 48 sportscar enters such a town, it does raise some attention:) We meet up with more members coming from other places.
IMG_1956.jpg

This one is nice:
IMG_1955.jpg

From Ulefoss the weather got better, so we decided to go topless. However it didn't last long, so we had "top up" pitstop. 2 minutes after this stop the heaven opened up gave us it best :)
IMG_1958.jpg

Finally at our first real stop at the hotell in the Norwegians mountains and the weather goods decided to play nicely with us.
IMG_1959.jpg

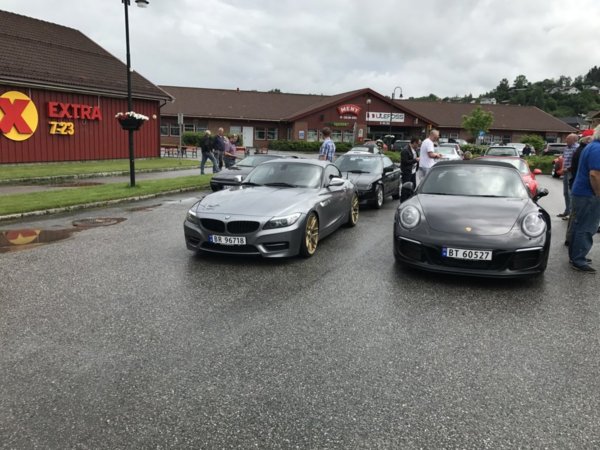
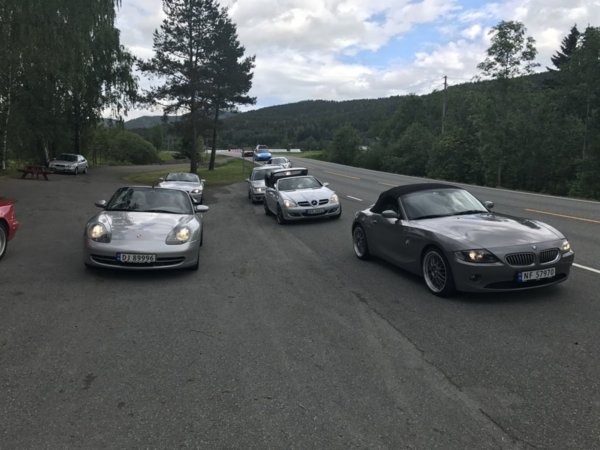
At this point I had my first chance to walk around and study the other cars.

This is the first 2.8 roadster I've seen here in Norway, since I got mine. Well taken care of by its owner.
IMG_1967.jpg

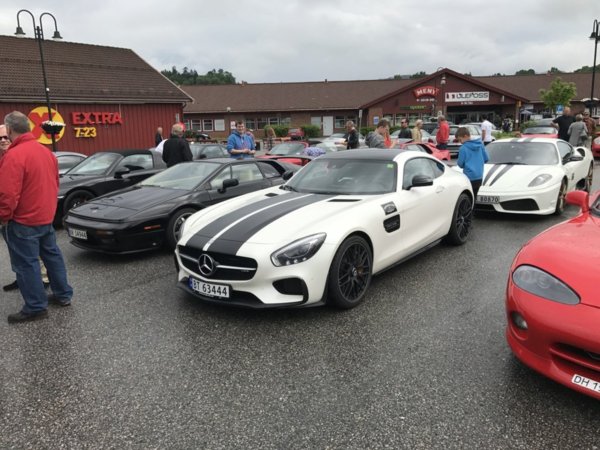
When at lot of sportscar shows up something happens to a parking lot :) Right after this picture a lot tourists showed up and started to snap pictures:)
IMG_1963.jpg

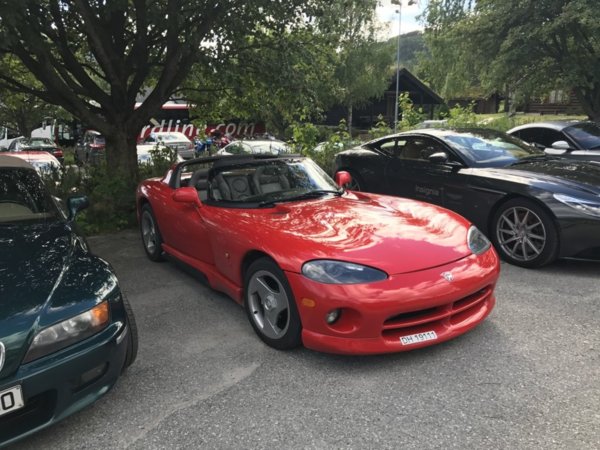
Famous widowmaker!
IMG_1969.jpg

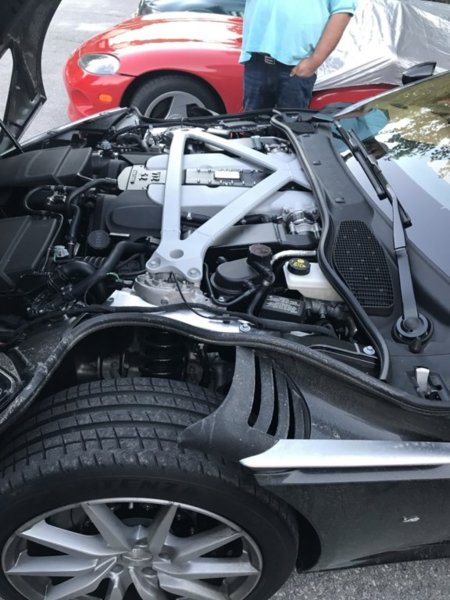
This one I got nice and long introduction on. If I recall correctly, so are we talking about 600Hp and 700Nm when it is in "insane" mode.
IMG_1974.jpg IMG_1973.jpg

I quite liked this Z4 M roadster
IMG_1975.jpg

IMG_1980.jpg

This car I loved, I ended up admiring it several times during the trip:
IMG_1978.jpg

IMG_1979.jpg

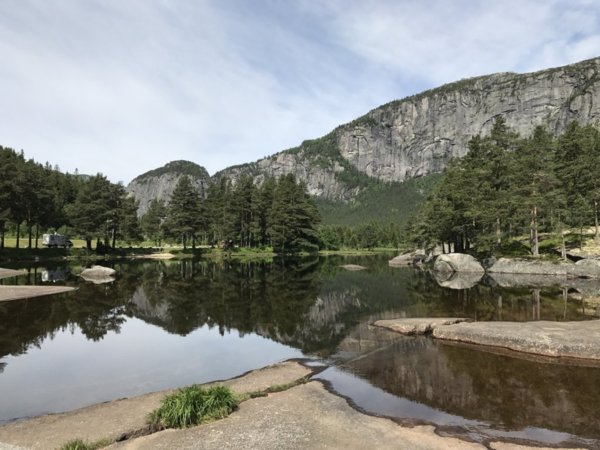
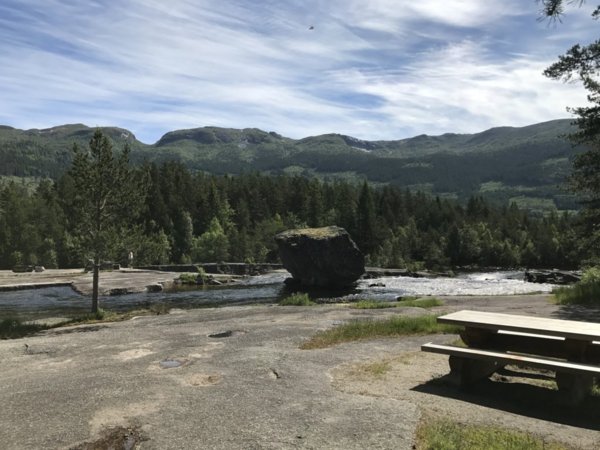
The day after Sola was set as the destination, over at lot mountains roads. First leg towards Sirdal Høyfjellshotell (High mountain hotel) displayed an amazing nature, nice roads and great weather!
IMG_1989.jpg
IMG_1988.jpg IMG_1984.jpg

To be contiued....
 

fxslin

Zorg Guru (I)
Norwegian Zeds
Joined
Apr 17, 2017
Points
95
Location
Oslo, Norway
Model of Z
///M & 2.8
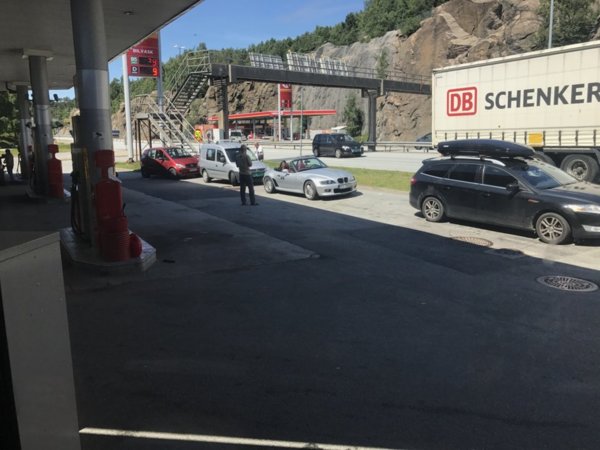
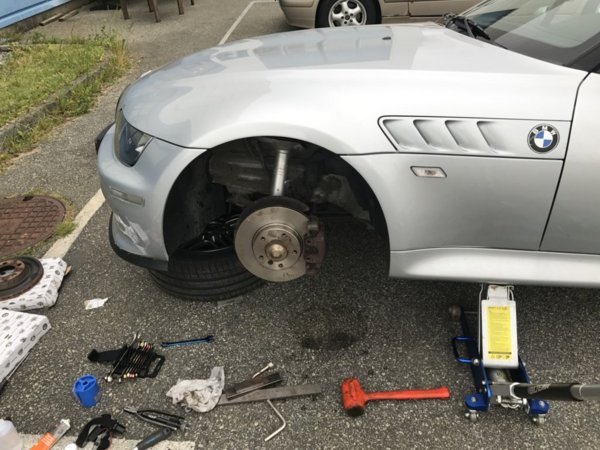
However at the end of this leg, the Zed starting to act a bit strange and it was quite clear that things were not in order. So last part was driven very careful and at the arrival of the pitstop. This is what I found :-( The wheel where not very warm, but it had dusted a lot. Did a quick lift with the jack and inspected it. Was hoping that a stone had lodged it self into the brakes. But no, something serious had happened!
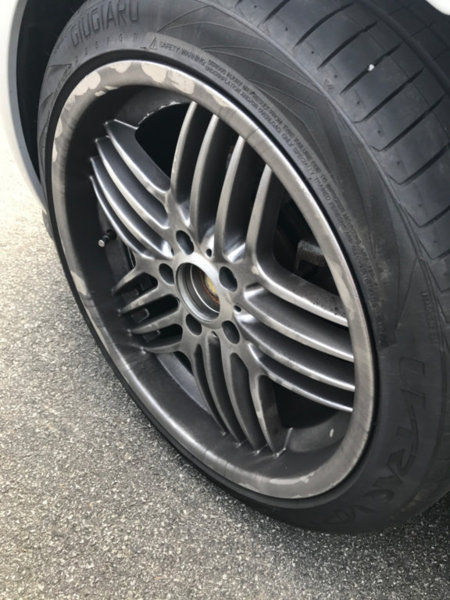
IMG_2001.JPG

Sad I had to realize that the trip was over for the Zed and roadside assists needed to be called. We decided to finish the lunch together with the others and say goodbye. Lots of members wanted to help, however we didn't feel like to spoil anybodies trip.
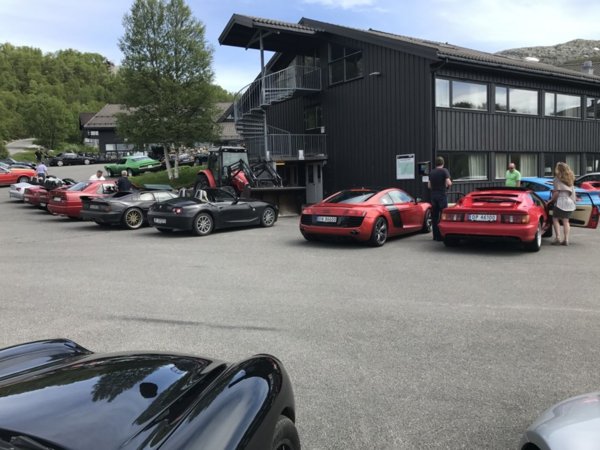
IMG_1997.jpg

Was quite a turndown to see the last car drive off!
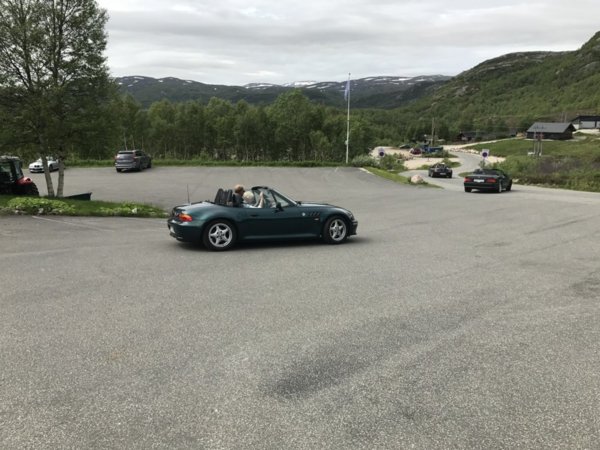
IMG_2003.jpg

Then I called roadside assists and things started to happen. Turned out the the roadside assists workshop was located in the same area as the lunch place (in middle of no where in the mountains). And I was thinking "bummer, that this trip should end like this". So I started to discuss repair options with the driver of the flatbed truck. Asking him if I could borrow tools at his workshop, this he was positiv to and wanted help out (normally their job is drive the car to nearest brand certified workshop for the car). Anyway we ended up at the workshop.
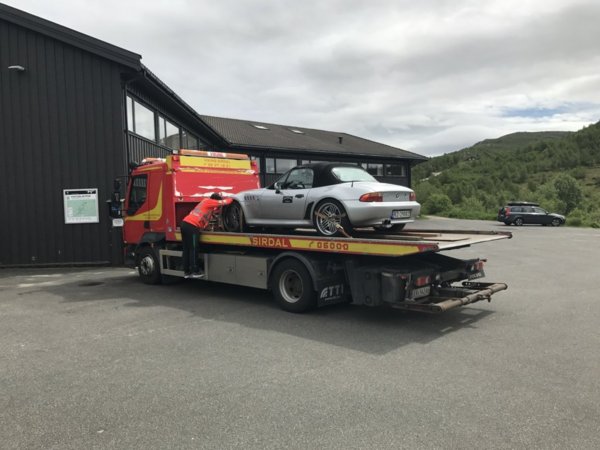
IMG_2005.jpg

At the workshop we tried a few options, however we didn't manage to get the brake work properly. (the caliper would not release the disc properly).
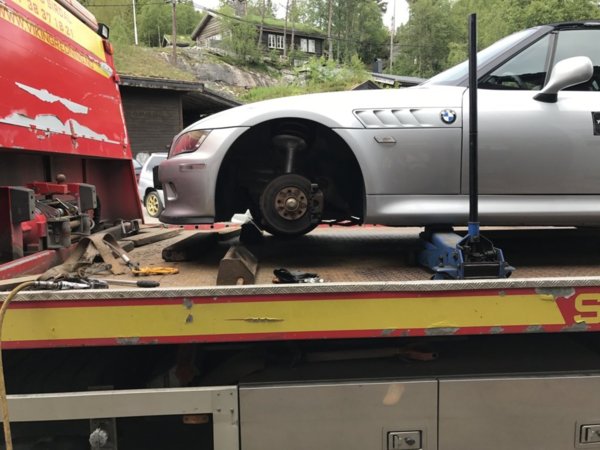
IMG_2009.jpg

So it was decided that the car would be delivered to the BMW workshop in Stavanger (close to Sola, our orginal destination) a 2 hour drive. Along I the way I was thinking how can I save this trip. And I posted "help" messages in Norwegian bmw forum and here as well (thx to those of you replied so fast and to @spurs fan in a coupe to help with tech info). At this point my mind was set, I'm gonna fix this! Remember this was Saturday afternoon, every workshop is closed. However I made a few phonecalls during the trip towards Stavanger, which took the same route as we should have driven our self.
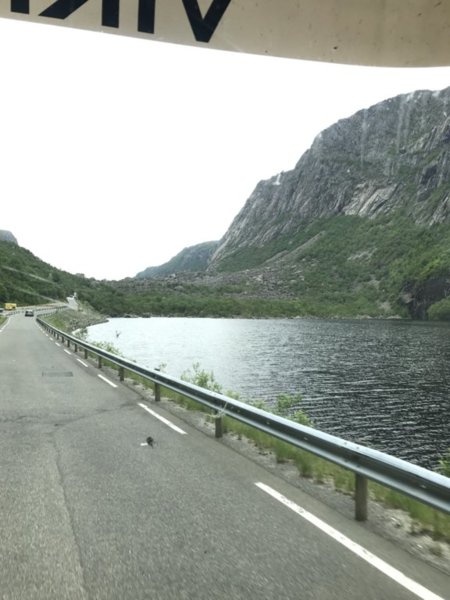
IMG_2014.jpg

A friend of me is an Airplane jet motor mechanics at the Airport in Sola, so I called him and asked if he could help? (It was planned to catch up with him at the exhibition on Sunday). And he replied "of course, what u want me to do?". I told to go the a store who sells cars parts (cheap non OEM stuff tough) and get a much brakes parts he could get to my car. Then I convinced the driver to drive the car to the Airport workshop instead of the BMW workshop.

After a few long hours we finally arrived the Airport workshop, which turned out be right next to the hotel we supposed to be at. So I sent the wife over there to enjoy the dinner with the rest of the club and update them with what I was doing. At the same time a another member of the club who was sitting home, started reach out on FB for tech help and parts (at his own initiative).

Me and my mate manged get everything a part:
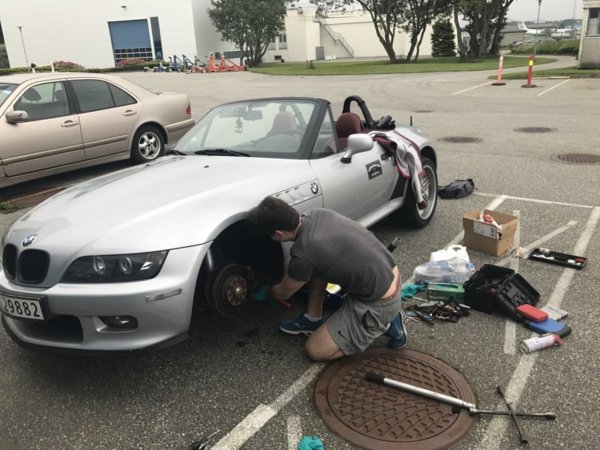
IMG_2016.jpg

Turned out the disc was fine. But when we inspected the caliper we could see that the piston was not retracting properly and was the reason for the error. However this was the one part that my mate didn't manage to source a repair kit for. However tried to overhaul the rest of the caliper with the repair parts he did manage to source and lubricate the piston as good as possible.
IMG_2023.jpg
It did get better, but not good enough. After a quick test drive, we realized that it was not success full. And a new caliper needed to be sourced, a lot of messages where sent around. My wife went around at the hotell talking to local club members living in the Sola area, trying to source the part. NSK members called friends asking them go the their workplaces to source the caliper.

When the information arrived that a caliper from an E36 or E46 would fit, we finally hit jackpot. Turned out that local member had an E46 home at his yard. And would dismantle it and bring it to the exhibition the day after.

With the good news, we wrapped things up and prepared tools and the car for the caliper transplate the day after. I parked the car at the hotel and managed get on beer with the club before I dived into the bed exhausted.

Woke up early the after full of energy and ready to save the trip. We drove the cars to the exhibition and I made sure to park my car with enough space to work on.
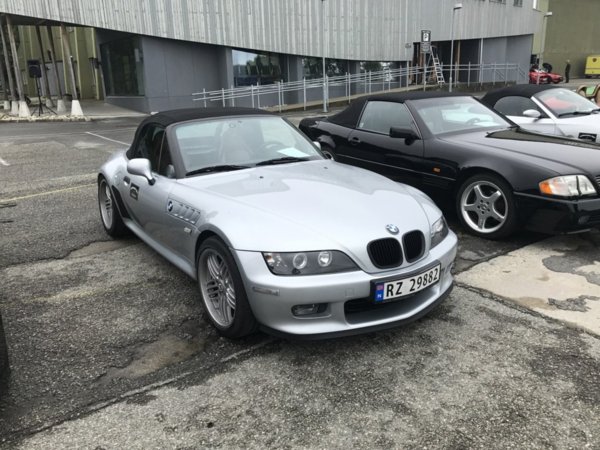
IMG_2031.jpg
Next to this beautiful car:

IMG_2030.jpg

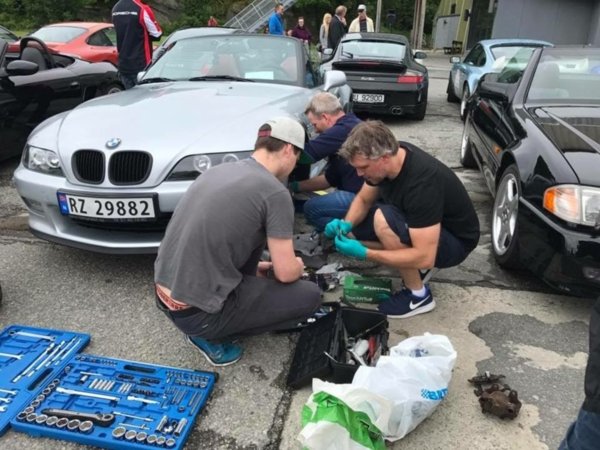
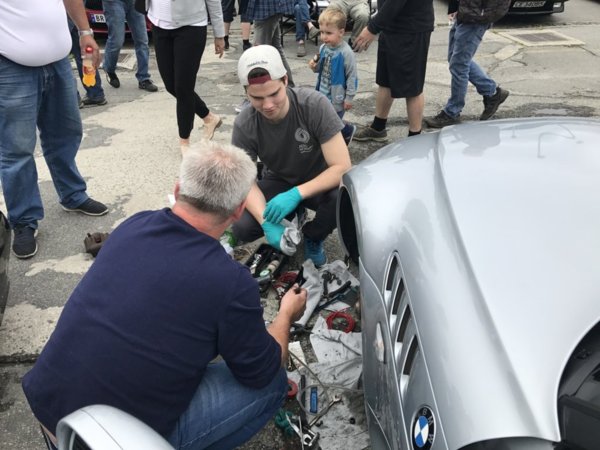
At 12 the exhibition opened up for public and at the same time the "new" caliper arrived. So we ended up fixing the car with public walking around us and taking picture. (a strange experience to do this:) )

(I'm the one with black t-shirt)
IMG_2076.jpg

A club member who works as a mechanic came over to help out.
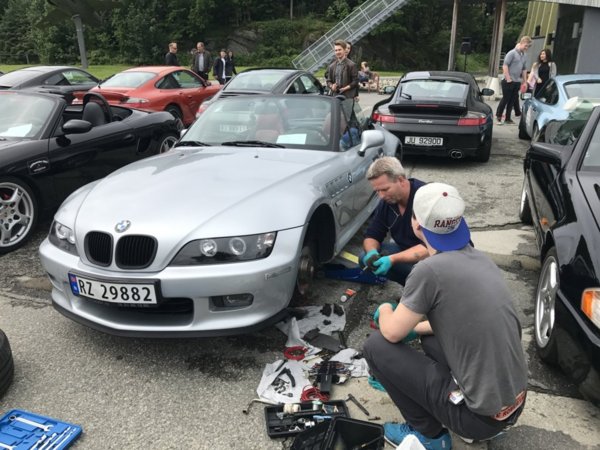
IMG_2037.jpg
IMG_2038.jpg

After about the 50 minutes the caliper was change, the brakes aired and tested. We could asset the operation was successful and one the "roars" that day was mine :) We could now continue the rest of the trip together with the club and I could enjoy the rest of the exhibition.

The rest of the day was spent driving down the Lindesnes (the most southern part of Norway). During this leg the I could say that car was definitely back in order again. I could notice a slight better braking on the fixed side (new disc was used), but nothing dangerous.

Amazing roads towards Lindesnes!
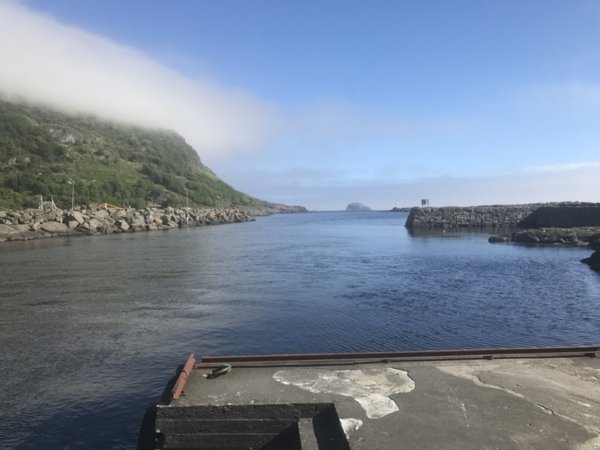
IMG_2059.jpg

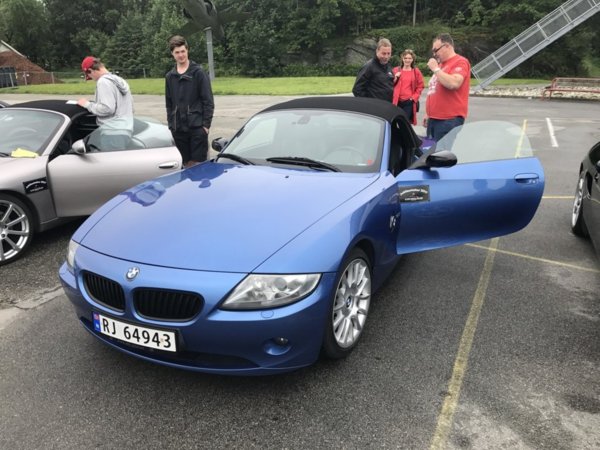
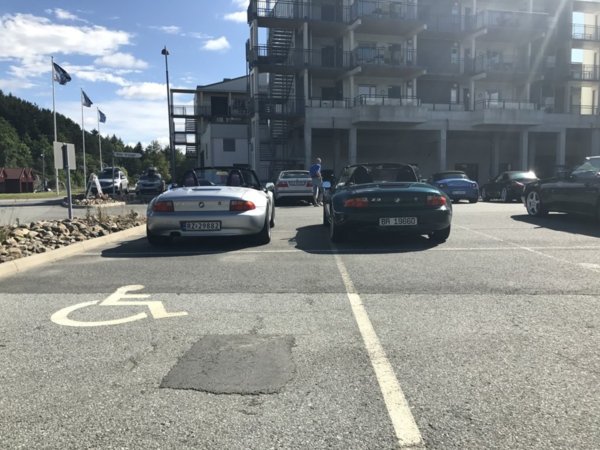
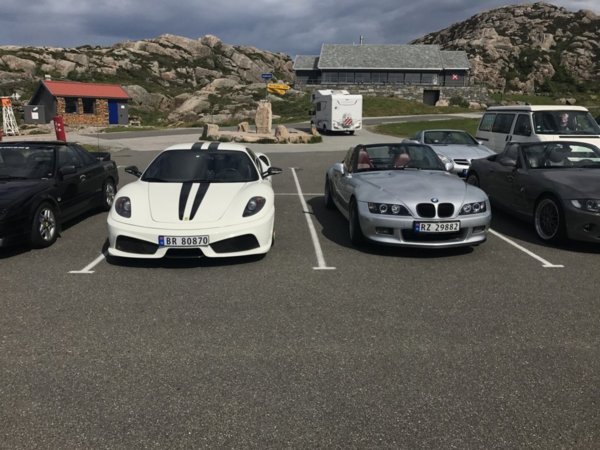
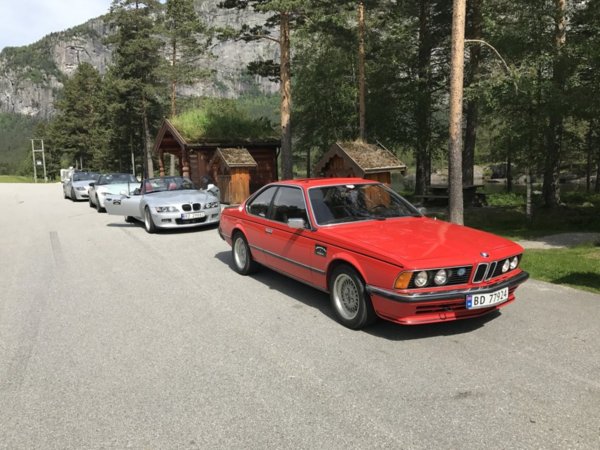
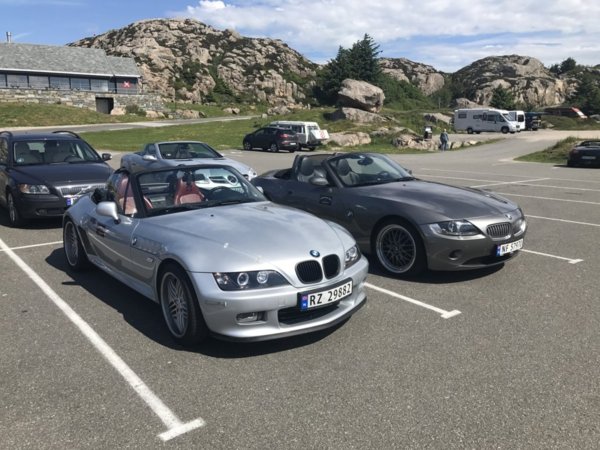
The day after I managed to get a photoshoot with the other Z3 on the trip.

Stock vs my OEM+:
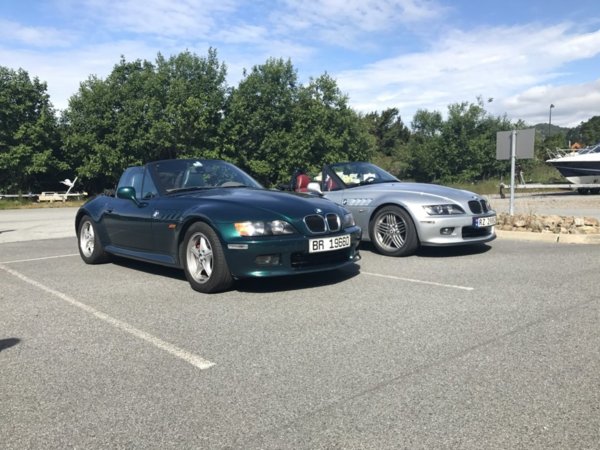
IMG_2083.jpg IMG_2087.jpg

And before heading back home, we of course had to go to the place where Norway ends:
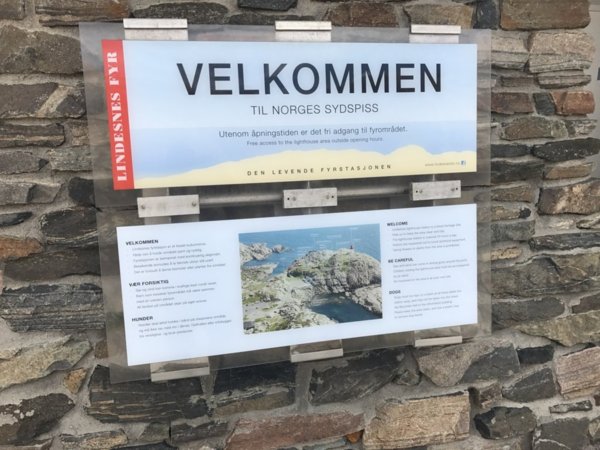
IMG_2093.jpg
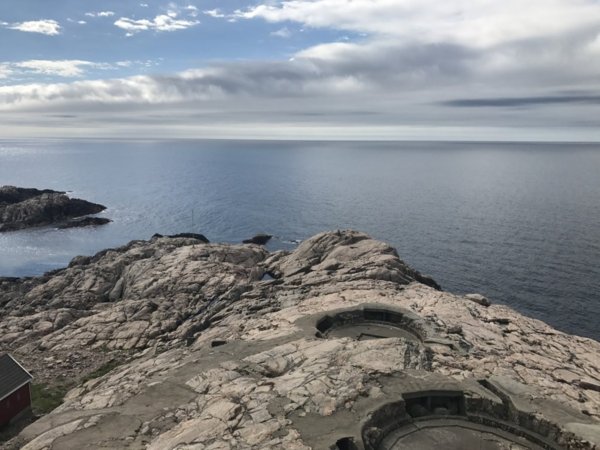
Lindesnes Lighthouse - https://en.wikipedia.org/wiki/Lindesnes_Lighthouse
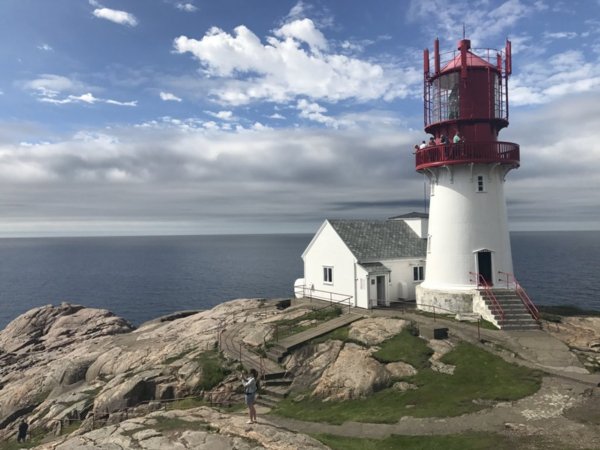
IMG_2100.jpg IMG_2102.jpg

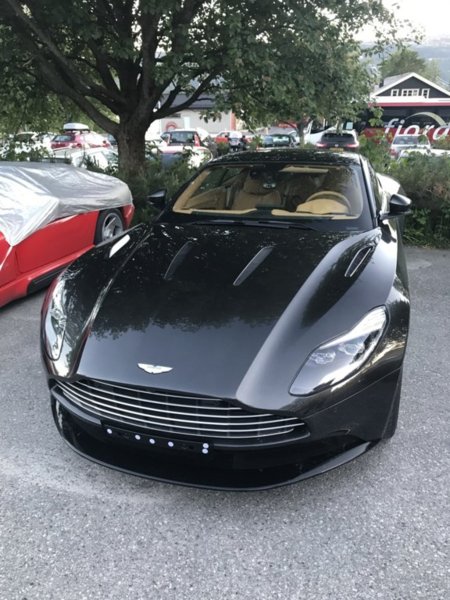
Not everyday one gets to park next to a car like this:)

IMG_2091.jpg

To be contiuned
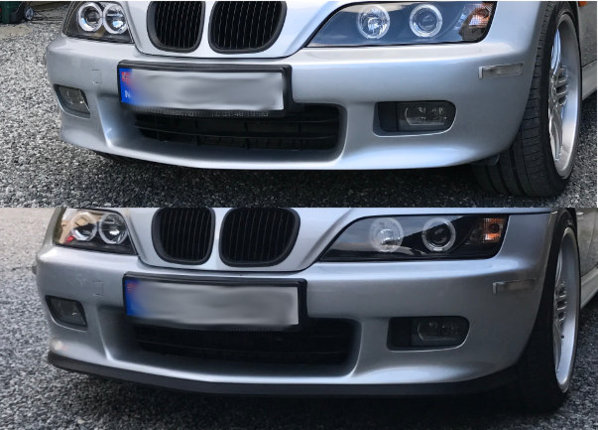
 
Last edited:

fxslin

Zorg Guru (I)
Norwegian Zeds
Joined
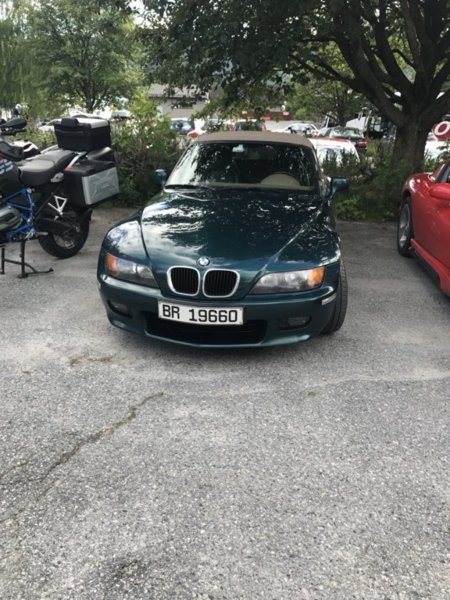
Apr 17, 2017
Points
95
Location
Oslo, Norway
Model of Z
///M & 2.8
Continued from prev post:
Old Zed vs New Zed
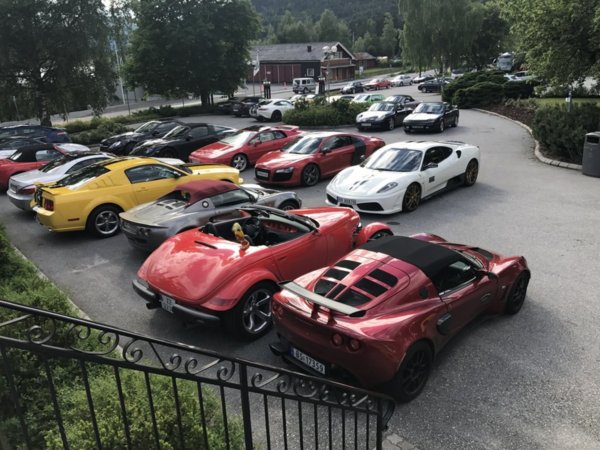
IMG_2108.jpg

After this shortest route was plotted in on the GPS and we drove home with a few pitstops.

Always fun when you spot somebody admiring your car :)
IMG_2109.jpg

Finally we where home after an very event full long weekend. At this stage both owner and the car needed some rest, before an order for complete brake overhaul is placed. (this was a planned winter project)

I did take a lot of videos, need to edit this. However here is a small taste:

 
Top