2.0 Refurb Project

Woodsta888

Zorg Legend
British Zeds
Joined
Mar 18, 2012
Points
74
Location
Exmouth, Devon
Model of Z
2.0
Hi All,

Been a long time lurker on here with sporadic participation.

Well my wife's 'dream car' has been sat in the garage for 3 years. Just didn't need 2 cars and passed last MOT fine (maybe corroded brake pipes on the advisories). But I've always thought after 156,000 miles (we got at 86k) that she needed new bushings, shocks, springs and corrosion treatment.

Mazza's thread inspired me. I promised myself that I had to start it before posting about it particularly as a professional procrastinator. So after a few weeks of buying tools and getting materials etc. I have some stuff to show that I've started and not just put it on axle stands.

The knowledge base is an absolute goldmine of knowledge and how that gave me the confidence in having a go. I've never done up a car before (may have stuck some stripes on back in the day) but I grew up at my local airfield, and on my best mates farm where I liked anything with spanners. Tractors to aeroplanes. Couple of years ago got my pilots license to scratch the itch from growing up helping restore aircraft / cars and refueling the treasure hunt helicopters (back when 'Health & Safety' was left to common sense). Not that I have any but the owner I deemed must have had when I was 13/14. Annabelle Croft's knees...... at head height. Oh Lordy!

Anyway, one eve ventured onto this forum as I do periodically and came across Mazza's thread, and due to COVID tidied the garage within an inch of it's life (even that tub of miscellaneous fixings), and decided that as it was sat there taking up space anyway, then I may as well start it and it'll give me something to do in those moments when you want to do summat.

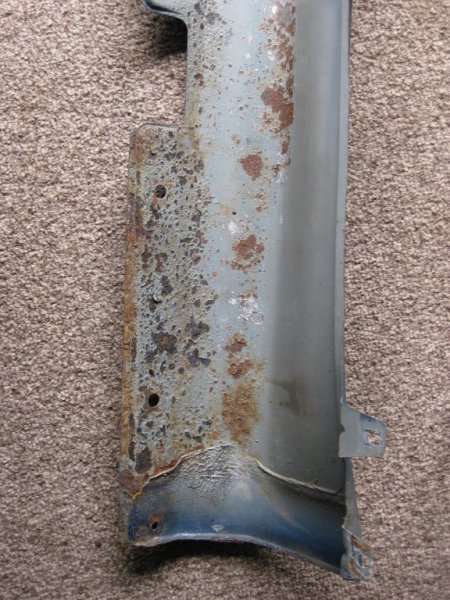
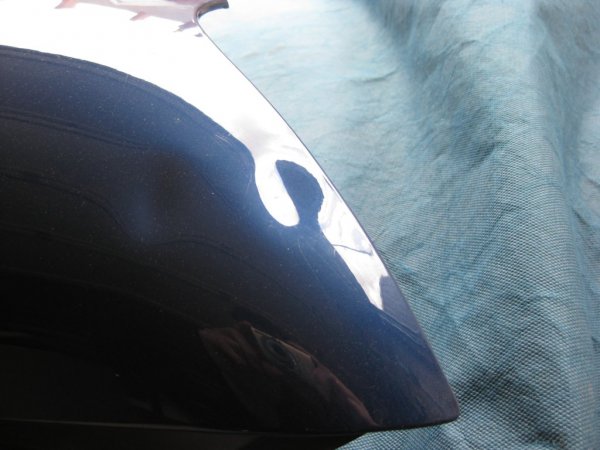
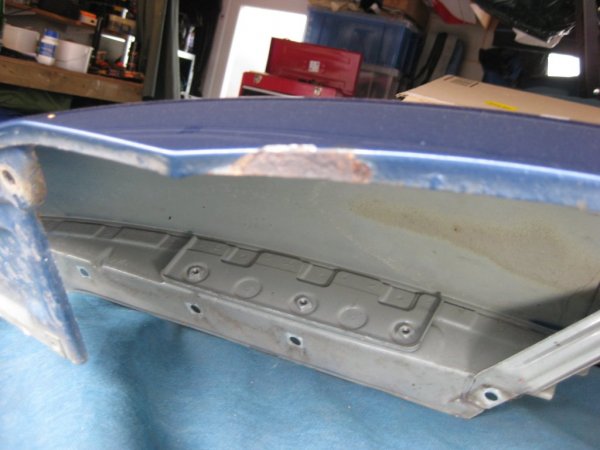
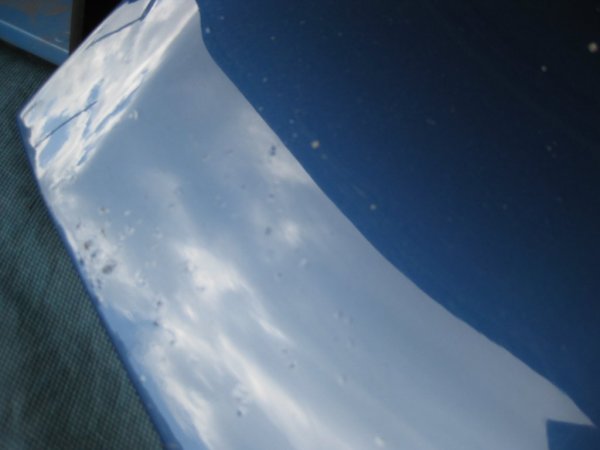
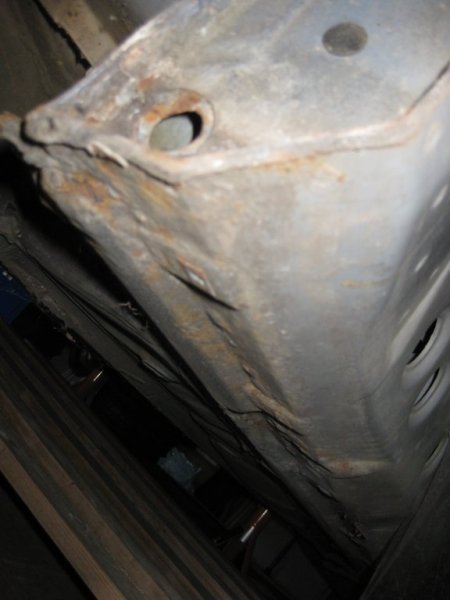
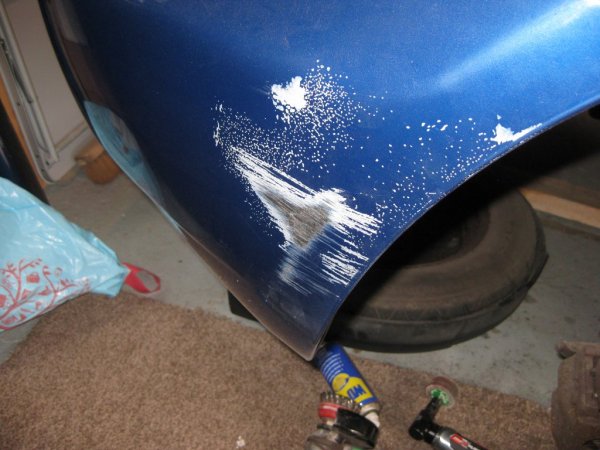
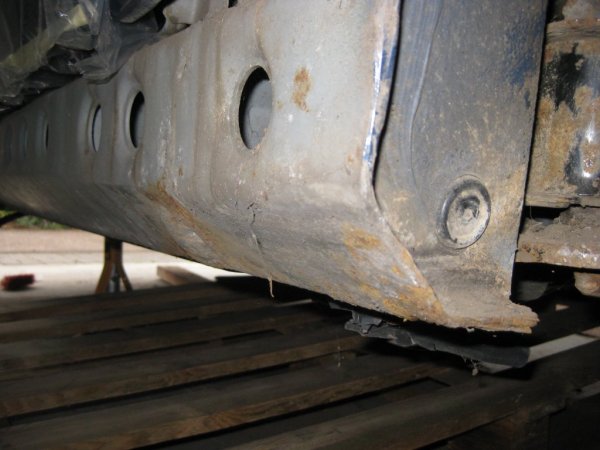
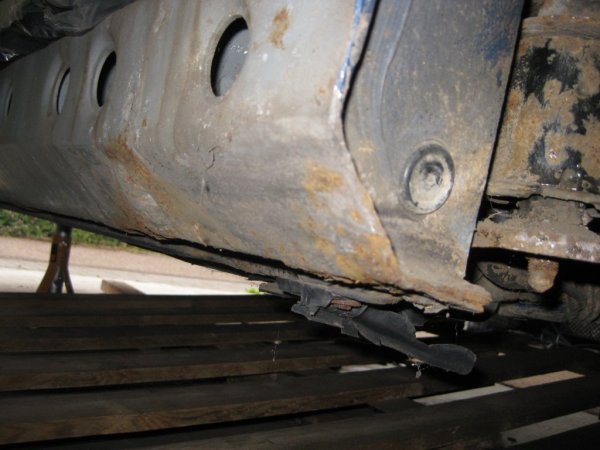
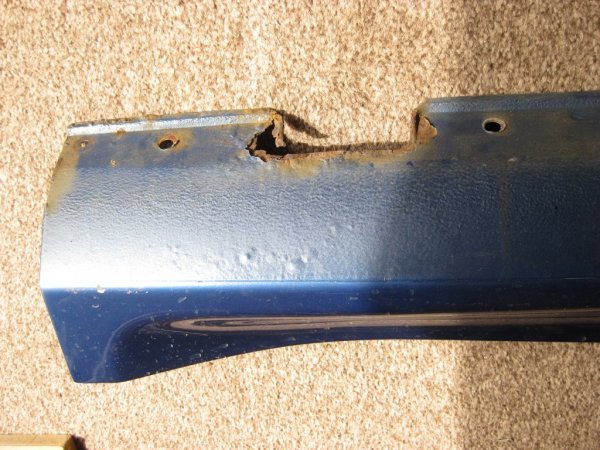
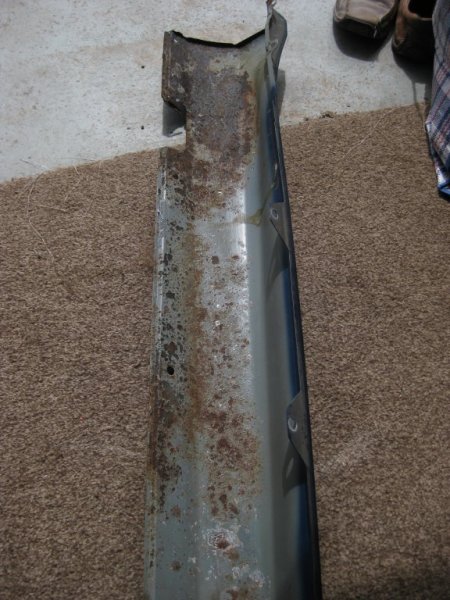
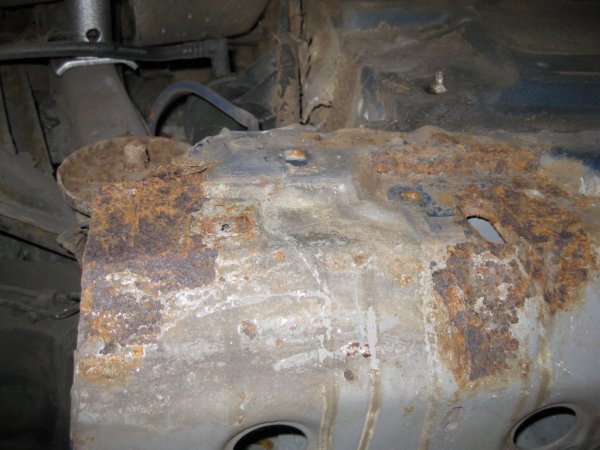
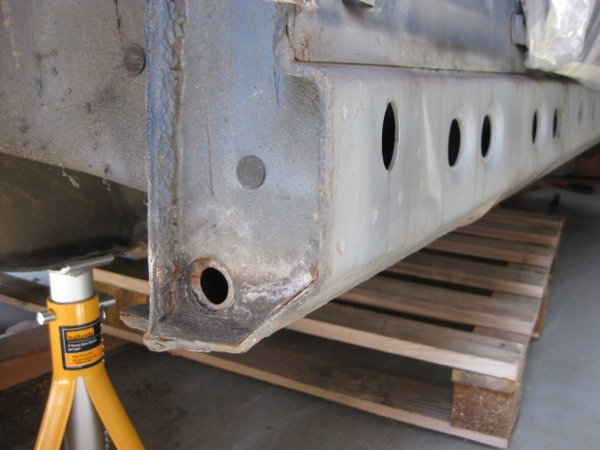
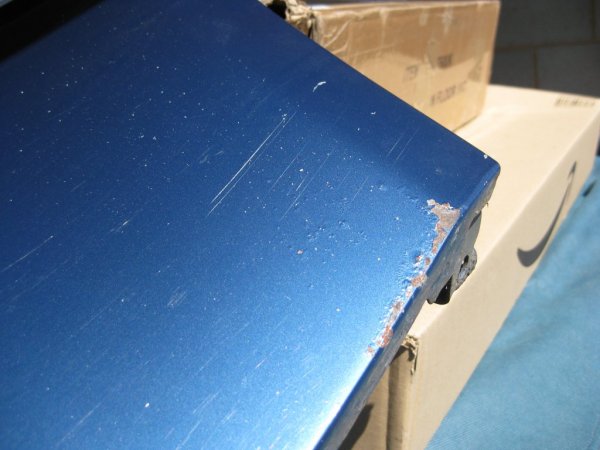
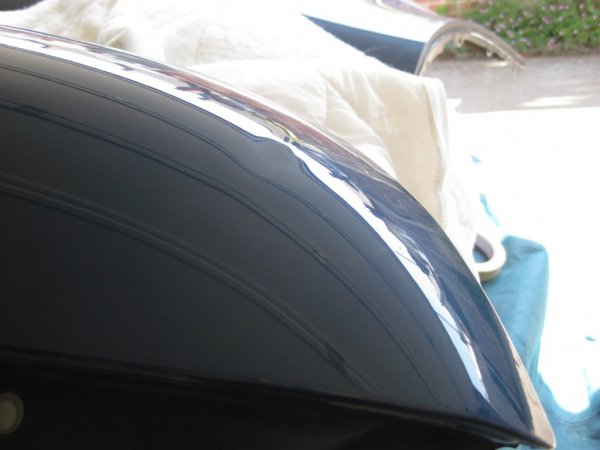
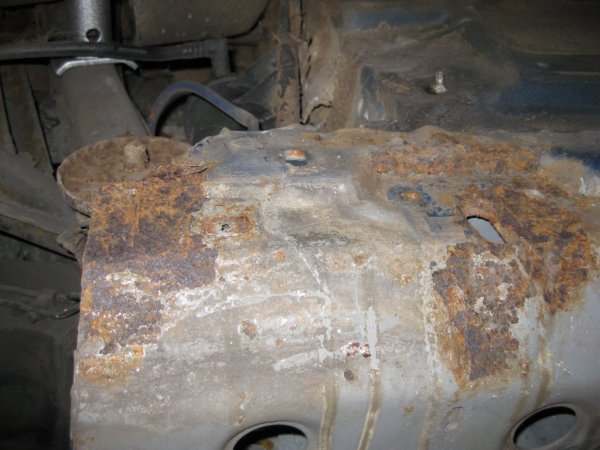
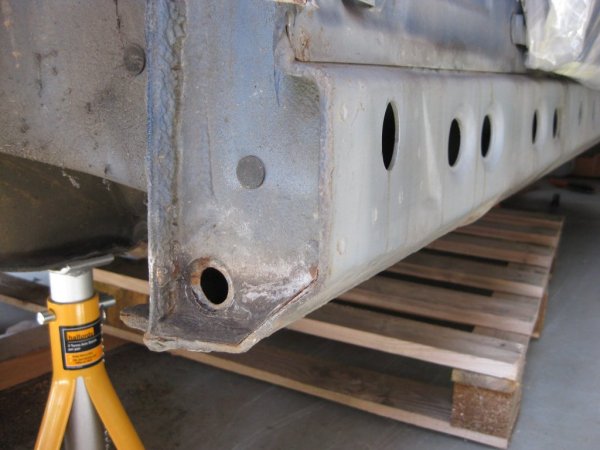
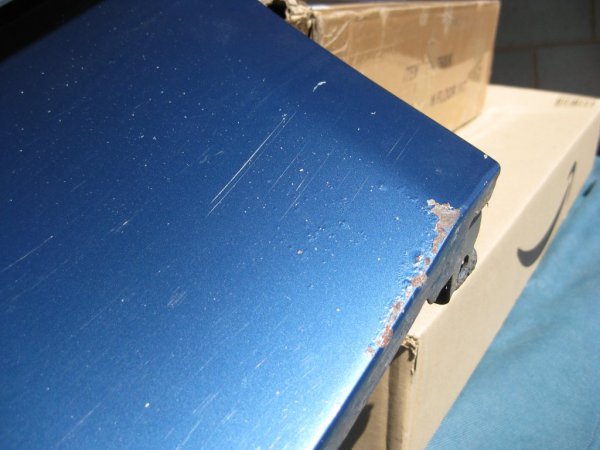
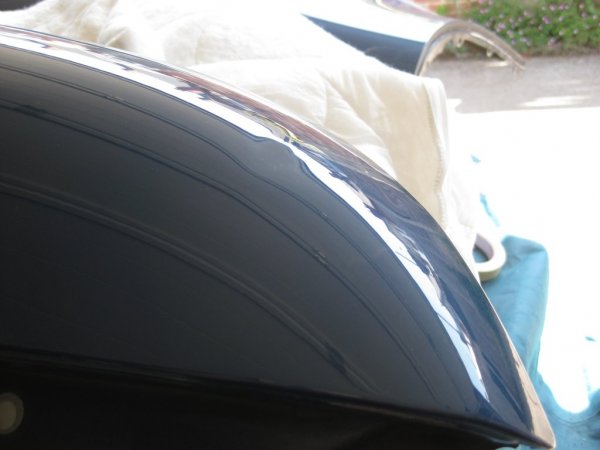
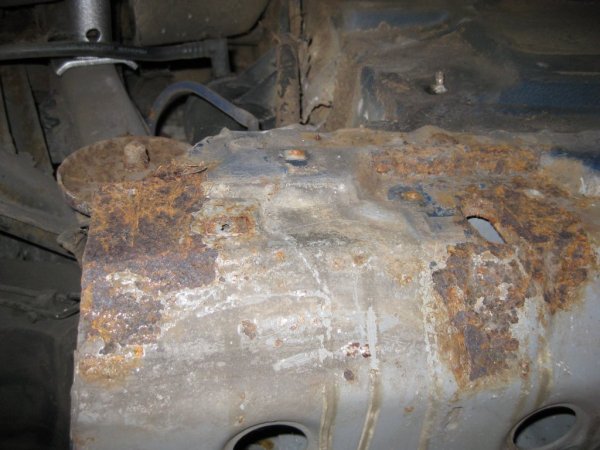
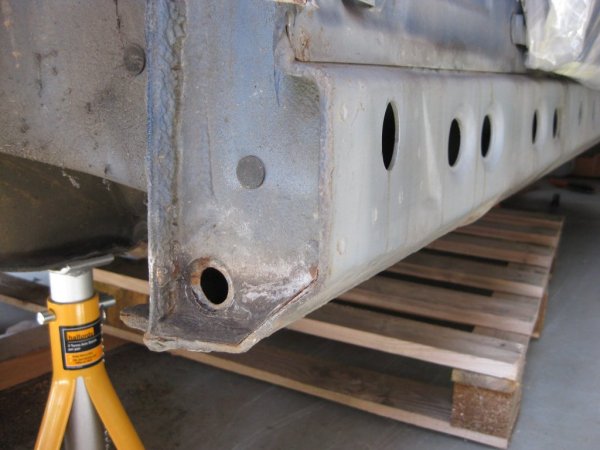
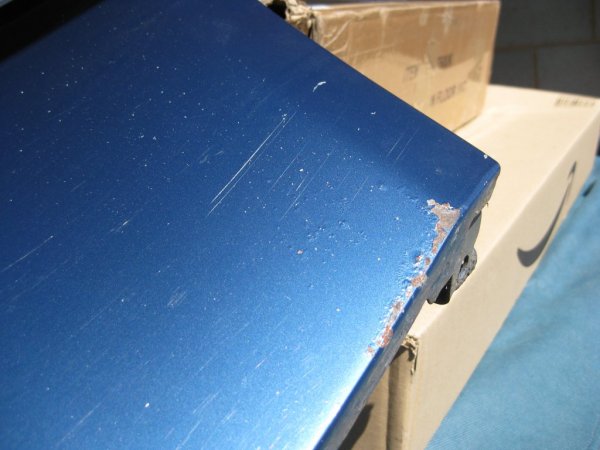
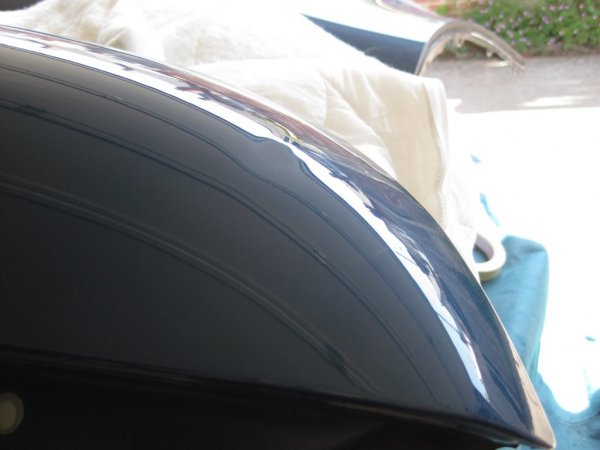
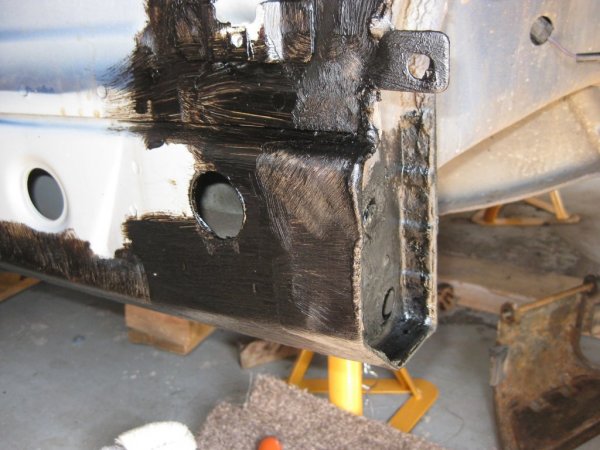
So here is my refurb thread. Cheers Mazza for inspiration. I'm not going for showroom condition but as you can see from some of the surface rust which is low down on the body, I'll 'have a go' and/or keep my eye out for better 2nd hand panels. Even the cills I may experiment with the welder as they are past it really, but the price of 'less' rusty 2nd hand cills make it worth a go. The finish is low down and not as noticeable.

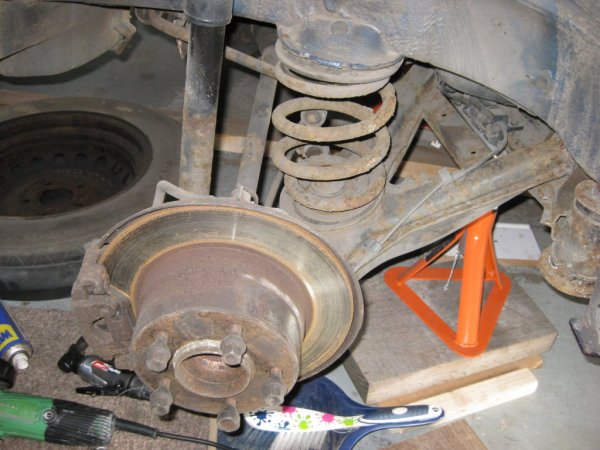
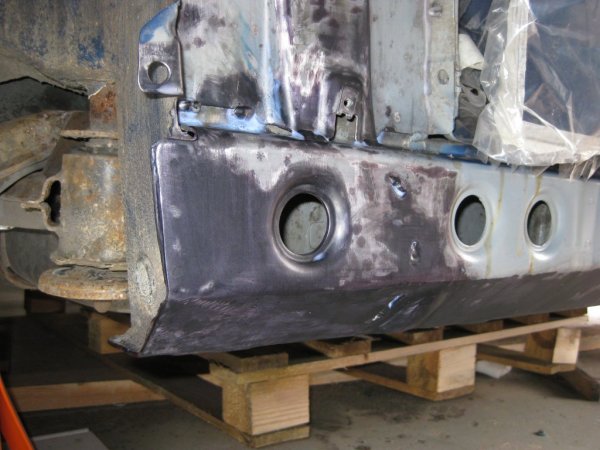
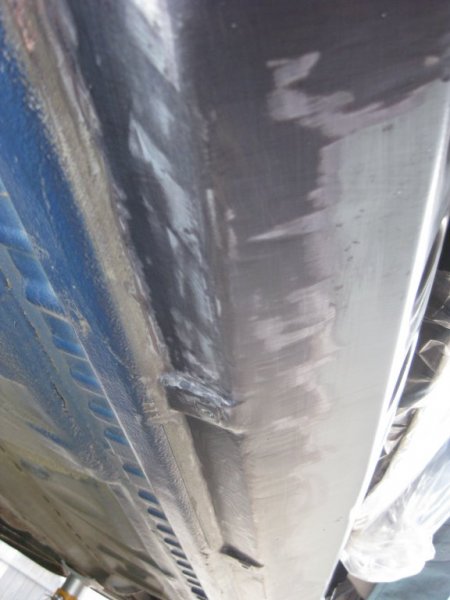
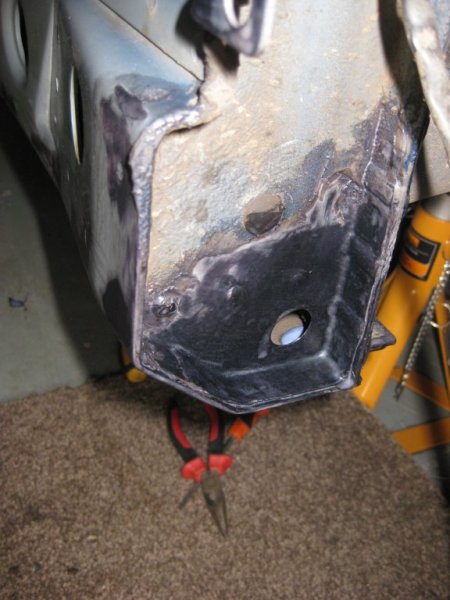
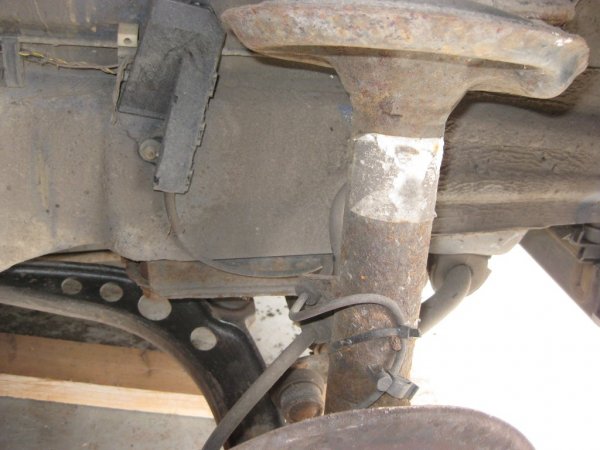
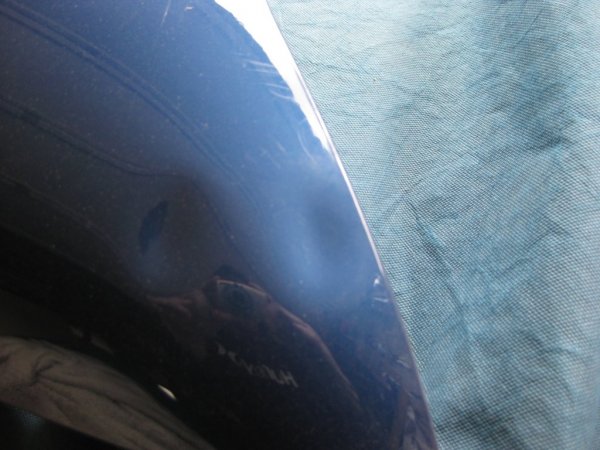
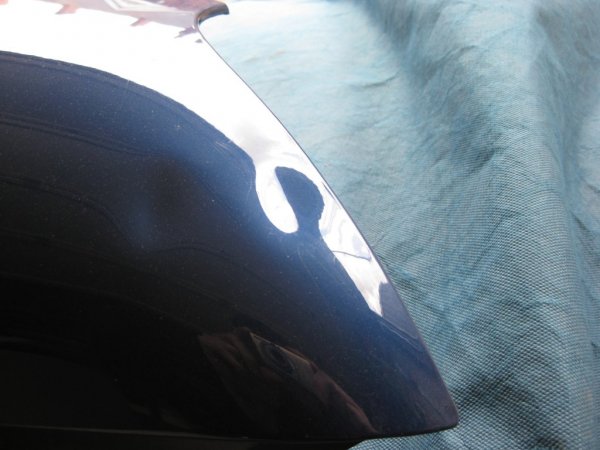
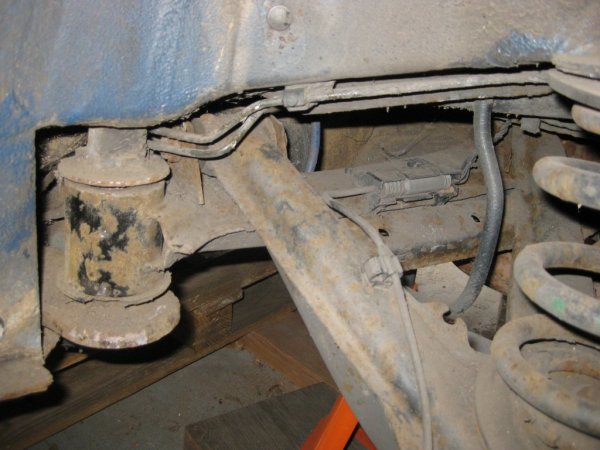
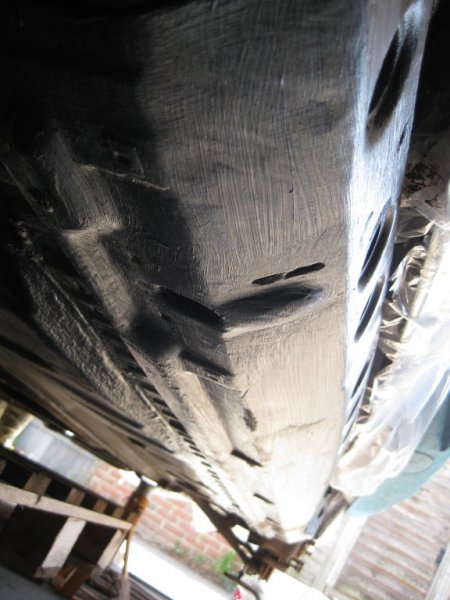
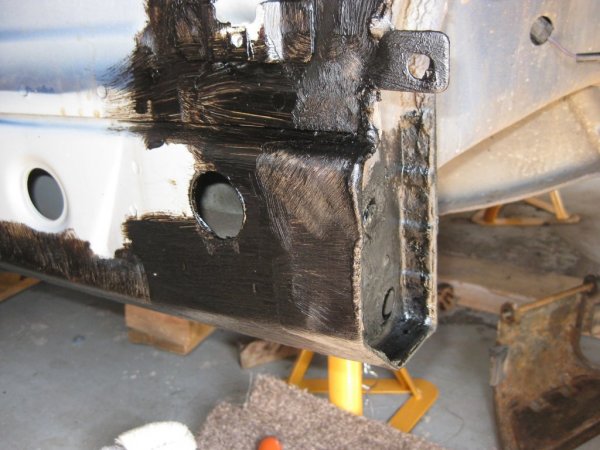
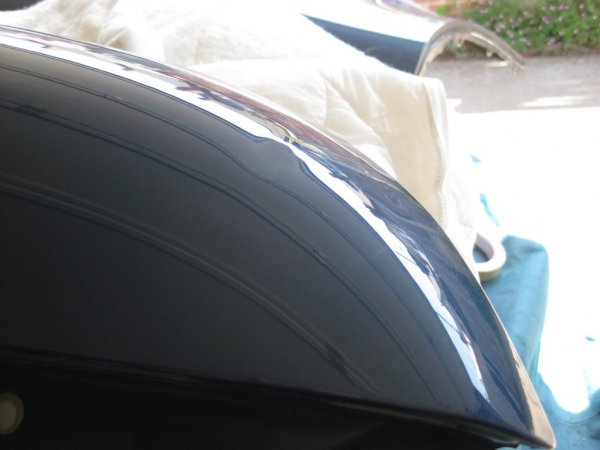
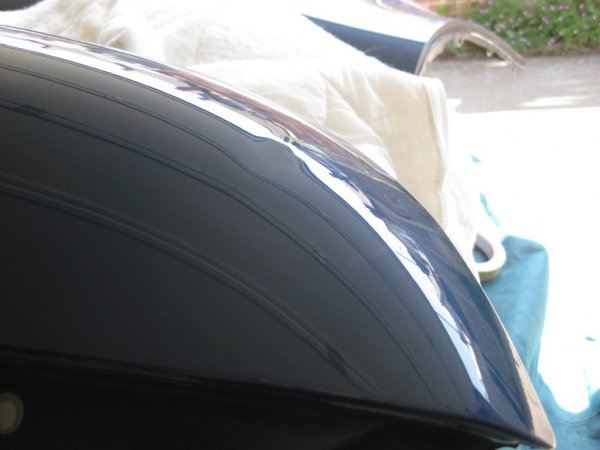
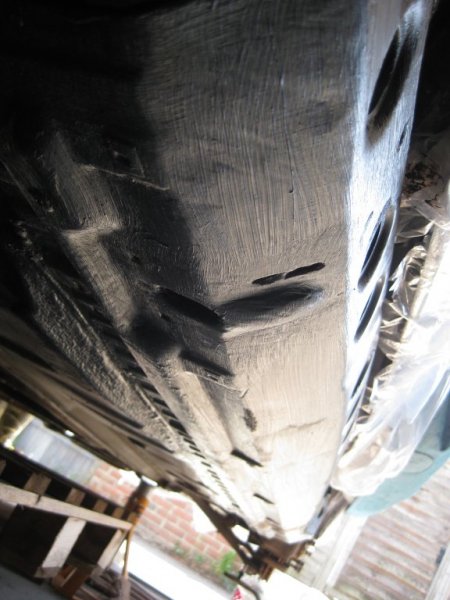
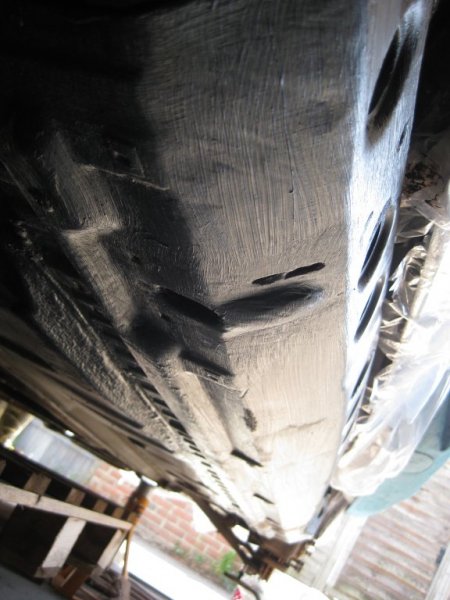
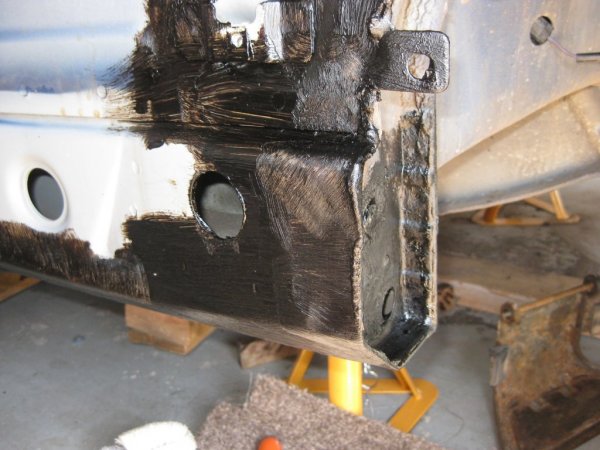
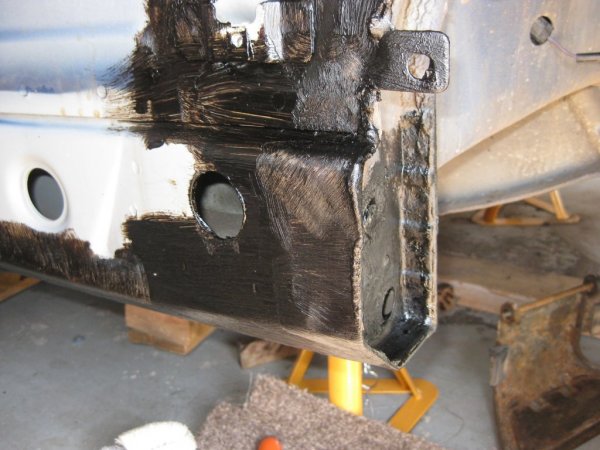
I've already Bilt Hamber'd one inner cill but the rest of the pics show the jobs ahead.
 

Attachments

Last edited:
Mazza

Zorg Guru (V)
Supporter
British Zeds
The M44 Massive
Joined
Nov 1, 2017
Points
175
Location
Bognor Regis
Model of Z
Z3 1.9 M44 Roadster Z3 2.8 Project
Good start to your refurb.......and I like the pictures....

Oh, and by the way......its very addictive to keep removing bits :arghh:
 

Woodsta888

Zorg Legend
British Zeds
Joined
Mar 18, 2012
Points
74
Location
Exmouth, Devon
Model of Z
2.0
Hi Mazza, yes I can understand the removing bits. Over the weekend, removed 2nd wing, the boot and managed to get some underseal over the Bilt Hamber rust treatment (drivers side). And the pics of passenger side I have only attacked with a screwdriver yet but is the better side. (Can't seem to add pics today, will try to edit later.)

Struggling to decide on whether to go for Polyurethane bushes or just go with OEM as polyurethane is bloomin' expensive. I am looking at Flo-Flex which seem to be a cheaper polyurethane option.

https://floflex.co.uk/?year_id=431&make=577&model=782&s&post_type=product&action=vpf-ymm-search

Anyone used/recommend Flo Flex?
 

Attachments

Christ87

Zorg Addict
British Zeds
Joined
Jun 17, 2019
Points
58
Location
Belton, North Lincolnshire
Model of Z
Z3 2.0
Hi Mazza, yes I can understand the removing bits. Over the weekend, removed 2nd wing, the boot and managed to get some underseal over the Bilt Hamber rust treatment (drivers side). And the pics of passenger side I have only attacked with a screwdriver yet but is the better side. (Can't seem to add pics today, will try to edit later.)

Struggling to decide on whether to go for Polyurethane bushes or just go with OEM as polyurethane is bloomin' expensive. I am looking at Flo-Flex which seem to be a cheaper polyurethane option.

https://floflex.co.uk/?year_id=431&make=577&model=782&s&post_type=product&action=vpf-ymm-search

Anyone used/recommend Flo Flex?
I use Duraflex. Very cheap and can't see anything wrong with the quality. They don't list Z3 but E36/Compact is the same i believe.
https://www.duraflexpubushes.com/bmw-10-c.asp
 

Woodsta888

Zorg Legend
British Zeds
Joined
Mar 18, 2012
Points
74
Location
Exmouth, Devon
Model of Z
2.0
Hi All,

To steal the slogan " The older I get the better I was" would be an understatement for the Z3's underside.

The wife asks if there's anything left, as I have been doing a lot of grinding! Good job the chassis sills on a z3 are so thick.

But I do have a problem where I have found the floor pan, on the passenger side around a grommet, to be rusted right through! What's the recommended fix for this guys?

Torx 50 socket arrived today (thought I had one) so got the rear bumper off ready to drop the rear beam etc. STill can't decide on polybush or OEM bushes (except the beam bushes) or shocks manufacturer. Many threads with so many options.

Anyway, here are some pics of today's swearathon!
IMG_3059.JPG
IMG_3051.JPG
IMG_3049.JPG
IMG_3050.JPG
IMG_3053.JPG
IMG_3054.JPG
IMG_3055.JPG
 

Woodsta888

Zorg Legend
British Zeds
Joined
Mar 18, 2012
Points
74
Location
Exmouth, Devon
Model of Z
2.0
Also, the inner wing has many small circles of rust under the grey paint, easy to sand off to treat. First pic I have tried to capture these bubbled circles and 2nd is the front of the passenger side inner wing that I have started to prepare.


IMG_3058.JPG
IMG_3048.JPG


De-greased both inner rear arches
IMG_3047.JPG

To complete all the grinding I have been using a

4 inch grinder with flap discs, wire brush wheels
Air die grinder with flap wheels and 2 inch sanding discs
And a dremel, with - FINALLY that cheap box of dremel bits that I have never used - is getting used. The different shaped grinding stones are very good at getting into corners and holes.

I did think I'd broken my dremel with all the filings in the motor, but they are a common failure where one of the 4 very thin wires on the motor breaks. Youtube how to, and a bit of a pain unwinding a wire and it works again.

I'll post a picture of all the grinding gear later as it's quite a collection.

Anyway, ideas for the rust in the floor pan issue in the post above please
 

Althulas

Zorg Guru (V)
Supporter
British Zeds
Joined
Jun 14, 2014
Points
198
Location
Banburyshire
Model of Z
M Roadster
For a proper job cut the bad out and make a cardboard template of the repair patch, transfer to suitable gauge metal and weld in and grind out the welds to tidy up.

You could ask one of our breakers if they have a shell that they could cut the panel out of and use that as a repair panel.
 
Last edited:
Woodsta888

Zorg Legend
British Zeds
Joined
Mar 18, 2012
Points
74
Location
Exmouth, Devon
Model of Z
2.0
Right, few things this weekend.

Firstly thanks for tip Althulas. May pay a pro to do that bit.

Second, Thanks to Geoff Crispin, forum member whom i went to collect some sills from. Better nick than mine. Still need work but more life in them. Not the best photo but at least Geoff's have a top right hand corner intact.

IMG_3064.JPG


Here is the grinding gang I have been using to clean up the rusty areas.
IMG_3065.JPG


Started to drop the rear now but wonder whether I should take the exhaust off (Though I don't have enough heat (acetylene) to crack the exhaust bolts and probably end up snapping them.

SO I think I'm gonna have to take the prop shafts off from the diff and drop each trailing arm assembly and hub assembly. I saw Mazza's thread where he dropped the whole lot but his exhaust was off. Any recommendations welcome.

I have the cover over the car to save from dust and grinder filings so didn't get inside the car to drop the tops of the shocks or disconnect the handbrake cable. Can you disconnect the handbrake cable from the hub end?
IMG_3060.JPG
IMG_3061.JPG


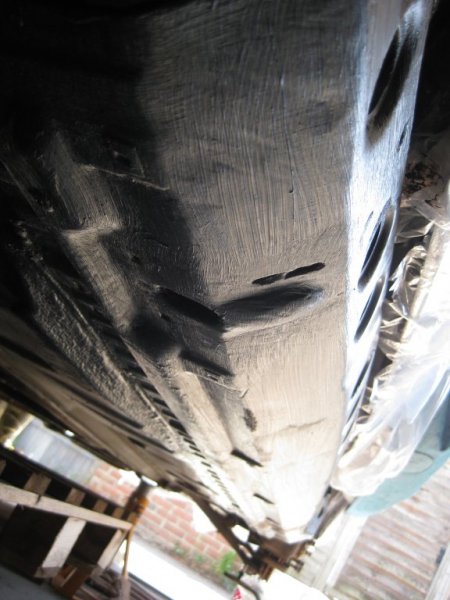
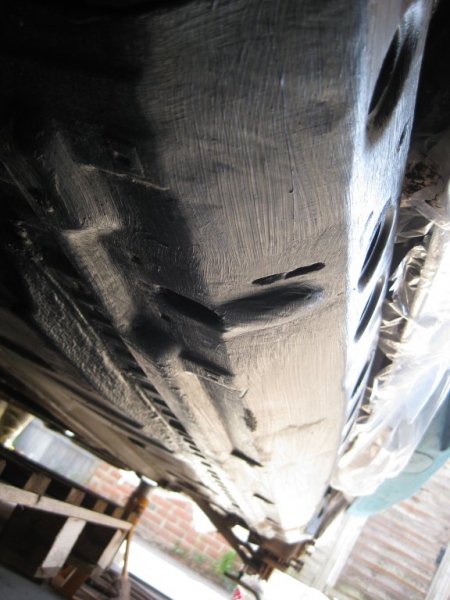
Final application of underseal on passenger side, then once dry I reinstalled the plastic jacking points and got the car higher up on axle stands.
IMG_3063.JPG


REar ARB lollipops and bushes are perished
IMG_3066.JPG


Regards changing the handling I was reading Mike Fishwicks guide on changing the handling and wonder if @inacoupe has a 17mm Rear ARB. The one on the car is 15mm back and 24mm front and read that 17mm goes well with a 24mm front ARB balancing the handling better somewhat.

Who else on here breaks zeds @Sean d ?

Well that's it for this weekend. Any suggestions in tackling dropping the rear beam gratefully appreciated. Any other tips and pointers also welcome - as in 'may as well change X whilst I am at it'.
 
Last edited:
Geoff Crispin

Zorg Guru (III)
British Zeds
Joined
Aug 20, 2015
Points
145
Location
Somerset
Model of Z
3 1.9 & 3.0
Right, few things this weekend.

Firstly thanks for tip Althulas. May pay a pro to do that bit.

Second, Thanks to Geoff Crispin, forum member whom i went to collect some sills from. Better nick than mine. Still need work but more life in them. Not the best photo but at least Geoff's have a top right hand corner intact.

View attachment 146079


Here is the grinding gang I have been using to clean up the rusty areas.
View attachment 146081

Started to drop the rear now but wonder whether I should take the exhaust off (Though I don't have enough heat (acetylene) to crack the exhaust bolts and probably end up snapping them.

SO I think I'm gonna have to take the prop shafts off from the diff and drop each trailing arm assembly and hub assembly. I saw Mazza's thread where he dropped the whole lot but his exhaust was off. Any recommendations welcome.

I have the cover over the car to save from dust and grinder filings so didn't get inside the car to drop the tops of the shocks or disconnect the handbrake cable. Can you disconnect the handbrake cable from the hub end?View attachment 146083 View attachment 146085

Final application of underseal on passenger side, then once dry I reinstalled the plastic jacking points and got the car higher up on axle stands.View attachment 146087

REar ARB lollipops and bushes are perishedView attachment 146089

Regards changing the handling I was reading Mike Fishwicks guide on changing the handling and wonder if @inacoupe has a 17mm Rear ARB. The one on the car is 15mm back and 24mm front and read that 17mm goes well with a 24mm front ARB balancing the handling better somewhat.

Who else on here breaks zeds @Sean d ?

Well that's it for this weekend. Any suggestions in tackling dropping the rear beam gratefully appreciated. Any other tips and pointers also welcome - as in 'may as well change X whilst I am at it'.
Hi Steve
Parts: Andy spursfaninacoupe , Robert mrscalex, Dave Hoggy ?
Malcolm , mazza has I think done some of the things that you want to do
and Lee I think
For some reason forum emails would not open up yesterday for me when yours came through. Geoff
 

Jjim

Zorg Guru (IV)
British Zeds
Joined
Jul 21, 2017
Points
168
Location
Mansfield
Model of Z
1.9 Roadster
Great work. Following
 

Shelly

Zorg Expert (I)
Supporter
British Zeds
East Anglian Crew
Joined
Jul 9, 2013
Points
201
Location
Norfolk
Model of Z
Z4 2.0 20i M Sport sDrive
What great work you are doing :)
A interesting thread :)
I’ll keep watching with interest :)
 

Sean d

Zorg Expert (I)
Supporter
British Zeds
Joined
Sep 29, 2015
Points
201
Location
Lincolnshire
Model of Z
Z3 2.8
Be careful with that grinder, or at least wear gloves, luckily I was wearing a visor, laid on my back under the z cleaning rust off, the disc caught and edge, ripped clean out of my hands and hit my visor, bad end to a good day
cut.jpg
cut 1.jpg

Also, the inner wing has many small circles of rust under the grey paint, easy to sand off to treat. First pic I have tried to capture these bubbled circles and 2nd is the front of the passenger side inner wing that I have started to prepare.


View attachment 145021 View attachment 145023


De-greased both inner rear archesView attachment 145025
To complete all the grinding I have been using a

4 inch grinder with flap discs, wire brush wheels
Air die grinder with flap wheels and 2 inch sanding discs
And a dremel, with - FINALLY that cheap box of dremel bits that I have never used - is getting used. The different shaped grinding stones are very good at getting into corners and holes.

I did think I'd broken my dremel with all the filings in the motor, but they are a common failure where one of the 4 very thin wires on the motor breaks. Youtube how to, and a bit of a pain unwinding a wire and it works again.

I'll post a picture of all the grinding gear later as it's quite a collection.

Anyway, ideas for the rust in the floor pan issue in the post above please
 

Woodsta888

Zorg Legend
British Zeds
Joined
Mar 18, 2012
Points
74
Location
Exmouth, Devon
Model of Z
2.0
Right Attack the first sill.

Got a couple of sills of forum member Geoff Crispin. Took a drive from Exmouth on the South Cost of Devon to naerly the north coast of Somerset near Minehead.

Yesterday PM got the grinding gang out and due to the humid weather (as warm air holds more moisture) there was much water in the airline from the compressor so had to empty it often as a small compressor like mine is running more and gets hot.

So like all metal work, preparation is key.
IMG_3068.JPG
IMG_3069.JPG
IMG_3070.JPG
View attachment 146667
IMG_3072.JPG
IMG_3073.JPG
IMG_3074.JPG
IMG_3075.JPG
IMG_3076.JPG
IMG_3077.JPG


Fresh water rinse and then airline to get most of the water off instantly


Then once left to dry I fully dry with a heatgun, particularly the pitted areas

Then two coats of Bilt Hamber Hydrate 80 with the 2nd coat 20-30 minutes after the first and at 90 degrees to the first coat.

After a comprehensive test of salt sprays and heating by a popular classics magazine the Bilt Hamber stuff came out on top so for £16 you get 500ml which I think you could paint a whole car with as it's pretty thin stuff.

Spent hours deciding on the suspension and been to Bilsteins and Eibachs and back. But settled on some OESpectrum Monroe's with the dust covers coupled with standard length Monroe Springs. Paid an extra £3.95 and if not fitted they will collect and refund no matter what the reason up 100 days. So have time to change my mind. Rear springs whilst servicable are very rusty all over. For the cost not worth my time.

Got some powerflex rear top mounts 2nd hand off of Wilko78 too.

So, already £250 spent on parts.
 
Last edited:
Woodsta888

Zorg Legend
British Zeds
Joined
Mar 18, 2012
Points
74
Location
Exmouth, Devon
Model of Z
2.0
OK guys, some help required.

My female E-Torx sockets turned up so I got underneath to undo the output shaft from the diff as I'm gonna drop both trailing arm assembly's separately.

I cracked 3 of the E14 TORX from the opposite side and move to crack 3 from the side in the picture and the whole shaft moved out from the diff whilst just pushing the socket on. Is it meant to do this or have I just come across an expensive problem? Just to clarify, none of those ETORX in the picture have been cracked and only 3 on the other side.

Thanks in advance
IMG_3078.JPG
 
Last edited:
Althulas

Zorg Guru (V)
Supporter
British Zeds
Joined
Jun 14, 2014
Points
198
Location
Banburyshire
Model of Z
M Roadster
You have managed to pull out the output flange they are just secured with a lock ring. It is recommended to use new lock rings if shafts are taken and are cheap items
33131207280


For now can be pushed back in. I would recommend a watch of this video it gives you more understanding of how the diff is assembled to put your mind at ease. He s worth a watch of other items that he restored like drive shafts. All on E30 but share similar to Z3
View: https://youtu.be/qeMIh9mGwRY
 
Top