Rebody Z3 Donor - Options and other rebody questions -> 507 Build the "green one"

Dxbolton

Zorg Guru (II)
Joined
Jun 19, 2020
Points
114
Location
New Forest
Model of Z
2.8 auto
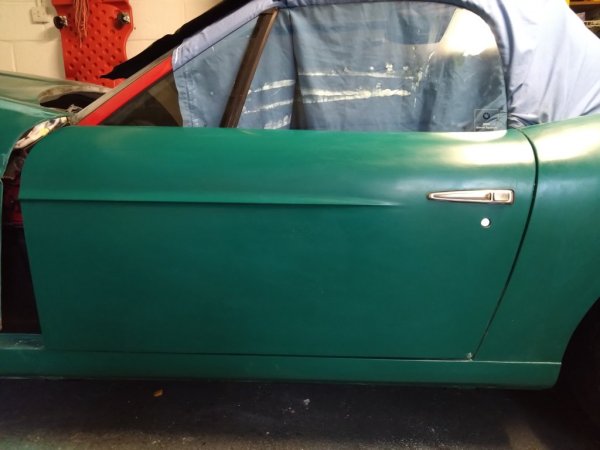
Yes. You need to pull that rubber strip from the top of the door. The new door skin slides down into the gap where the rubber used to be.

I seem to remember a picture on @Dxbolton 's build thread. He's also stuck the rubber back on top of the new door skin. But watertight? The original door wasn't watertight anyway so don't try to make the new one watertight. Water will get down inside the door. You need to make sure your memrane behind the door card is good.
The sliding window is watertight but I did get the occasional drop by the quarter window. I’ll just make a tighter fit when it’s back from the paint shop.
I refixed the seal in place with Tigerseal to the top edge of the skin
 

ruan

Dedicated Member
British Zeds
Joined
Apr 26, 2024
Points
28
Location
Berkshire
Model of Z
3
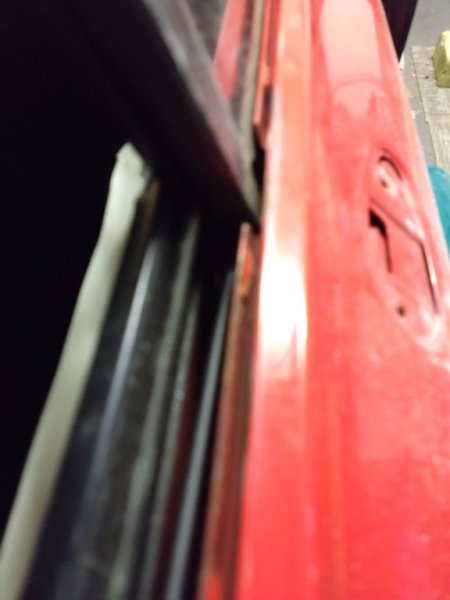
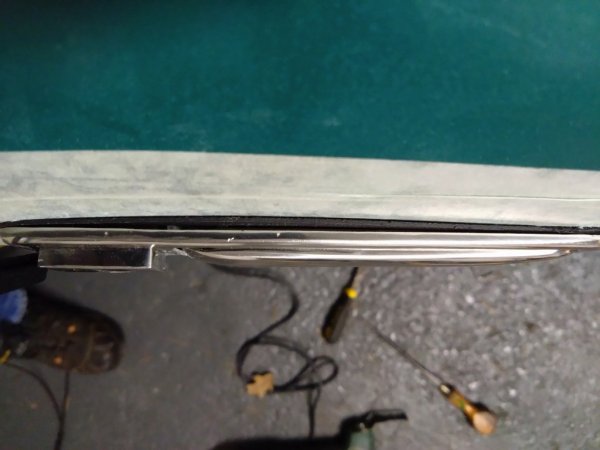
I am assuming that the door skins go into the slot that the rubber seal came out of and that you cut off that part of the rubber seal before reattaching the seal to the top of the door skin. I had originally thought that the skin slid in-between the glass and the door but this is obviously wrong.DSC_4075.JPG
 

ruan

Dedicated Member
British Zeds
Joined
Apr 26, 2024
Points
28
Location
Berkshire
Model of Z
3
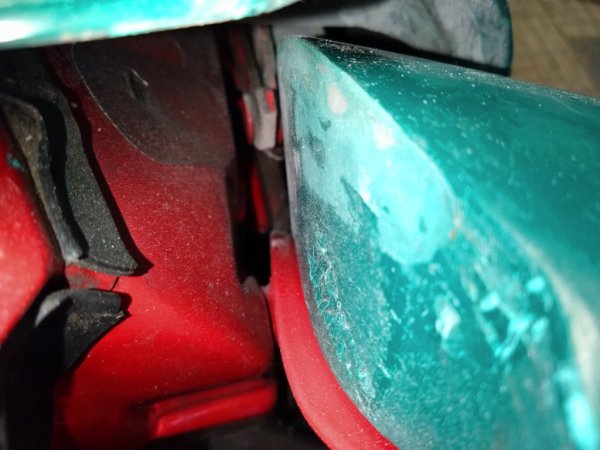
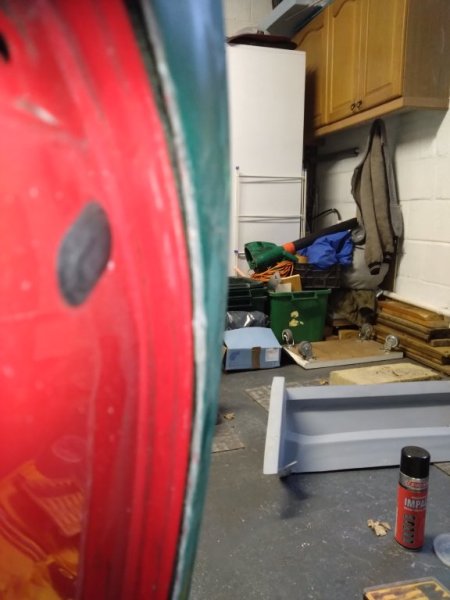
Has anyone else noticed that when the bonnet is closed and you fully open the driver's door, the front of the door skin is pushed backwards by the bonnet hinge.
This is a picture of the front edge of the driver's door skin hitting the bonnet hinge and a picture of the door skin pushed backwards by about 5mm. It is the top part of the hinge that is causing the problem not the bottom part that I have already modified to provide clearance for the swage line.DSC_4080.JPGDSC_4081.JPG
 

Duncodin

Zorg Guru (III)
Supporter
Joined
Sep 8, 2021
Points
139
Location
Krähental
Model of Z
M44 FrankenZed
yep. that rod thing that stops the door swinging too far. You have to take it out and add spacers to stop the door opening that far.

i have photos. i'll go find something and show you.
 

Duncodin

Zorg Guru (III)
Supporter
Joined
Sep 8, 2021
Points
139
Location
Krähental
Model of Z
M44 FrankenZed
Take this wotsit out

20240321_121040.jpg


Then stick some nuts and washers on like this.
20240321_121422.jpg


And put it back in. I put different/longer screws in too.

My driver side just needed the one set of nuts. The passenger side needed an extra few washers.
 

ruan

Dedicated Member
British Zeds
Joined
Apr 26, 2024
Points
28
Location
Berkshire
Model of Z
3
Thanks, I started down that route, I just haven't used enough spacers. I see you reversed the bolt - good idea that will make it so much easier to refit it.
 

ruan

Dedicated Member
British Zeds
Joined
Apr 26, 2024
Points
28
Location
Berkshire
Model of Z
3
DSC_4138.JPG
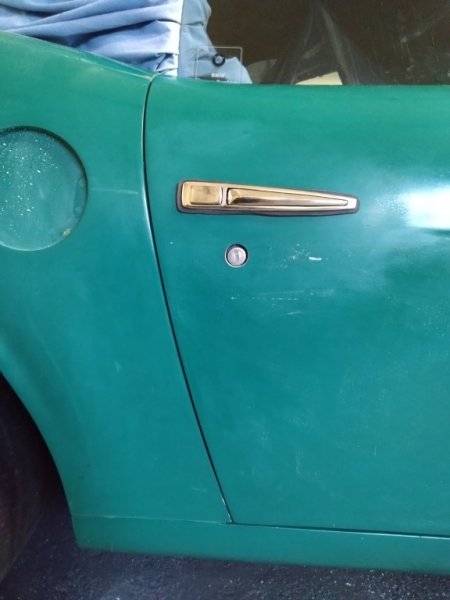
Door handle and original Z3 door lock both fitted and working fine :) Just need to find/make a bezel for the lock cylinder - ill fit it when I do the final fix.
Grassbank handles are easy to fit and work well, just use the template supplied by Russell and follow the post by Piran (https://zroadster.org/threads/another-507-build.63019/page-19), my door skins curve in where the handle sits, I have tried using a thicker rubber surround but think i'll probably flatten it out when I mix up some gelcoat.
DSC_4105.JPG
I have spent way too much time on getting the door lock to work!!!!!! but you know what it is like when you get this idea and just need to see it through to the end.
Removing the old door handle is impossible until you google it and see how it is done, then it is soo simple!!
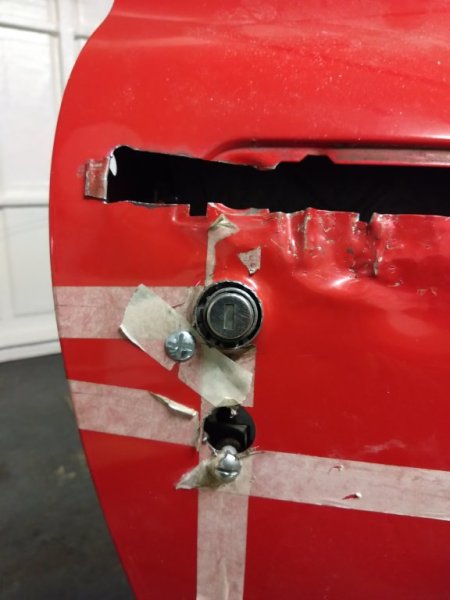
The cylinder lock connects to the lock mechanism using a 60mm linkage, the 2 components rotate in an arcs that are at 90 Deg to each other so the linkage needs to be able to rotate in both planes. After many failed attempts I accepted that the reusing the original linkage was probably my best option. If you move the cylinder lock down by twice the length of the linkage then you can simply swap the left and right hand linkages over and refit them.
DSC_4127.JPG
But I decided that the lower hole was too low, moving the lock down by the length of the linkage means that both cylinder and door lock are at the same height and there is no room for the linkage to move in both planes, so I had to add a leaver to offset the linkage.
The bottom bolt in the picture above shows the fixed pivot point for the new leaver. The bolt to the bottom left of the lock stops the cylinder housing from rotating and holds it in place.
DSC_4126.JPG
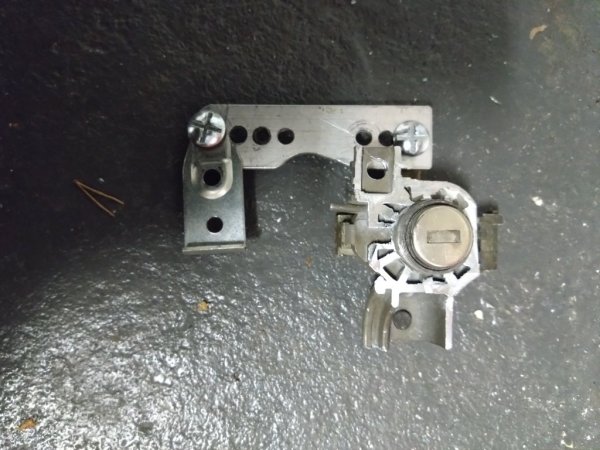
This is the new leaver set up, the linkage connects through a hole on the left using the original plastic grommet, the leaver on the left connects to pivot point in the previous picture the the cylinder locking bolt goes through the new hole drilled in the cylinder housing, I have removed most of the original door handle, this allows the cylinder lock to pass through the fiberglass door skin.
DSC_4137.JPG
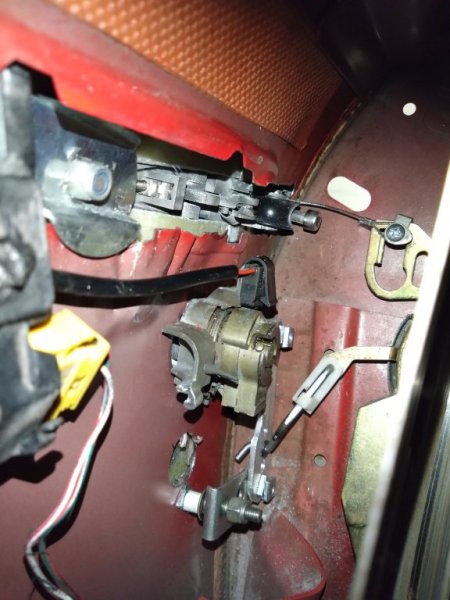
The business side of things, Note the white plastic clip on the linkage arm, this is important as it keeps everything moving in the correct plane. I also added a second larger washer to the fixing bolt on the handle to that the handle is bolted to the fiberglass and then to the original door skin. I have used locking nuts to make sure the leaver joints swivel freely.

... In summary .. yes most of the time I'll use the the remote central locking .... but .... !!!!!!!


Now on to the passenger side.
 

mittaw

Regular Member
Joined
Apr 1, 2024
Points
13
View attachment 324621
Door handle and original Z3 door lock both fitted and working fine :) Just need to find/make a bezel for the lock cylinder - ill fit it when I do the final fix.
Grassbank handles are easy to fit and work well, just use the template supplied by Russell and follow the post by Piran (https://zroadster.org/threads/another-507-build.63019/page-19), my door skins curve in where the handle sits, I have tried using a thicker rubber surround but think i'll probably flatten it out when I mix up some gelcoat.
View attachment 324623
I have spent way too much time on getting the door lock to work!!!!!! but you know what it is like when you get this idea and just need to see it through to the end.
Removing the old door handle is impossible until you google it and see how it is done, then it is soo simple!!
The cylinder lock connects to the lock mechanism using a 60mm linkage, the 2 components rotate in an arcs that are at 90 Deg to each other so the linkage needs to be able to rotate in both planes. After many failed attempts I accepted that the reusing the original linkage was probably my best option. If you move the cylinder lock down by twice the length of the linkage then you can simply swap the left and right hand linkages over and refit them.
View attachment 324625
But I decided that the lower hole was too low, moving the lock down by the length of the linkage means that both cylinder and door lock are at the same height and there is no room for the linkage to move in both planes, so I had to add a leaver to offset the linkage.
The bottom bolt in the picture above shows the fixed pivot point for the new leaver. The bolt to the bottom left of the lock stops the cylinder housing from rotating and holds it in place.
View attachment 324627
This is the new leaver set up, the linkage connects through a hole on the left using the original plastic grommet, the leaver on the left connects to pivot point in the previous picture the the cylinder locking bolt goes through the new hole drilled in the cylinder housing, I have removed most of the original door handle, this allows the cylinder lock to pass through the fiberglass door skin.
View attachment 324629
The business side of things, Note the white plastic clip on the linkage arm, this is important as it keeps everything moving in the correct plane. I also added a second larger washer to the fixing bolt on the handle to that the handle is bolted to the fiberglass and then to the original door skin. I have used locking nuts to make sure the leaver joints swivel freely.

... In summary .. yes most of the time I'll use the the remote central locking .... but .... !!!!!!!


Now on to the passenger side.
Great to read. I've just got a set of Grassbank handles for the coupe and will be going down this path soon. Looks good
 
Top