I did it all bit by bit. the arms were not a problem, the diff was. it is heavy and when the carrier is in position it is difficult to get at the mounting bolts to tighten them.
Work started
- Thread starter Gremlin
- Start date
Would have been more than happy to give you a hand with it. As you said, shame your so far away.Shame you are so far away I'd have asked you to give me a hand with mine now you've done one so they say you know what you are doing lol.
Love working on my Zed
Did you put a complete new top on and if so can I ask, bearing in mind I've not removed mine yet. Where the canvas is fixed to the rear of the car how is it attached to the plastic part that bolts to car, I'm also assuming looking at it that its in two pieces the one the canvas is fixed to and the one that the rubber strip around outside top edge of body work is fixed to. Some where it said its stapled. If so is it a special staple and gun or is it the type of staple used on carpet fixing.Would have been more than happy to give you a hand with it. As you said, shame your so far away.
Love working on my Zed
I have looked on utube it shows how to remove and replace it but not how to fix it to the plastic surround.
Any advice greatly received.
Hi, yes I installed a complete roof with mechanism.Did you put a complete new top on and if so can I ask, bearing in mind I've not removed mine yet. Where the canvas is fixed to the rear of the car how is it attached to the plastic part that bolts to car, I'm also assuming looking at it that its in two pieces the one the canvas is fixed to and the one that the rubber strip around outside top edge of body work is fixed to. Some where it said its stapled. If so is it a special staple and gun or is it the type of staple used on carpet fixing.
I have looked on utube it shows how to remove and replace it but not how to fix it to the plastic surround.
Any advice greatly received.
Once you have removed the carpet / liner in the roof storage area behind the seats (5 or 6 plastic rivets holding it in place). You will see about 10 gold coloured hex bolts along the black plastic weather strip. There are actually 2 plastic weather strips which are bolted and glued together to make the cabin water tight.
If you look carefully you will see that every 3rd bolt (I think) is only attached to the rear weather strip as the front weather strip has a sections missing.
Only remove the bolts that are attached the the front strip. The ones that only attached to the rear strip need to remain in place. As when you remove the roof you have to use quite a lot of force separate the two weather strips. As the rear strip stays in place in the car.
There are also bolts behind the seats near to where the roof mechanism bends.
There are no staples, just a strong bonding rubber glue that holds the weather strips together.
Once you have removed the roof you will need to remove all the rubber glue from both weather strips and apply a new sealant when you install the new roof. This is to ensure a water tight seal.
The roof is heavy and awkward to remove and handle. I used an old duvet over the boot to protect it and to rest the roof on during removal and installation. You also need to be careful of the screen as during installation it easily twists and can come unzipped or detached from the roof, and you then need a specialist zip to reattach. Big no no as the zips can only be ordered from Germany. Some people have said that they have used a zip from a laptop bag or similar. I can say from experience that this is a load of rubbish and doesn't work.
Recommend 2 people for moving the roof around.
Again, shame your not closer as I would give you a hand.
I thank you for all that writing there and it will be a great help, I'm not intending to remove the frame as my frame is really good. What glue did you use and where did you get it from.Hi, yes I installed a complete roof with mechanism.
Once you have removed the carpet / liner in the roof storage area behind the seats (5 or 6 plastic rivets holding it in place). You will see about 10 gold coloured hex bolts along the black plastic weather strip. There are actually 2 plastic weather strips which are bolted and glued together to make the cabin water tight.
If you look carefully you will see that every 3rd bolt (I think) is only attached to the rear weather strip as the front weather strip has a sections missing.
Only remove the bolts that are attached the the front strip. The ones that only attached to the rear strip need to remain in place. As when you remove the roof you have to use quite a lot of force separate the two weather strips. As the rear strip stays in place in the car.
There are also bolts behind the seats near to where the roof mechanism bends.
There are no staples, just a strong bonding rubber glue that holds the weather strips together.
Once you have removed the roof you will need to remove all the rubber glue from both weather strips and apply a new sealant when you install the new roof. This is to ensure a water tight seal.
The roof is heavy and awkward to remove and handle. I used an old duvet over the boot to protect it and to rest the roof on during removal and installation. You also need to be careful of the screen as during installation it easily twists and can come unzipped or detached from the roof, and you then need a specialist zip to reattach. Big no no as the zips can only be ordered from Germany. Some people have said that they have used a zip from a laptop bag or similar. I can say from experience that this is a load of rubbish and doesn't work.
Recommend 2 people for moving the roof around.
Again, shame your not closer as I would give you a hand.
So I take it that the strip of plastic guttering with the rubber weather strip stays attached to car.
Any way thank you again for your instructions on it.
I used a non silicon based adhesive sealant. This one forms an elastic rubber seal, which is just what I wanted for the job. See this link -I thank you for all that writing there and it will be a great help, I'm not intending to remove the frame as my frame is really good. What glue did you use and where did you get it from.
So I take it that the strip of plastic guttering with the rubber weather strip stays attached to car.
Any way thank you again for your instructions on it.
http://www.screwfix.com/p/nemesis-mighty-frame-glazing-sealant-black-290ml/3534j
The rear weather strip stays attached to the car.
When doing my research for the job I found a couple PDFs on websites which outlined the process for replacing the material on the roof. It did mention some staples, but I didn't do this. So sorry unable to help on that point.
UP DATE TIME.
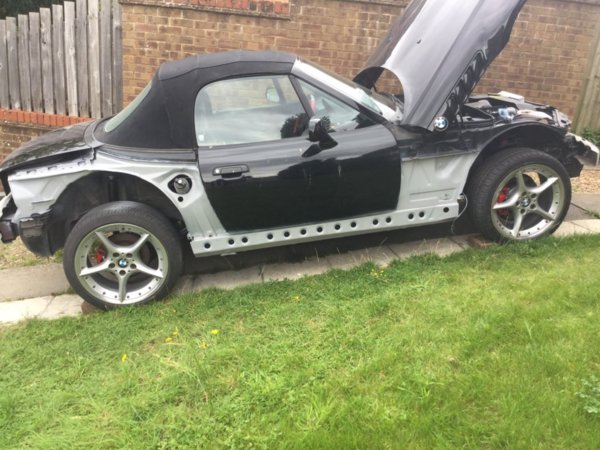
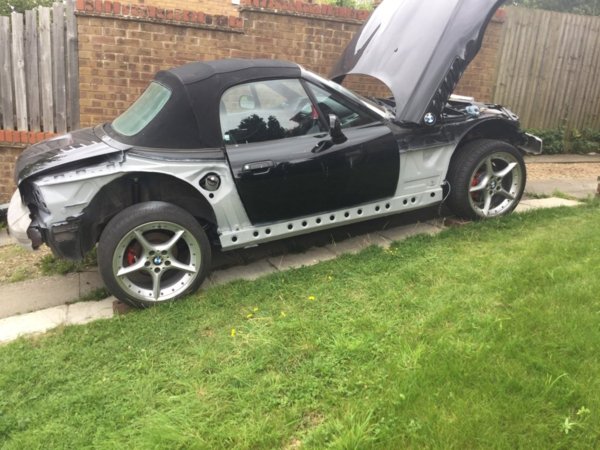
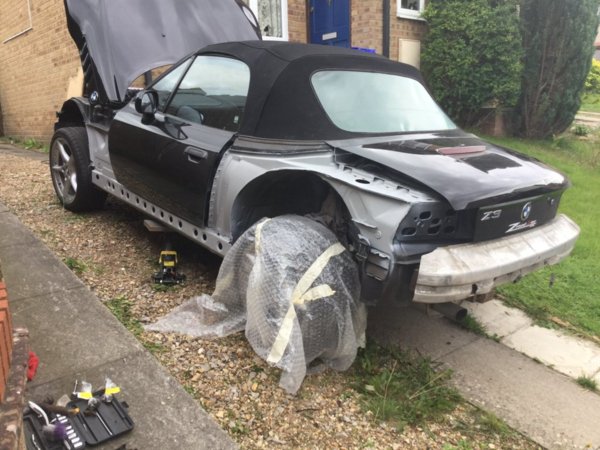
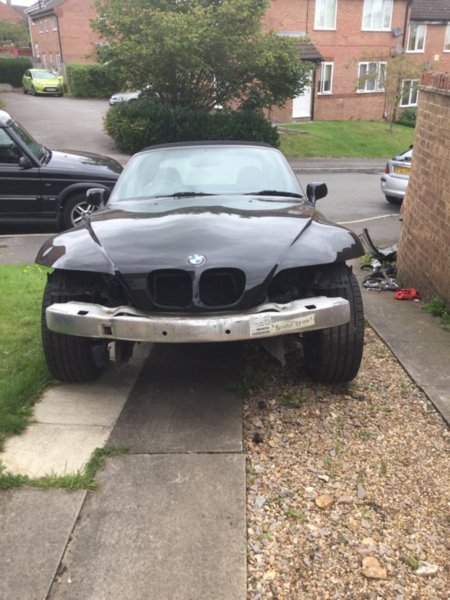
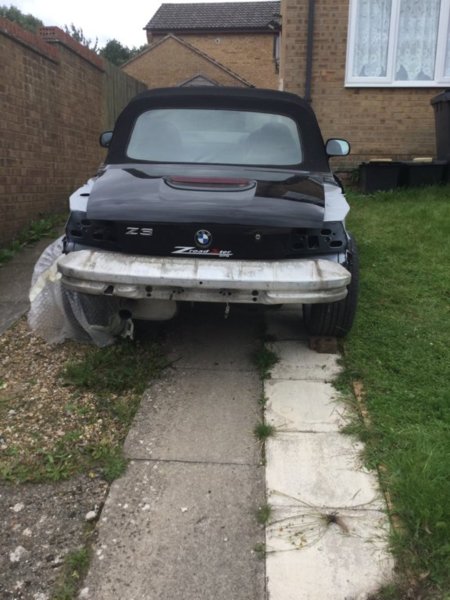
I have finished underneath the car now and all seems ok. Today I have been busy stripping off all the old body panels and checking that all the chassis is sound which it seems to be. The only place that I need some plates welded into is right on the end of chassis rails both sides at front where the muck had collected behind the broken iner wing liners, so I've cut out the rusty bits and made up and shaped some new end plates to be welded in other than that she is sound and nearly ready to go of to paint shop.
I have finished underneath the car now and all seems ok. Today I have been busy stripping off all the old body panels and checking that all the chassis is sound which it seems to be. The only place that I need some plates welded into is right on the end of chassis rails both sides at front where the muck had collected behind the broken iner wing liners, so I've cut out the rusty bits and made up and shaped some new end plates to be welded in other than that she is sound and nearly ready to go of to paint shop.
Attachments
-
184 KB Views: 49
-
188.2 KB Views: 50
-
177.7 KB Views: 48
-
109.2 KB Views: 50
-
93.3 KB Views: 48
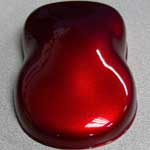
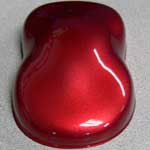
New update been out working on the car in preparation for her to go into paint shop next week, been to my nephew tonight to confirm new colour this will be it it's a candy red which he is going to add a holographic flake to and about 4 clear coats over top. I can't wait
Attachments
-
11.8 KB Views: 38
-
12.2 KB Views: 40
Look forwards to seeing that done bud 
Tony.

Tony.
Thank you so am I I have been working on this project since may when I took her off the road. My new wheels arrived today so I now feel as if I'm getting towards the end. Goes over on a trailer to Marlborough Tuesday when it comes back it will have new paint new soft top new wheels and Avon Tyres. And when it dose come back there will be pictures posted I guarantee lol.Look forwards to seeing that done bud
Tony.
You've beat me to it, One of the Candy reds was going to be the colour of my next Z, I have been looking at them for months and IMO Renault is superior, it has the extra gleam in the sun,
God knows what colours are going on it starts with primer high build then a base coat in some sort of red then the candy red which he adds the holographic flake to along with a slightly smaller flake to fill in of some thing like that to give extra sparkle, then it gets 3 to 4 coats of clear to bury the flake and give it depth all very complicated for a mere mortal to understand.You've beat me to it, One of the Candy reds was going to be the colour of my next Z, I have been looking at them for months and IMO Renault is superior, it has the extra gleam in the sun,
Sorry I beat you to it ( not really lol ) it's normally me that gets beat to the post on things like that lol.
Glad you like it I wanted to be different.I've found it @Gremlin
What a beautiful colour
I can't wait to see you Z
It amazing
That's going to fantastic over the curves of the ZNew update been out working on the car in preparation for her to go into paint shop next week, been to my nephew tonight to confirm new colour this will be it it's a candy red which he is going to add a holographic flake to and about 4 clear coats over top. I can't wait
I hope so I'm going satin black on front grills I think chrome will be to blingie. Bought some really nice new badges from spurs fan Andy in Woking in the black carbon fibre look with silver logo got a complete set front back sides and wheels they look fantastic on my new wheels.That's going to fantastic over the curves of the Z
I've painted the renault red, the base coat is gold and then its 8-9 very thin coats of the candy, the only problem is that it is virtually impossible to blow in, a small scratch on a panel will require the full side of the car to be painted.God knows what colours are going on it starts with primer high build then a base coat in some sort of red then the candy red which he adds the holographic flake to along with a slightly smaller flake to fill in of some thing like that to give extra sparkle, then it gets 3 to 4 coats of clear to bury the flake and give it depth all very complicated for a mere mortal to understand.
Sorry I beat you to it ( not really lol ) it's normally me that gets beat to the post on things like that lol.
I think now days that's par for the coarse if a car gets scratched unless you've got a good paint shop guy who knows his stuff, don't take that the wrong way if you are a sprayer.I've painted the renault red, the base coat is gold and then its 8-9 very thin coats of the candy, the only problem is that it is virtually impossible to blow in, a small scratch on a panel will require the full side of the car to be painted.

