g8jka - 2.0 Progress Journal - Time to say Goodbye

Re: g8jka - 2.0 Progress Journal

gookah said:
can you do mine, I'll give you £16 a wheel ;)

I'll be in the queue behind gookah for £16 a corner.

Brilliant job and great to see the 'before', 'during' and 'after' pics :)
 
Re: g8jka - 2.0 Progress Journal

What a great thread too! Great read! Thanks


Sent from my iPad using Tapatalk
 
Re: g8jka - 2.0 Progress Journal


And a night one


I like this mod but could you answer me one or two questions please

1. I take it the lights also come on with side lights ?

2. when you switch on the side lights does the interior light also come on ?

3. where do you connect to the interior light ?

4. I am trying to work out the wiring diagram, could you supply one please

this is what i have so far, not sure if it is right.

Angeleyes_zps053cb03c.png


Or even this

Angeleyes2_zpsec617470.png
 
Re: g8jka - 2.0 Progress Journal

1. The angel eyes are connected to the sidelights so they come on together.

2. Because there is a relay fitted it means that the lights only work one way, so that when the interior lights illuminate so do the angel eyes / sidelights and not the other way round (when angel eyes / sidelights are switched on the interior lights do not)

3 & 4. The interior light is connected to the relay, as are the angel eye / sidelight circuit and then a live and earth from what I remember. I used a diagram like below but cannot remember which wires go to which numbered connections on the relay.

remote_angels_relay.jpg


It can also be done with a diode which I think is an easier way but they tend to burn out. A relay is the best option, although you get a slight buzz when the interior light dims on and off coming from the relay.

Hopefully gookah maybe along soon as he installed it and may remember what wires go where? :ympray:
 
Re: g8jka - 2.0 Progress Journal

From memory it was something like this, using the wires from both sides of the interior lamp to supply the relay coil, also the +ve that supplies the relay coil supplies the +ve on the switch side of the relay so that the angels dim.
IMG_2499-1.jpg


Note if the interior lights come on so do the angels and sidelights, which is just a side effect of having them able to work with the remote when wired like this.

I will be doing it again soon so will do a better diagram.
 
Re: g8jka - 2.0 Progress Journal

gookah said:
I will be doing it again soon so will do a better diagram.

Thanks for the replies, i will watch with interest for the diagram.
 
Re: g8jka - 2.0 Progress Journal - Latest Mods (Feb 2013)

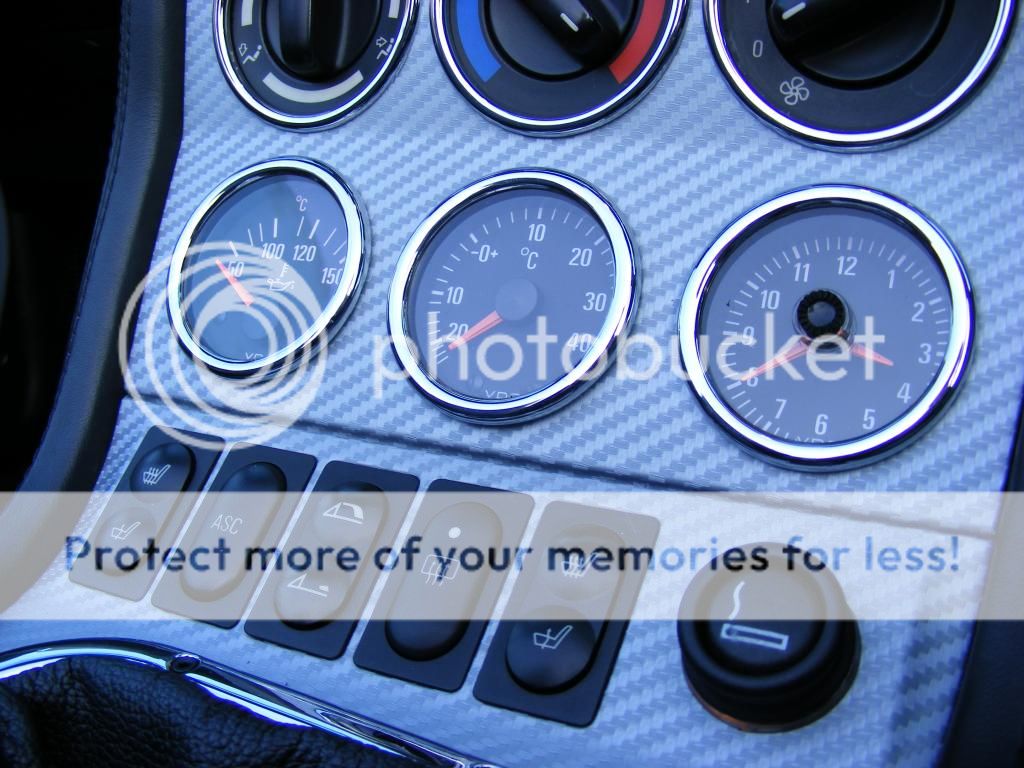
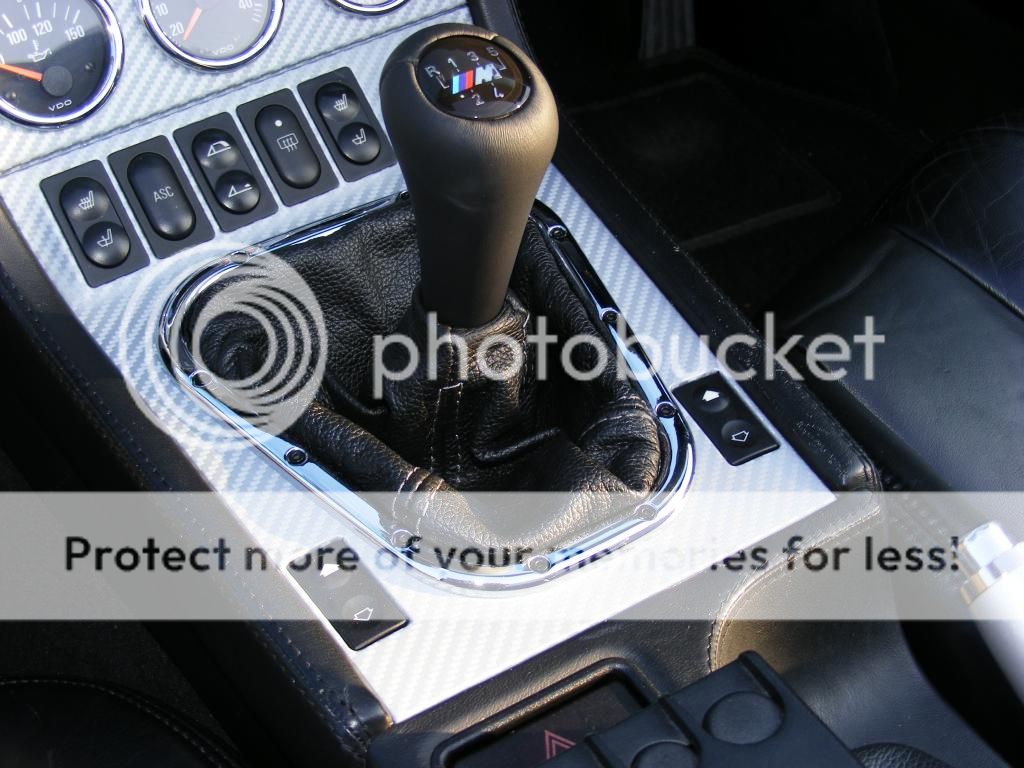
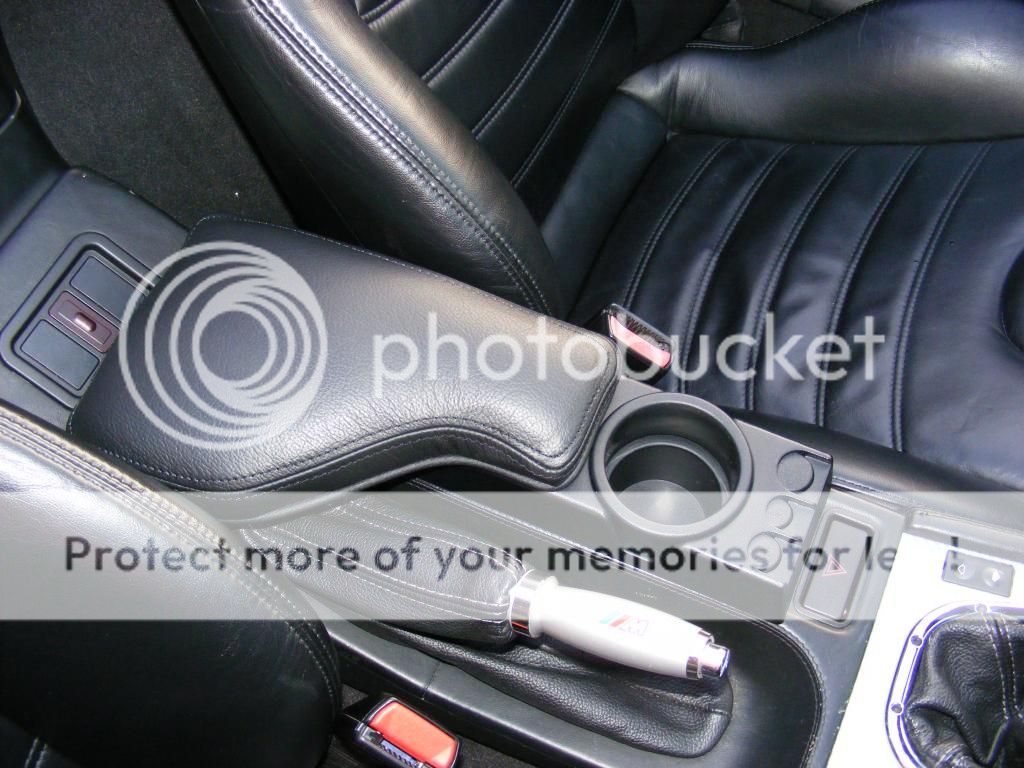
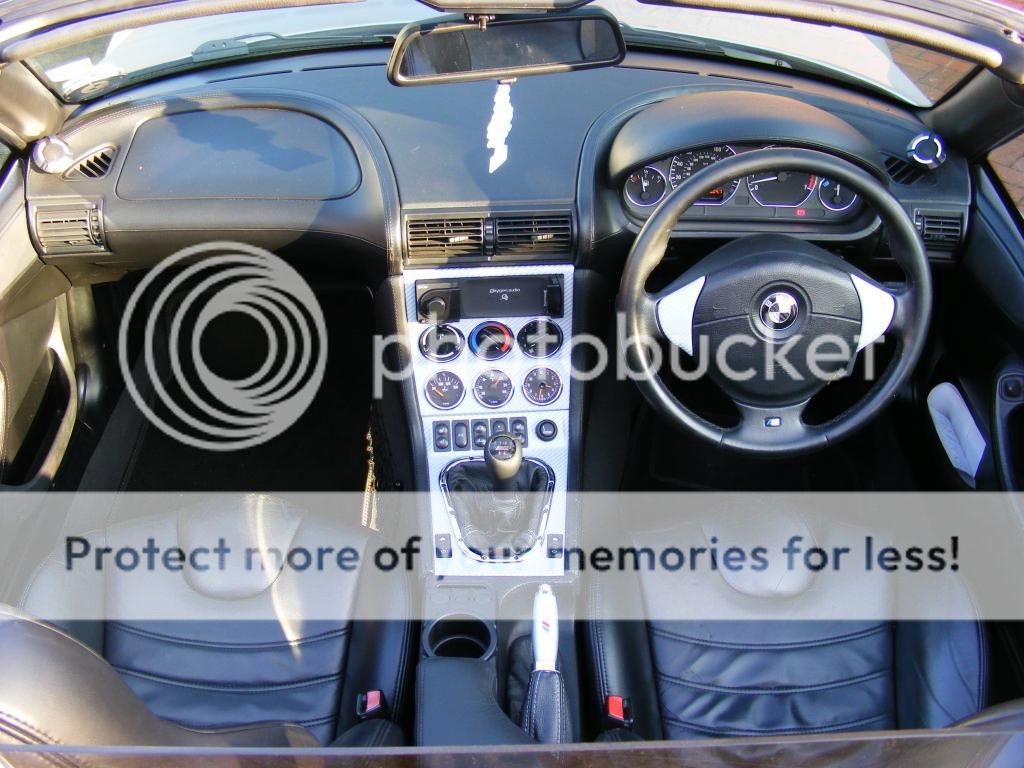
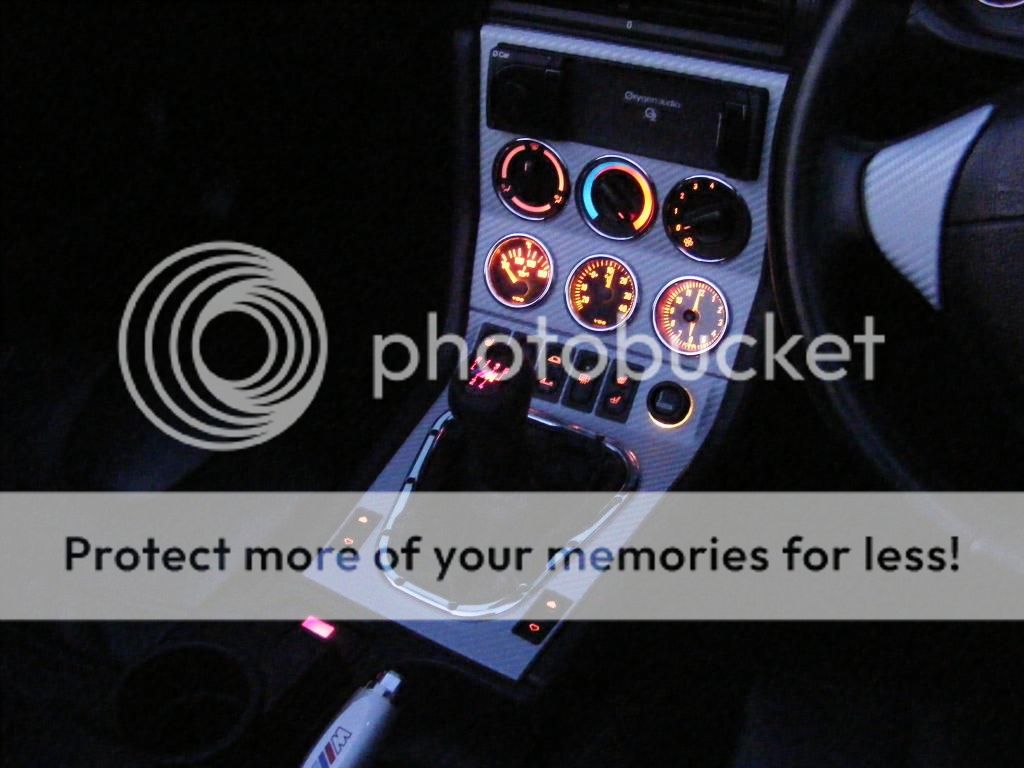
Got a few pics now of the ///M console fitted to the car, along with a new illuminated gear knob and cupholder complete with armrest. I covered this console in an aluminium effect carbon fibre and also did the steering wheel tabs again. As the ///M console has 5 switch holes I had a spare slot so I moved the HRW switch from the rear into the console and now all 5 are filled up. Everything works I just need to connect the oil temp sensor into the sump but I'm waiting for a new sump adaptor as the last one snapped :shock:

DSCF3404_zps13203796.jpg


DSCF3399_zps6e11f05d.jpg


DSCF3369_zps5e5a672e.jpg


DSCF3388_zpsd0565d8b.jpg


Poor night time pic

DSCF3409_zps48e991b2.jpg


I have some liquid leather scuffmaster to give the leather and boomerangs a wipe over as there is a couple of minor scuffs here and there and the seats will also be getting the same treatment soon :)

The new alarm is now in, complete with remote start so the car can be started in the mornings to get it nice and toasty, helping to clear the windows as well if it frosty. Its wired in to the HRW also so this triggers with the remote start but works as normal with the switch any other time. If the alarms goes off the pager fob will beep and flash giving info on what sensor has been triggered or what the problem is. The windows also go up on locking if they have been left down which is quite cool 8-)

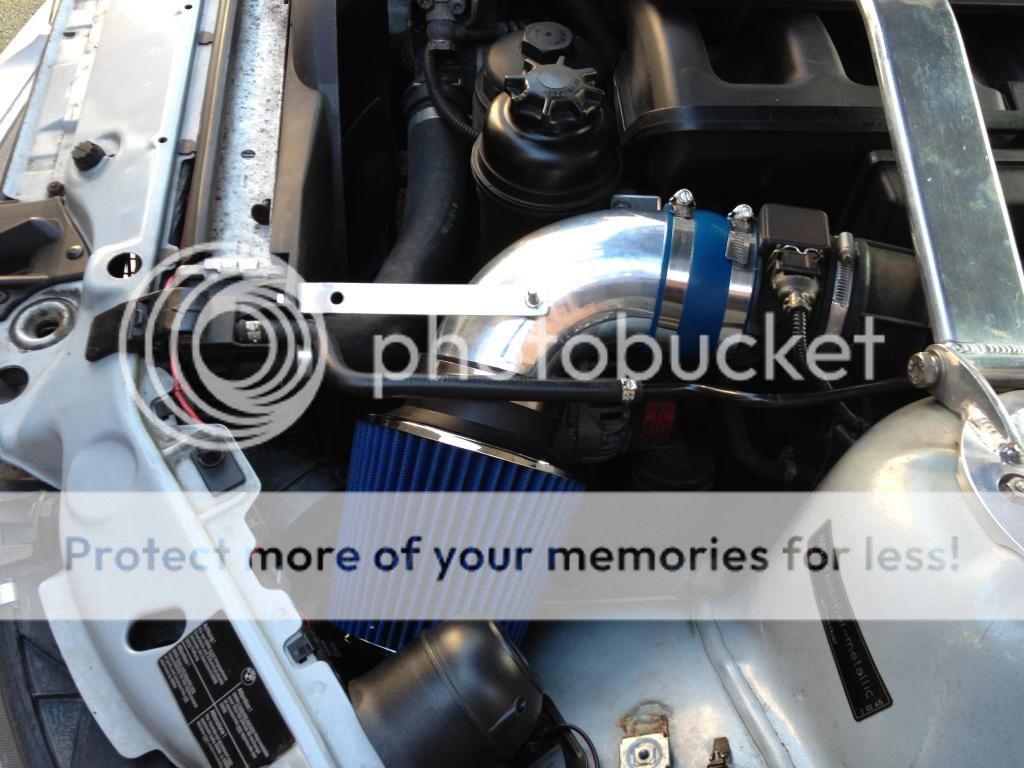
Fitted the induction kit today as well. I left the standard cold air feed in, but will probably add a new one coming up from the grill in the bumper as there looks to be enough room to get a 3 inch one from there upto the filter. I also made a template so that I can make an aluminium heatshield to go around it with a cut out for the cold air feed. Won't do anything for BHP but sounds a bit better when the loud pedal is pressed :D

IMG_0358_zpsef2e74c2.jpg


IMG_0360_zps85324dc7.jpg


Looks like the next job will be to clean that engine bay :oops:
 
Re: g8jka - 2.0 Progress Journal - Latest Mods (Feb 2013) Pa

Dave,

Can you give me some more information on the induction kit? I'm looking for a replacement for the Simota I sold to Pete59 last year. Cant afford the £280 Simota want...

The centre console looks really nice :D

Gary
 
Re: g8jka - 2.0 Progress Journal - Latest Mods (Feb 2013) Pa

It's actually one of these. It bolts on ok, only thing I had to do was to bend both brackets so one bolts to the oil filter housing and the other to the back of the radiator housing. It can be installed without them but would probably rattle around with a bit of movement could almost catch the alternator. With these two brackets in place its solid and not moving anywhere. All I need now is a heat shield and I am going to route another cold air feed in from the bumper grill and up around the back of the radiator and onto the filter.
 
Re: g8jka - 2.0 Progress Journal - Latest Mods (Feb 2013) Pa

Ooh, that's a much better price! Will order one of those straight away.

Definitely need a heat shield with that type, so will look forward to you finding one. I've searched before but not found any...
 
Re: g8jka - 2.0 Progress Journal - Latest Mods (Feb 2013) Pa

GazHyde said:
Ooh, that's a much better price! Will order one of those straight away.

Definitely need a heat shield with that type, so will look forward to you finding one. I've searched before but not found any...

Yes that's the only problem. I did a template to make my own but that was before I installed the filter and it will now need some adjustments. Once its done I can make my own from aluminium. Or the other solution is one of these. It depends whether I can make the correct adjustments to the one I plan to make :)
 
Re: g8jka - 2.0 Progress Journal - New Roof (Mar 2013)

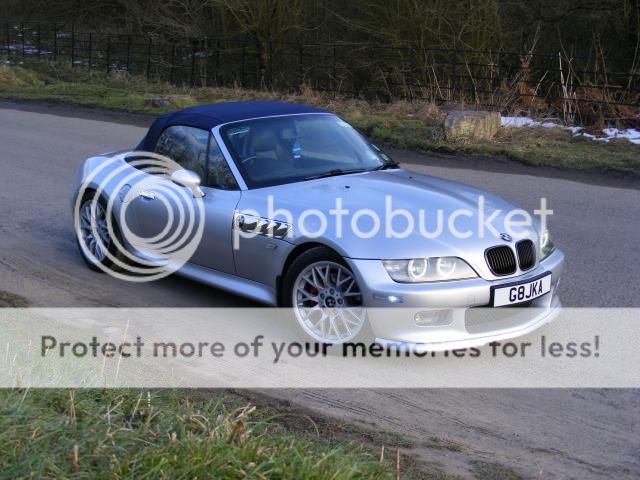
Its coming up to 3 years since I brought the zed and the roof on it was always a little tatty and had started to wear quite badly in a couple of places below the rear window. I replaced the rear screen last year after it split and I had dyed it a while ago and it was started to fade again, so now was the time to replace it.

I didn't really want black as I wanted a change and after ruling out red as they were too expensive I ending up going for a blue one from soft-tops in Croydon. I have to say his work is fantastic and at £350 fully fitted you cannot go wrong. The guy (Steve) did both my dads and mine by himself in just 5 hours.

The blue roof looks great on the silver and I am so pleased with it, now I think I'm going to drive around with the roof up more than down :o

Anyway, some pics

DSCF3461_zps653fd0a2.jpg


DSCF3440_zps1cef0eca.jpg


DSCF3453_zpseda7b630.jpg


DSCF3443_zpsded93a63.jpg


DSCF3445_zpsa6502d55.jpg
 
Re: g8jka - 2.0 Progress Journal - New Roof (Mar 2013) Page

That looks great, its on my list for replacement :-bd
 
Fitted my new matching brushed steel handbrake and gearknob set. They are very weighty and top quality items just like the storm ones. Changing gear now feels better from what it did with the illuminated gearknob. Suits the interior a lot better I think.


Also got the summer wheels back on a couple of weeks ago :D


Looks lovely, I would love a set of those weels but difficult to get in the correct offset for the ///M not to mention the price.
 
I now have the window closure working off the alarm to close the windows when locking the car. And also remote roof closure on the press of a button on the alarm fob. This is great if you leave the zed parked outside with the roof down and it starts to rain, just push the button and the roof will close. It obviously doesn't do the latches but gives you time to get a jacket on and go and close the roof properly without rushing outside and still finding a puddle of water on the seat. And it looks pretty cool.

 
Love the roof closure, obviously you have to turn the clamps to secure the roof, but i have to sit in mine with my foot on the brake...:) By the way the car looks fabulous....
 
Love the roof closure, obviously you have to turn the clamps to secure the roof, but i have to sit in mine with my foot on the brake...:) By the way the car looks fabulous....

Yes you still have to get in and do the clamps, but like you say by the time you realise its raining, you have to run out, open the car, get in, start the ignition, foot on brake and press the button for the roof to close. By that time everything is soaked so this way saves you a little bit of time, the roof shuts almost completely so you could actually leave it a while and the rain won't get in :)
 
Just like my Z4 with the Gaptech one touch system. Although the Z4 version drops the windows slightly before going up or down.

Shame you won't be able to work out a mechanism for the latches, but pretty impressive all round!

 
Back
Top