Artic Silver 2.8 - OEM+ long term project

Lee

Zorg Guru (V)
British Zeds
M Power
#ZedShed
Joined
Mar 26, 2014
Points
193
Location
Basingstoke
Model of Z
Z4 Coupe 3.0si
Alright sharpey, Shame I still don't have my zed so you test drive it to see if it was nibble enough. It would never be anything on the Mx5's you just cant beat the weight and wishbone setup.

Mine was on thicker roll bars with Powerflex bushes all-round, Koni shocks lowered down 35mm on apex springs. M3 front top mounts with 1* of camber for better turn in. I set @Dino D the similar when we did his car.

Lee
 

5harp3y

Zorg Guru (IV)
British Zeds
Joined
Jul 10, 2015
Points
168
Location
Basingstoke
Model of Z
2.8
Alright sharpey, Shame I still don't have my zed so you test drive it to see if it was nibble enough. It would never be anything on the Mx5's you just cant beat the weight and wishbone setup.

Mine was on thicker roll bars with Powerflex bushes all-round, Koni shocks lowered down 35mm on apex springs. M3 front top mounts with 1* of camber for better turn in. I set @Dino D the similar when we did his car.

Lee
Hi @Lee

The eibachs springs have made a massive difference.

getting the car aligned on saturday too as it pulls

What ARB size do you recommend?

And what M3 topmounts should i fit? i'm taking the front suspension off again soon to install lowering caps so will be a good time to swap the topmounts.
 

Lee

Zorg Guru (V)
British Zeds
M Power
#ZedShed
Joined
Mar 26, 2014
Points
193
Location
Basingstoke
Model of Z
Z4 Coupe 3.0si
camber adjustable E36 front top mounts available from most places. My roll bar was 22mm I think or around that figure. The other night I refitted a roll bar to a 2.2 which was 16mm so its quite stiffer being that much thicker.

You might find simply stiffening the bushes will help the handling.
 

5harp3y

Zorg Guru (IV)
British Zeds
Joined
Jul 10, 2015
Points
168
Location
Basingstoke
Model of Z
2.8
camber adjustable E36 front top mounts available from most places. My roll bar was 22mm I think or around that figure. The other night I refitted a roll bar to a 2.2 which was 16mm so its quite stiffer being that much thicker.

You might find simply stiffening the bushes will help the handling.
Ah ok, im not keen on solid topmounts due to NVH but i heard you can use z3m stuff

22mm sounds nice and chunky. will take a look, my originals look past their best too!
 

5harp3y

Zorg Guru (IV)
British Zeds
Joined
Jul 10, 2015
Points
168
Location
Basingstoke
Model of Z
2.8
Busy weekend this weekend but still managed a few hours on the car.

First was to fit my new Splitter from unique Customs.

Really easy to do: 4 x 8mm screws underneath the bumper, 2 x T50 bolts holding the bumper to the shock bars. Yank off!

Flip, measure, measure, measure, screw down with self tappers, take off, use tape, rescrew.

all done.


next jobs was to clean the engine bay as its a bit grubby. Took out the airbox and washer bottle to properly clean it using Autoglym engine degreaser.

Washer bottle went in the dishwasher (wife was out), top tip, put a bit of degreaser in it after with some dry rice and shake, gets all the crap out.

refitted and everything was treated with 303 aerospace protectant.


also got my poweflex diff bush and my revshift gearbox mounts to do but it was way to cold to be rolling around under the car
 

t-tony

Zorg Expert (II)
Supporter
British Zeds
#ZedShed
Joined
Dec 31, 2013
Points
226
Location
Torksey Lock,Lincoln, England
Model of Z
E89 Z4 23i Auto
Nice job Tim! :)

Tony.
 

Coffee331

Zorg Addict
Joined
Apr 12, 2015
Points
53
Location
Maynooth
Model of Z
2.0 Roadster (2000)
Nice splitter! :thumbsup:

Would you have a contact number for them? I can only seem to find their Facebook page. Was the splitter expensive?
 
Last edited:

5harp3y

Zorg Guru (IV)
British Zeds
Joined
Jul 10, 2015
Points
168
Location
Basingstoke
Model of Z
2.8
Loads of things are in the pipeline for this, however i got distracted by some new wheels.

Bought these:


and they wont work for me on the fronts, too much poke :( proper gutted as they look incredible.
 

Sean d

Zorg Expert (I)
Supporter
British Zeds
Joined
Sep 29, 2015
Points
201
Location
Lincolnshire
Model of Z
Z3 2.8
Simple things make all the difference.

£5 for this to finish off the boot.


Excellent stuff mate, what is that thing stuck to the boot mat, I had it on mine and thought that it was a bit of rubbish that had stuck so I took it off :oops:
 

oldcarman

Zorg Guru (V)
Supporter
Canadian Zeds
The M44 Massive
Joined
Feb 11, 2014
Points
188
Location
Pine Falls Manitoba can.
Model of Z
1.9 M44
I reckon if I could have 10mm machined off they would fit but not sure that's wise
You should be able to find a wheel co that will take the 10mm out of the centre and then weld the two halves back together and balanced. They can remove or add width easily. Not very expensive here but check it out you may be able to use those wheels! HTH. JIM
 

5harp3y

Zorg Guru (IV)
British Zeds
Joined
Jul 10, 2015
Points
168
Location
Basingstoke
Model of Z
2.8
You should be able to find a wheel co that will take the 10mm out of the centre and then weld the two halves back together and balanced. They can remove or add width easily. Not very expensive here but check it out you may be able to use those wheels! HTH. JIM
you can only do that with steel wheels, not alloys.
 

5harp3y

Zorg Guru (IV)
British Zeds
Joined
Jul 10, 2015
Points
168
Location
Basingstoke
Model of Z
2.8
Busy weekend for me on the zed as the wife was away on a training course.

After a nice drive on saturday morning i cracked on with a job i've been meaning to do for a while.

i had noticed that i had a small oil weep


and it was the cam cover gasket that was playing up.

So a quick order to Sopers Lincoln and we had all the bits.

The process is so easy but takes about 2 hours:

all you need is

10mm socket
8mm socket
flat blade screwdriver
torque wrench it you are being fussy (i am)


engine cover off, screwdriver to remove the four blanks and then 10mm nut x 2 and 10mm bolt x2


leaves you with access to the coils


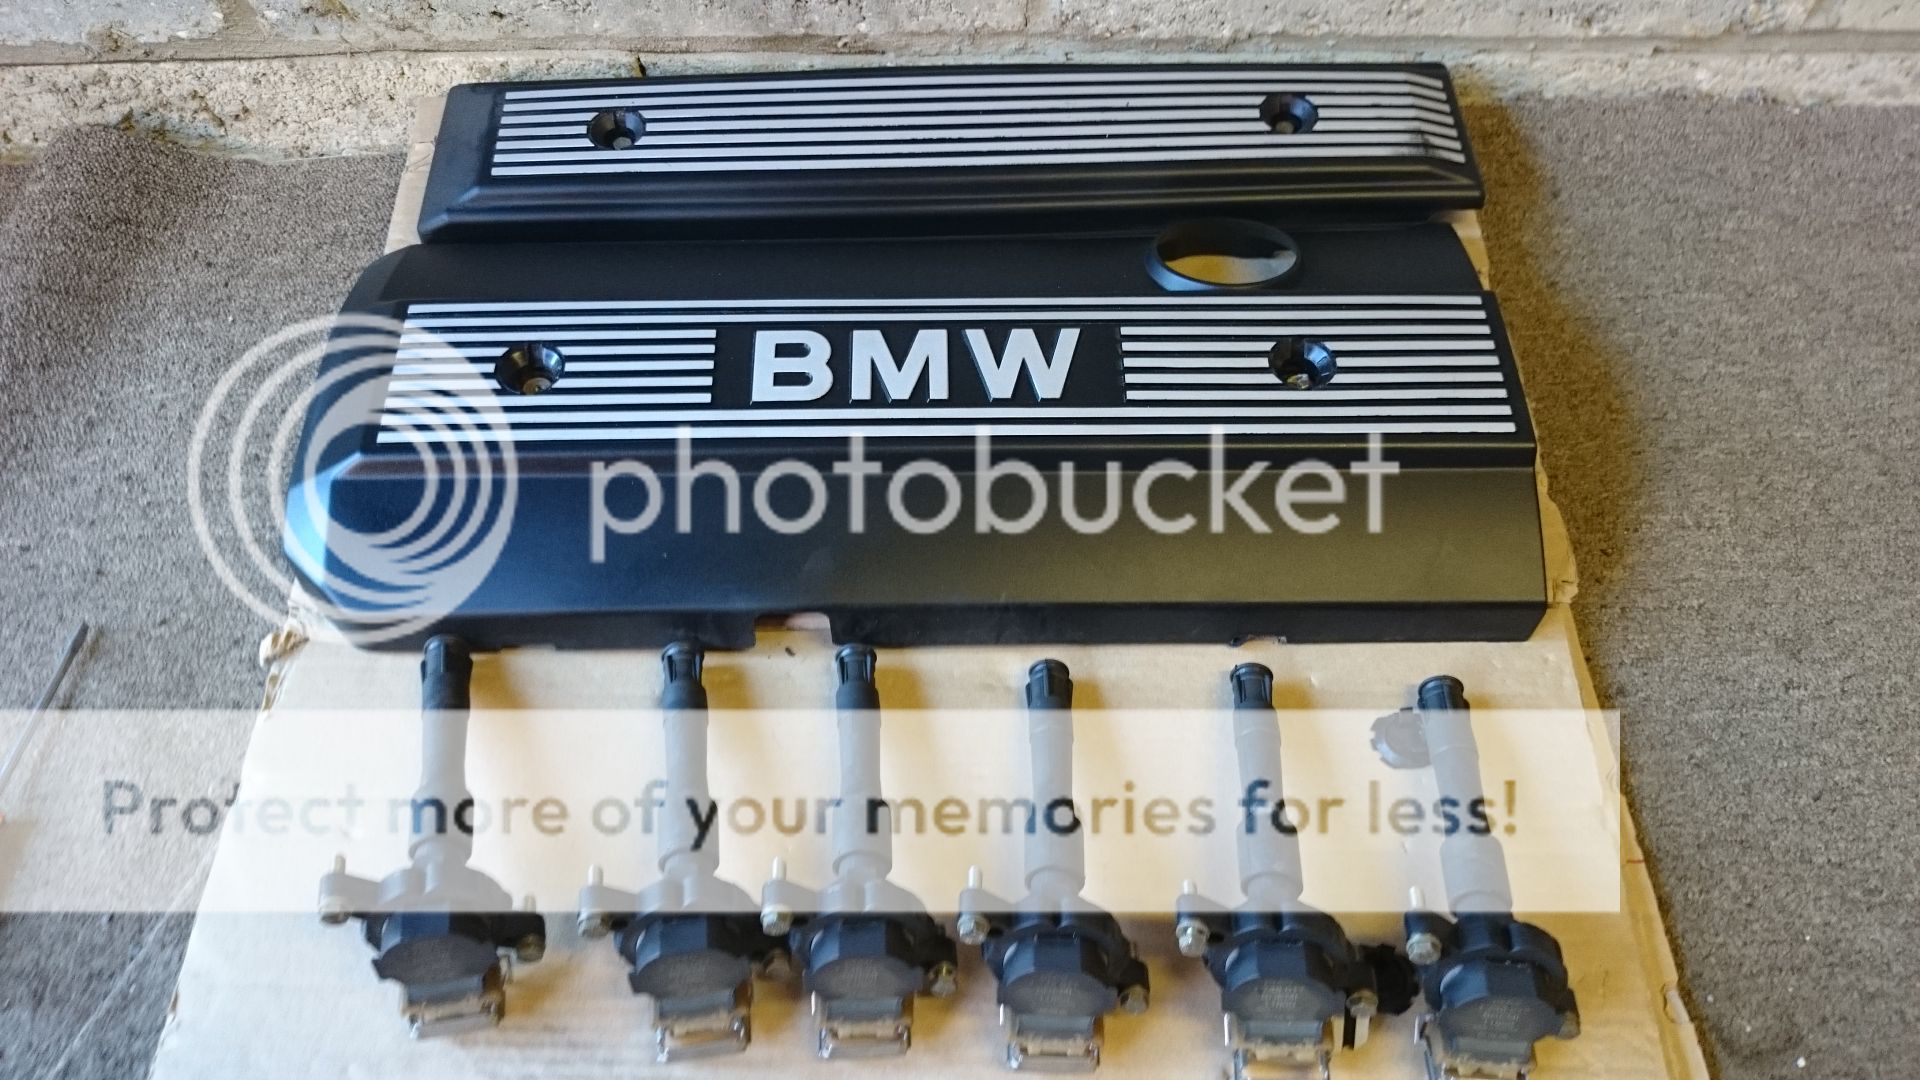
each held on by 2 x 10mm bolts and a clip for the connector, clip slides up and then out, whole wiring assembly can be removed for access very easily (circular connector and some plastic clips)

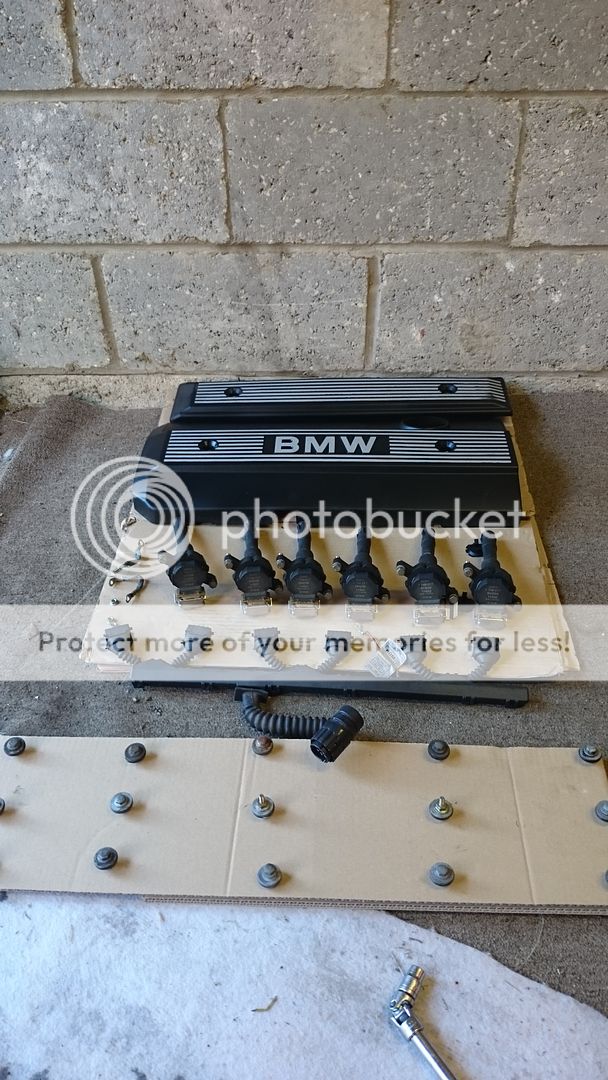
there are 3 x 8mm earth straps too

notice im lining everything up as it came out, as everything was working before i dont want to swap the coils etc


leaves you with this, they you crack on with the 15 x 10mm nuts that hold the cover on. They all have a metal wsher and a rubber bung attached to them. be careful not to drop any. the rears are harder to get at but a little wobbly extension on the socket is all you need.


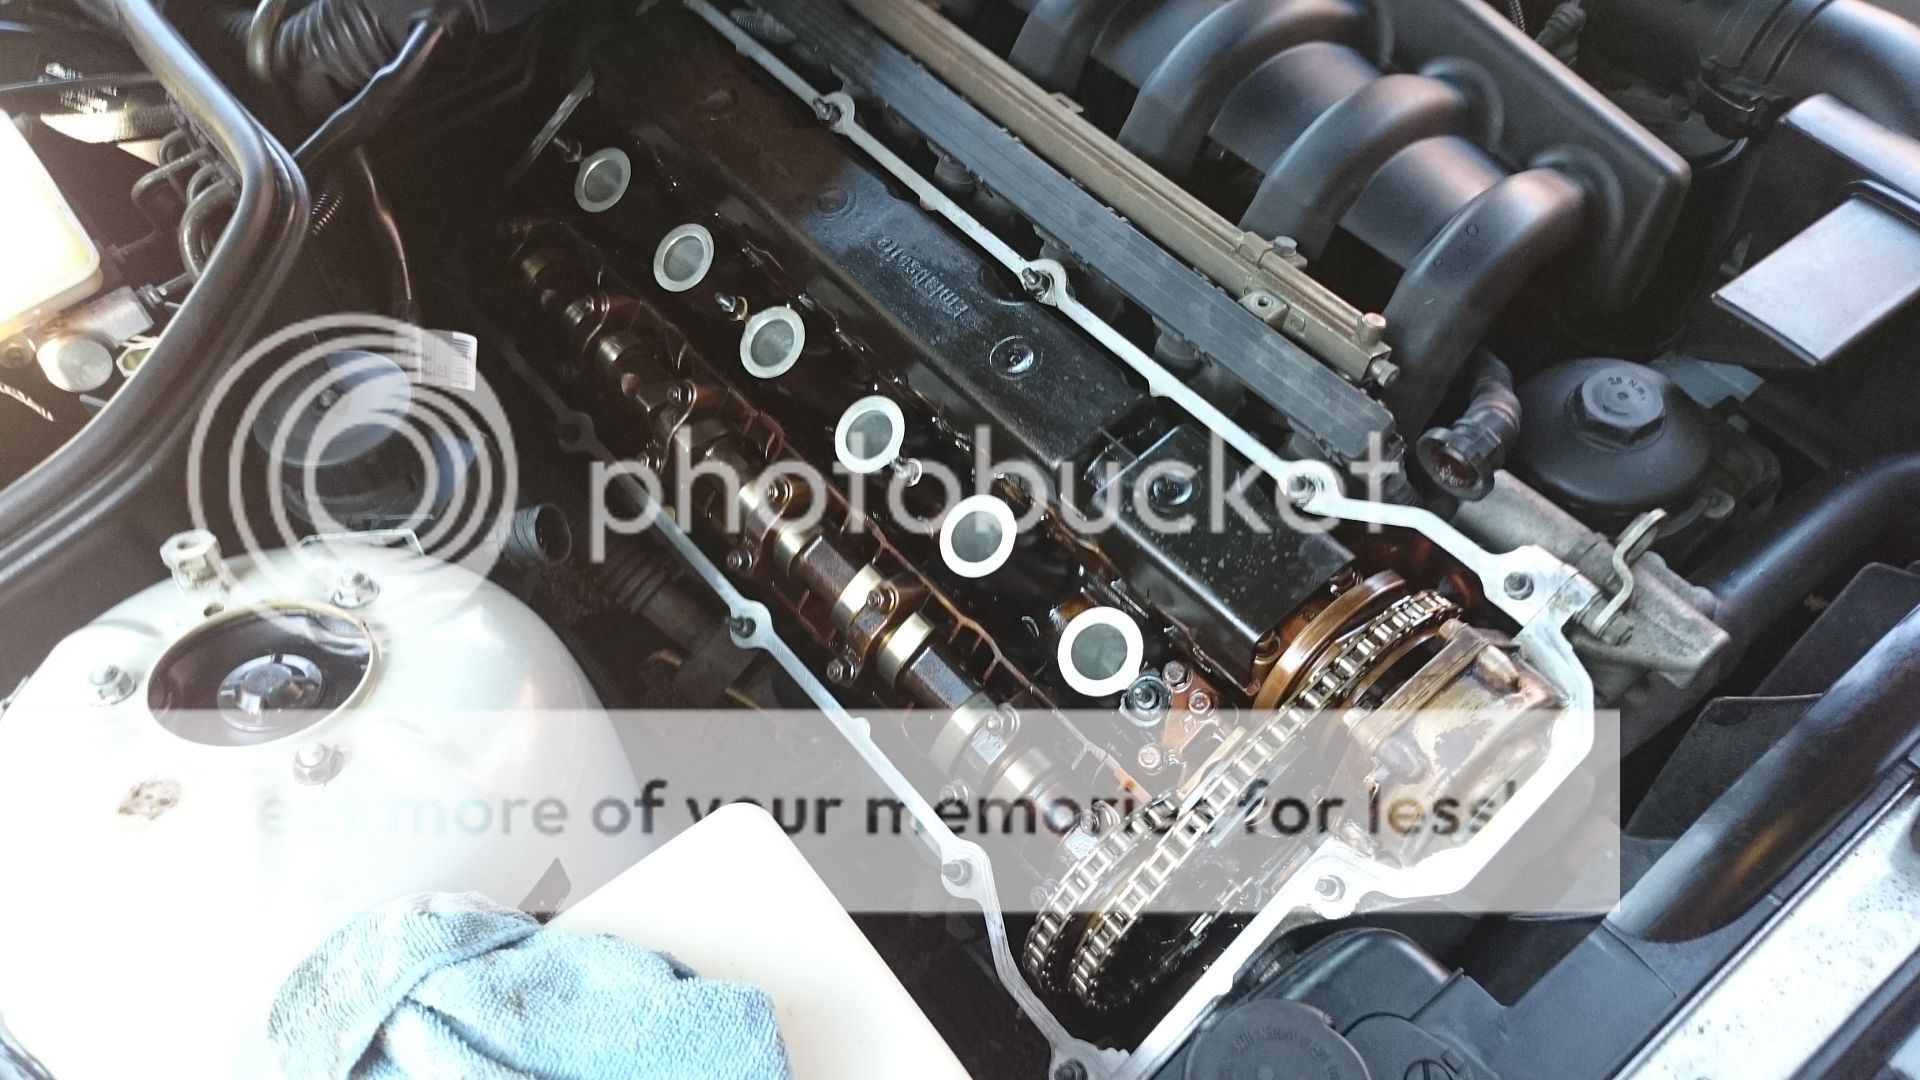
small rubber mallet taps to the cover and some wiggling and it'll come off, it will be tight as the old gaskets would have bonded to the head a little.


shiny bits.

as per any gasket installation, clean up the mounting surface and scrub an sections that look rough.

BMW advise that you run some sealent at the front in both corners and the half moons at the back.
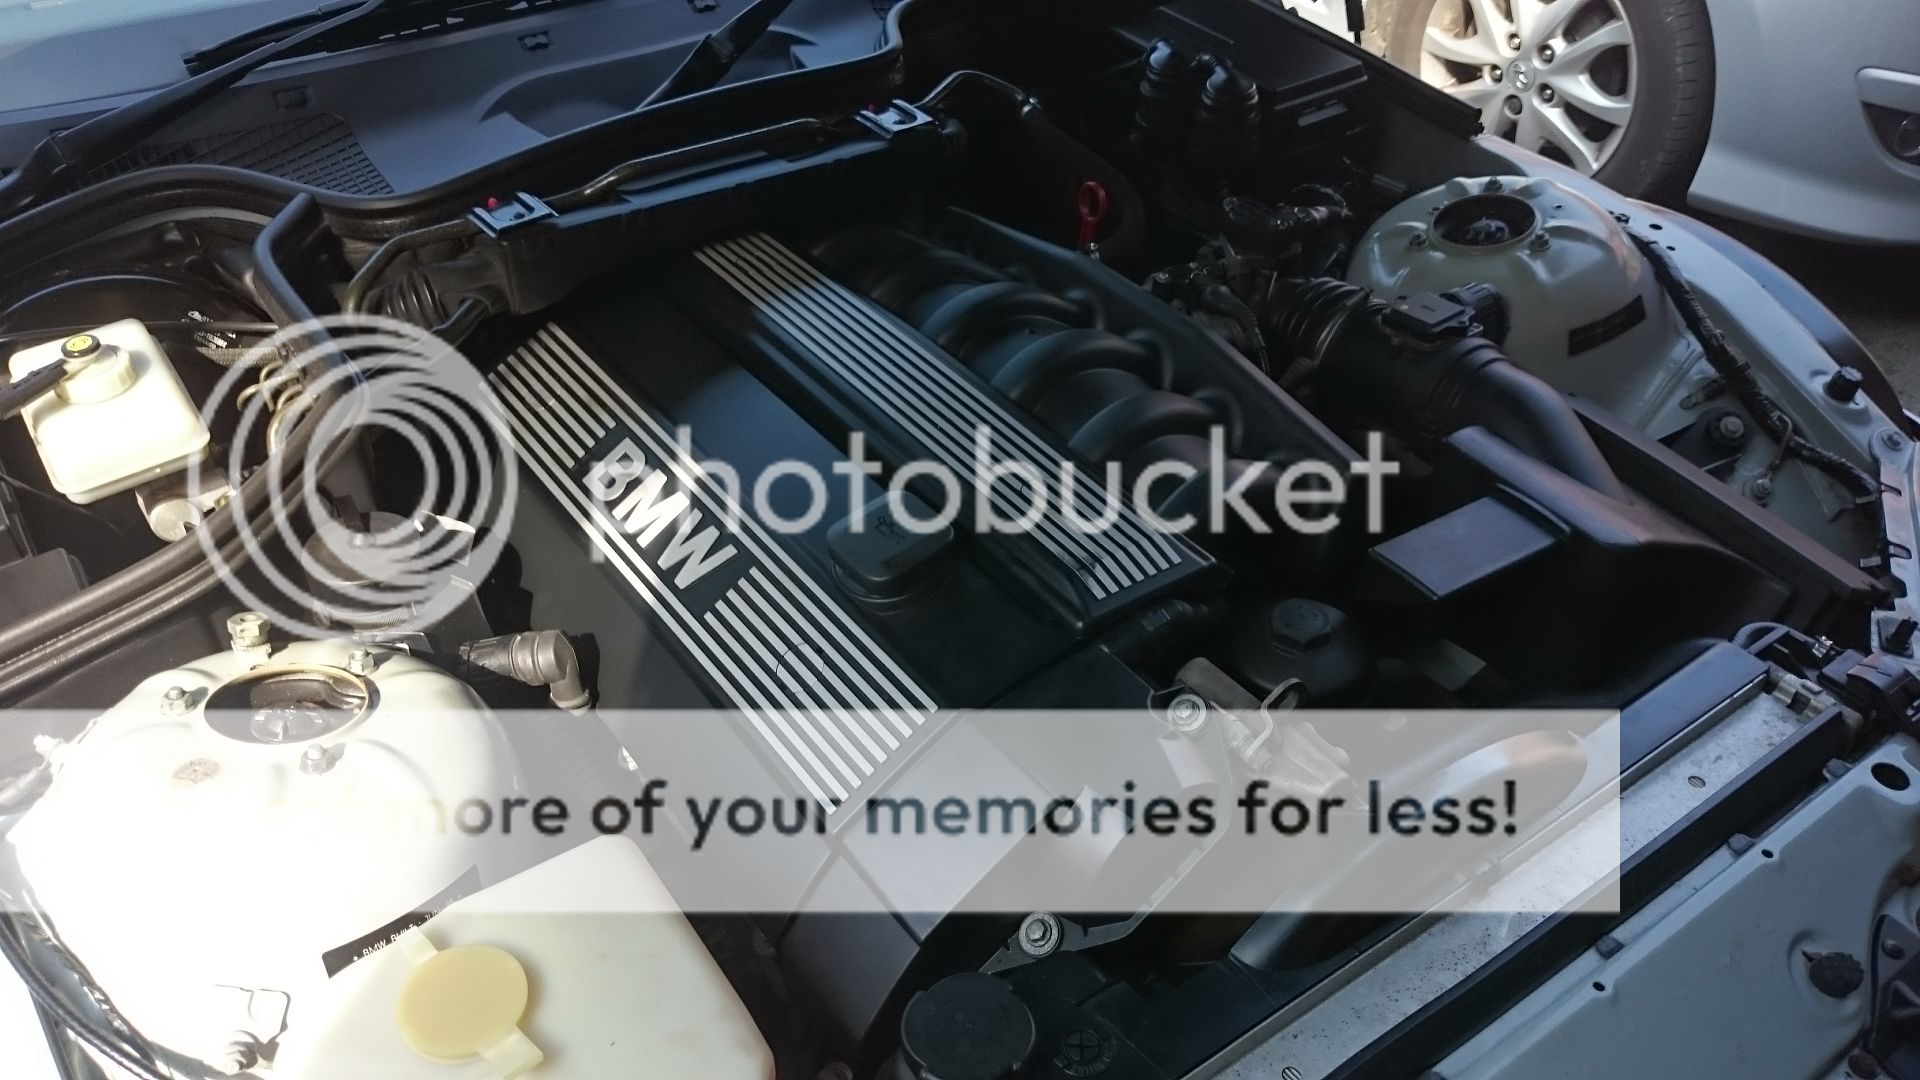
refit as per above


then i went on to dye the leather seats as they were in a poor condition when i bought the car


used this kit

process is:

degrease
intensive clean
gentle clean
condition
gentle clean
degrease
dye
dye
dye
dye
dye

some before shots


used a small sponge to cover the leather, let it dry and then go again, did about 5 coats.

after


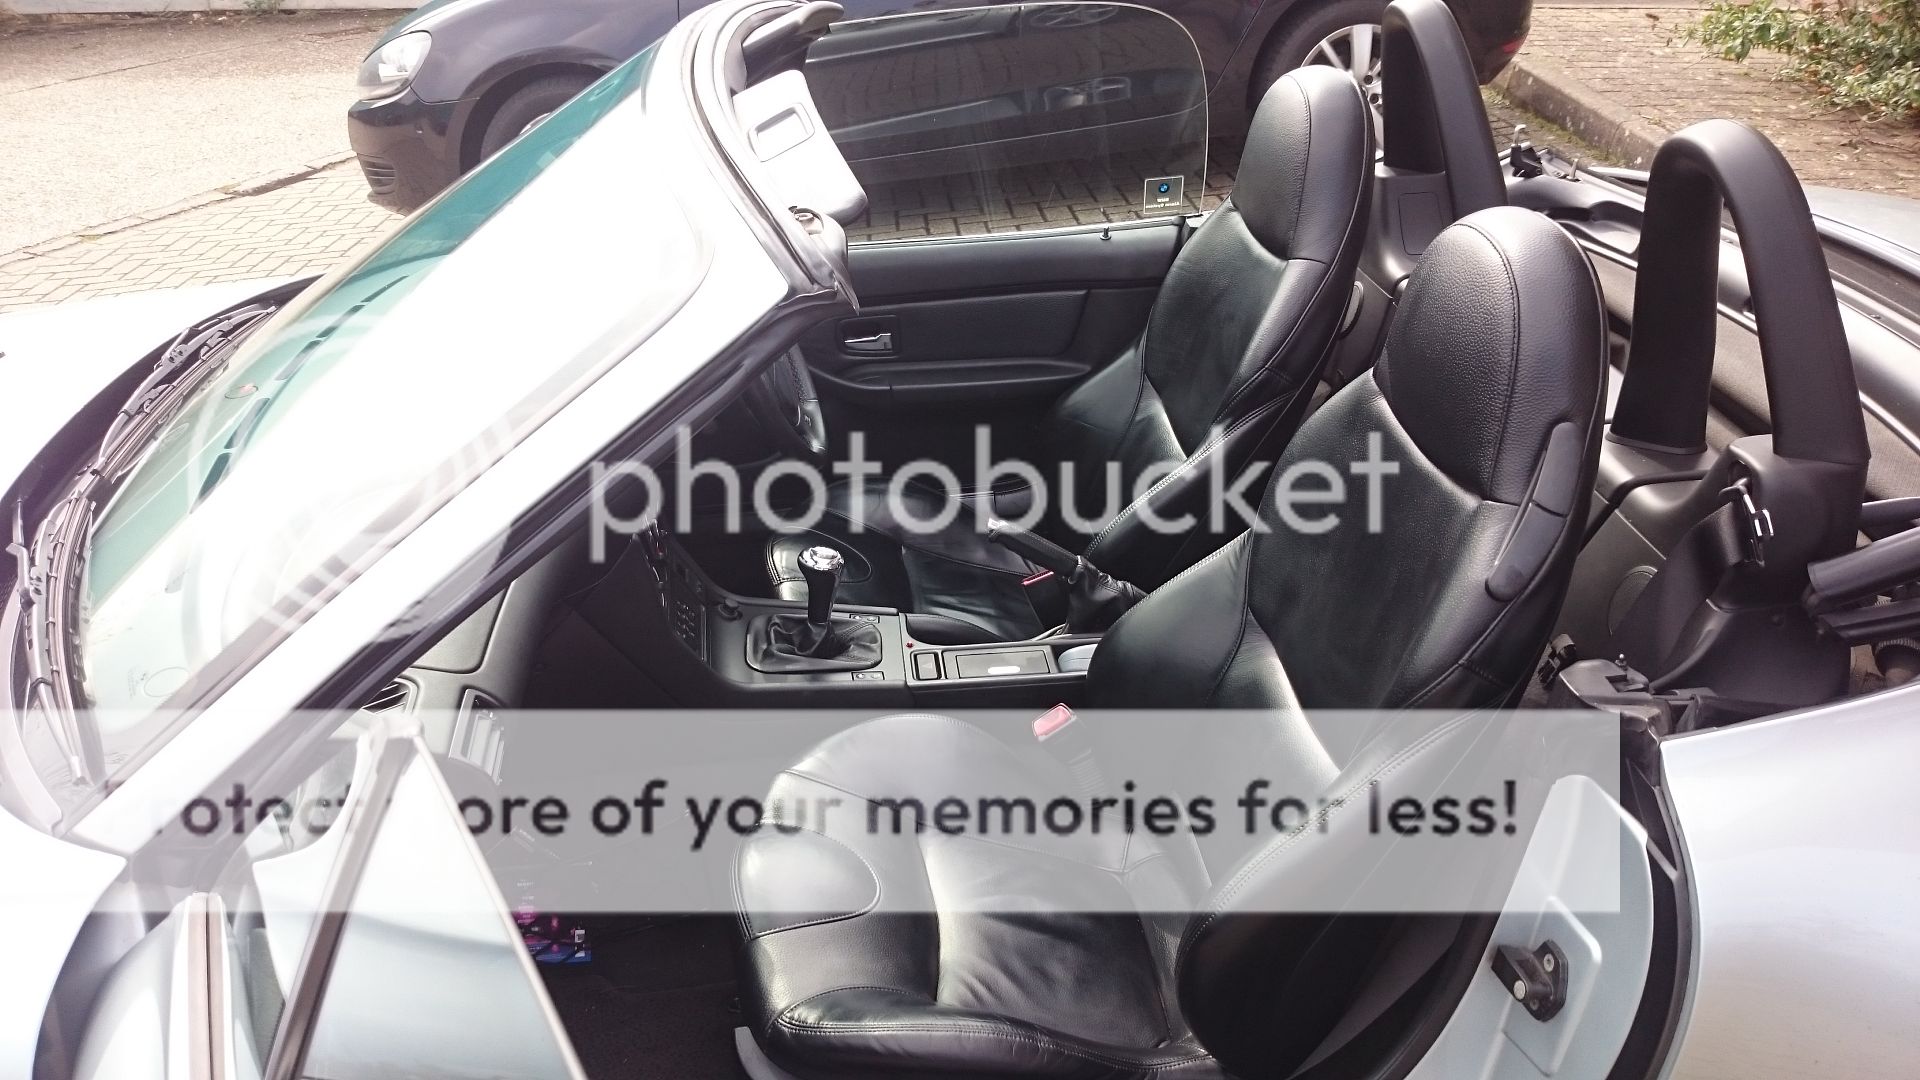
its a little patchy still so i might do another two coats
 

5harp3y

Zorg Guru (IV)
British Zeds
Joined
Jul 10, 2015
Points
168
Location
Basingstoke
Model of Z
2.8
sunday came about and i decided to paint my calipers and discs as they we're disgustingly rusted.

the front discs and pads will need changing at some point this year but will upgrade to either e46 fronts or porsche brembos.

before


wire bruch on a drill (be careful of the abs wires and brake sensors) i only did the face of everything so it only looks good from the wheel side, which is all im bothered with at the moment.

i used a small brush and halfords 300 degree c engine enamel (matt black)

after


small job but massive change cosmetically, especially as the rear hubs are so big and really visible through the wheels.

Whilst down there i noticed that:

The rear brake pad sensor is in a teriible state (it actually crumbled in my hands)
The front anti rolls bar bushes are fooked
the rear anti roll bar bracket on the nearside has snapped off!


so a quick phone to sopers this morning and i have, all new front and rear hardware soming for the anti roll bars
 
Top