I changed the auxiliary belt, tensioner and guide pulley on my 2000 2.0, here's how I did it.
Tools required,
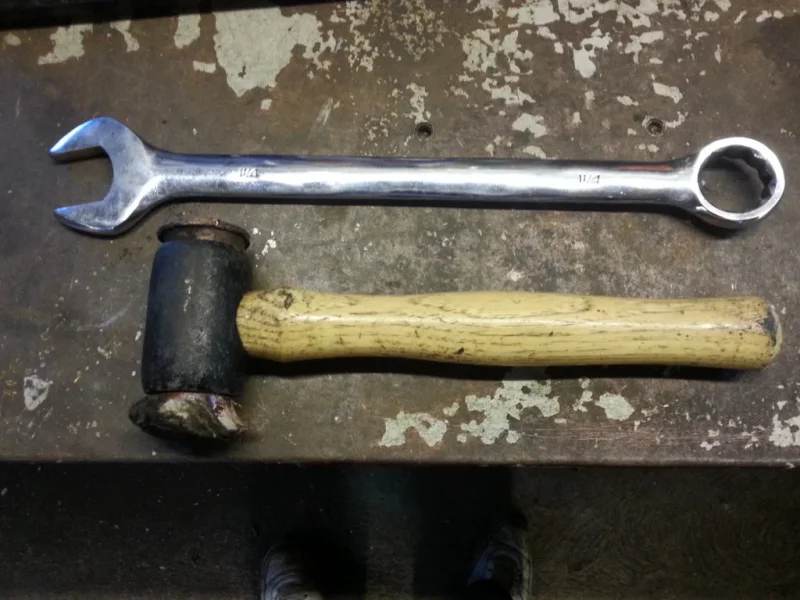
1. 1 1/4" combination spanner (or 32mm)
2. Hide/copper faced heavy hammer.
3. 13 and 16 mm 3/8" sockets and ratchet and 1" and 3" extensions.
4. 1/4" drive socket set.
5. Pair of side cutters.
Removal of the air filter housing is required to give access the main job at hand.
First thing to do is loosen the viscous fan hub on the water pump. This is where the big spanner and hammer come in. Place the open end of the spanner on the hexagon of the viscous fan hub and with the ring end of the spanner standing upwards give it a couple of sharp smacks with the hammer in a left hand thread direction. ie. Hit towards the right as in the picture. Once loose continue screwing the hub off the water pump. Be careful not to let the fan drop and damage the radiator core.
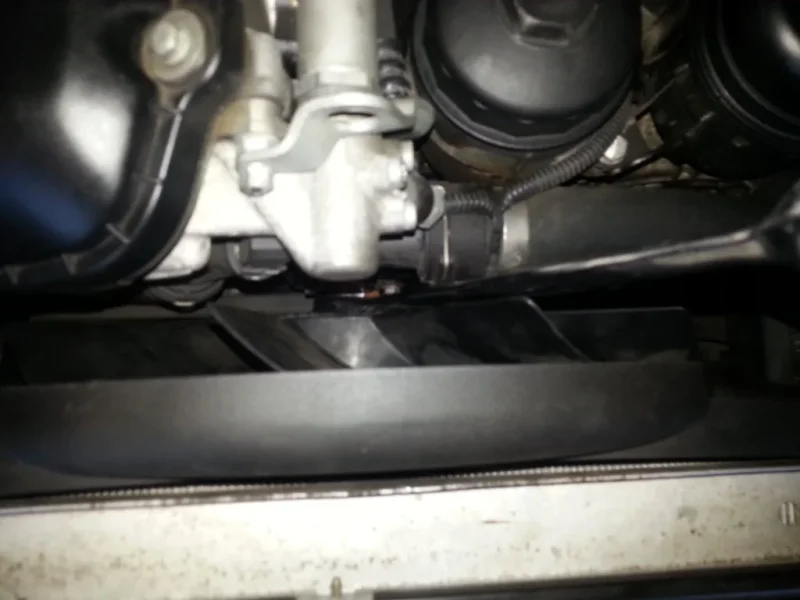
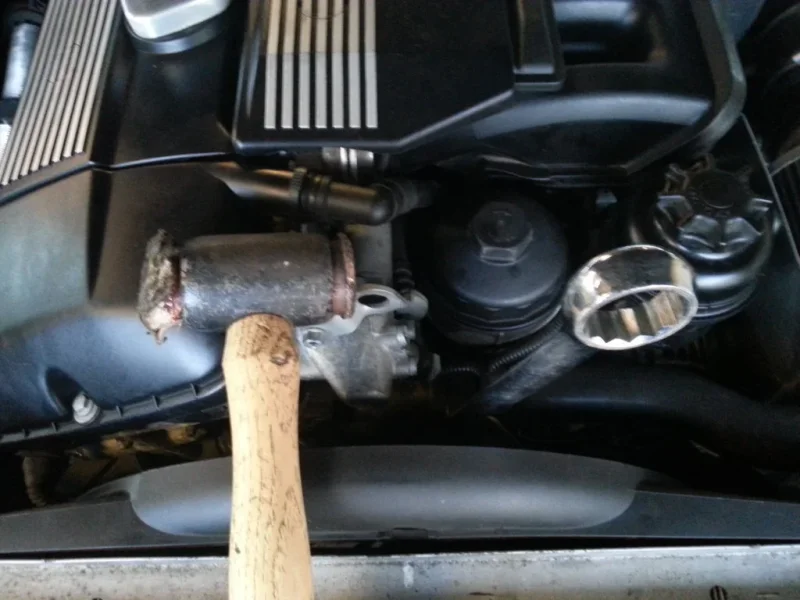
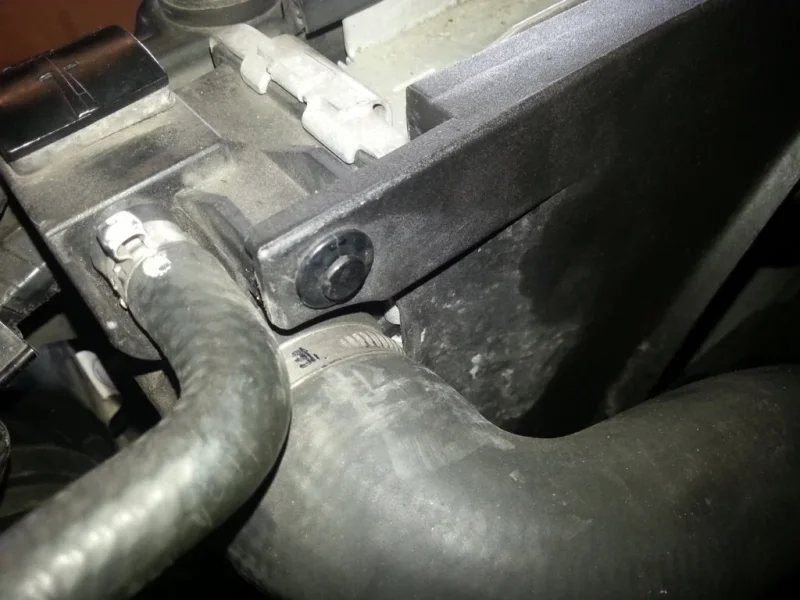
Next you have to remove the fan cowling which is fastened to the radiator at the top corners by a plastic rivet. To remove the rivet use the side cutters to ease the centre part of the rivet out, then pull out the main part. The cowling and fan then lift out together, again take great care not to damage the radiator core.
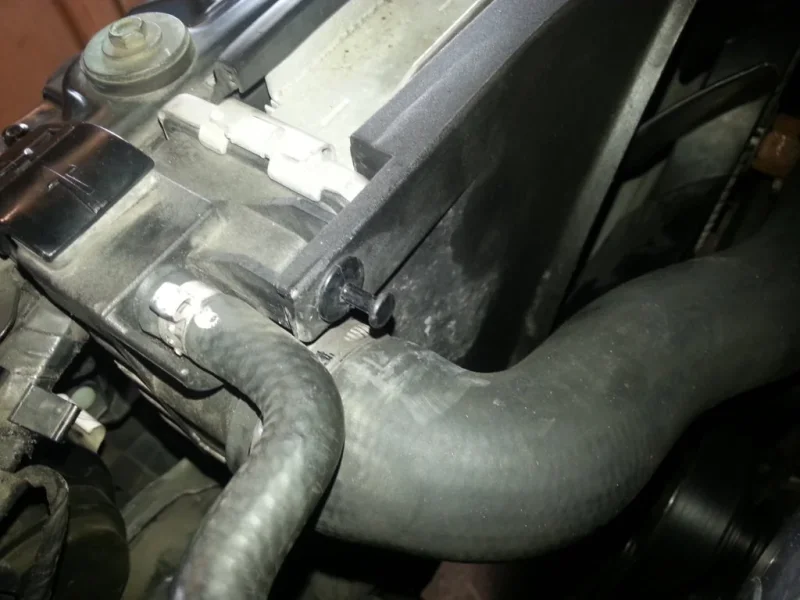
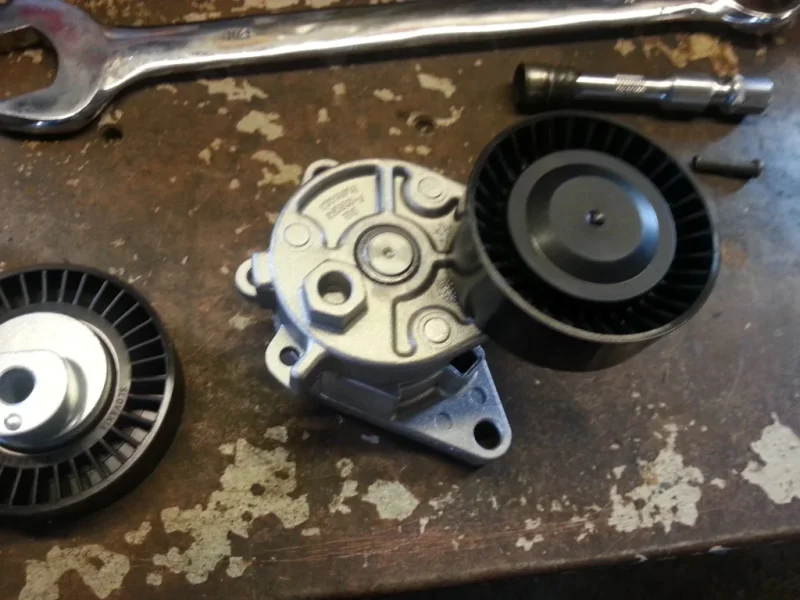
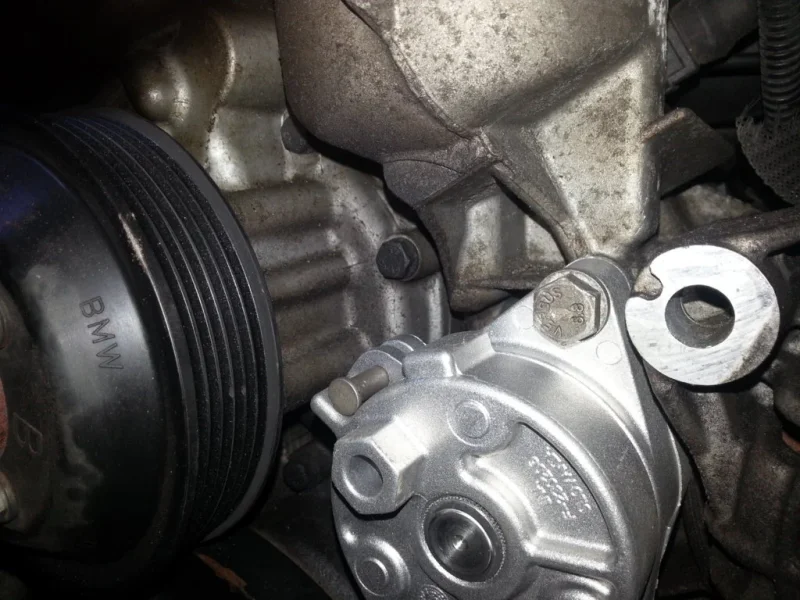
Once the fan and cowling are out of the way you can get a 16mm socket and ratchet and putting the socket onto the 16mm hexagon casting on the tensioner casting apply pressure to release tension on the Aux. belt and place a screw or similar into the "locking" holes in the 2 parts of the tensioner the maintain the tensioner in the relaxed position, where you can remove the belt from the pulleys and place it out of the way.
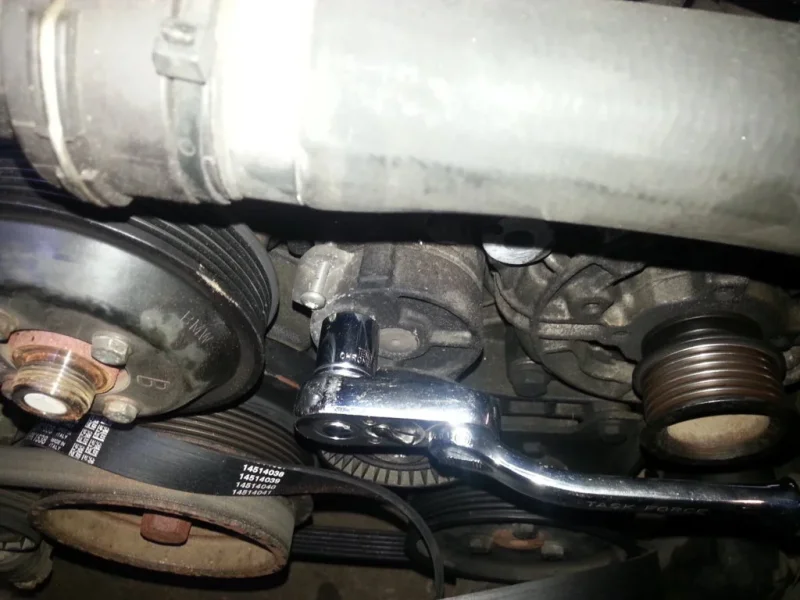
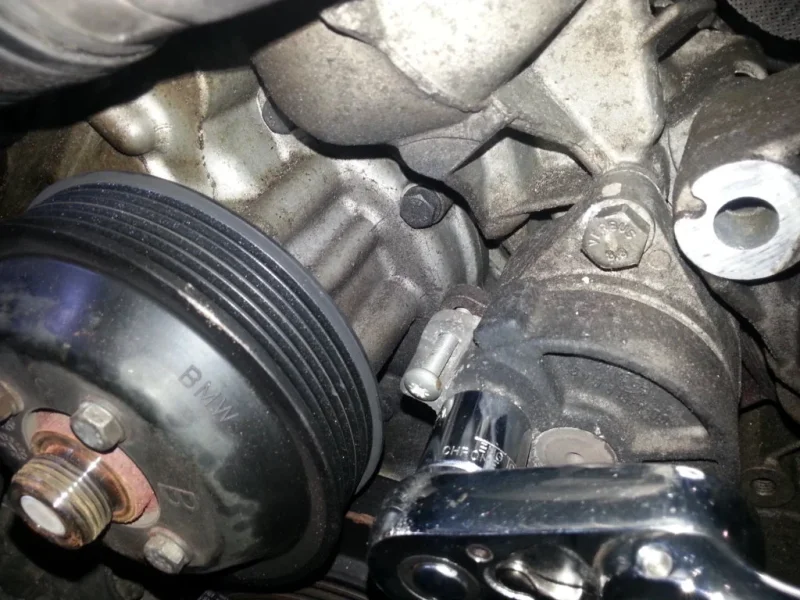
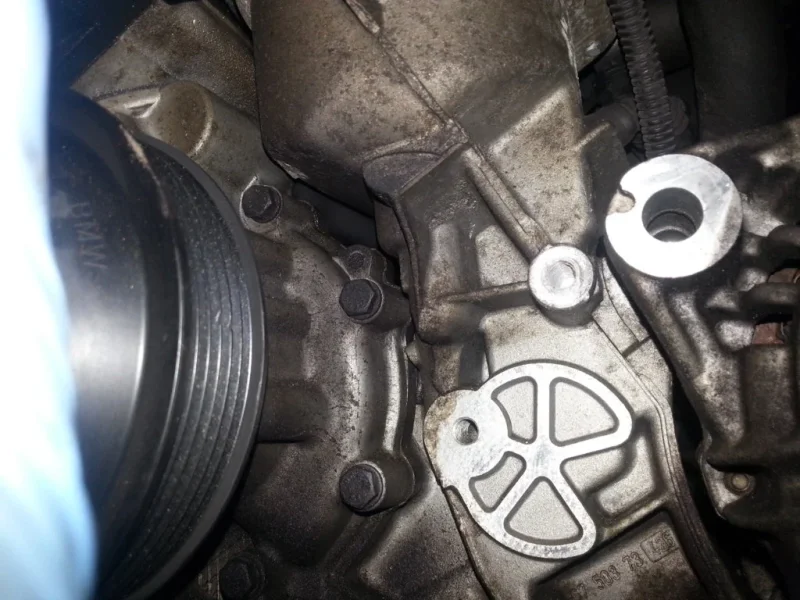
Next using the 16mm socket slacken and remove the guide pulley bolt and pulley itself.
Now you have to release the tension and remove the small screw and allow the tensioner to fully release to the end of it's travel so that the lower fixing bolt is accessible. Slacken and remove the 2 fixing bolts using the 13mm socket and extensions and remove the tensioner assembly, again watch the rad.
Here you can hear how noisy the old bearing was, turn up the volume.
View: https://www.youtube.com/watch?v=R3B1bWF0Lic&index=2&list=FLC-M7yLKSNJlaaiUga62JhQ
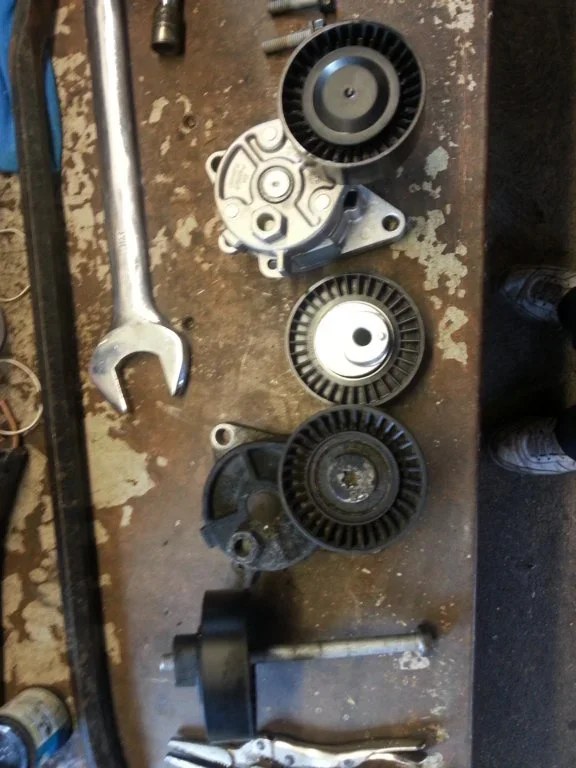
With the old and new parts side by side on the bench you can see the new guide pulley has a small lump which needs to be located in the cut out shown on the mounting face by the 10mm diameter hole in the last picture. before fully tightening the 16mm bolt. The guide is best fitted after you have fitted the new tensioner and tightened the 2 13mm bolts and pre-tensioned the lever and locked it in place with a pin as in the picture.
You can now re fit the belt around all the pulleys, leaving the power steering pulley till last, now apply a little pressure on the tensioner with the ratchet on the 16mm hexagon and remove the locking pin. Now apply full pressure on the tensioner to move to it's full extent and then put the belt onto the power steering pump pulley. Finally check that the belt is on ALL pulleys properly in line and centrally positioned on the ribs and release pressure on the tensioner. Finally lower the fan and cowling back into position ensuring that the cowling is located behind the mountings pegs on both sides of the radiator, you can then fit the fan back onto the water pump, remembering that it's left hand thread. When it is tight place the 32mm spanner on the hex again and apply a couple of sharp smacks with the hammer to lock it in place. The fan cowling is fastened back to the radiator with the 2 plastic rivets, with the centre parts tapped back in to lock the rivets in place.
Here you can here how quiet the new tensioner pulley is, after the initial fast idle slows and you can hear above the induction noise !!
View: https://www.youtube.com/watch?v=WUojMoDNgUQ&index=1&list=FLC-M7yLKSNJlaaiUga62JhQ
If I've missed anything shout up. If you're close enough and want help you only need to ask.
Tony.



 ), I will be changing the aux belt and tensioner when I put it back in the road.


