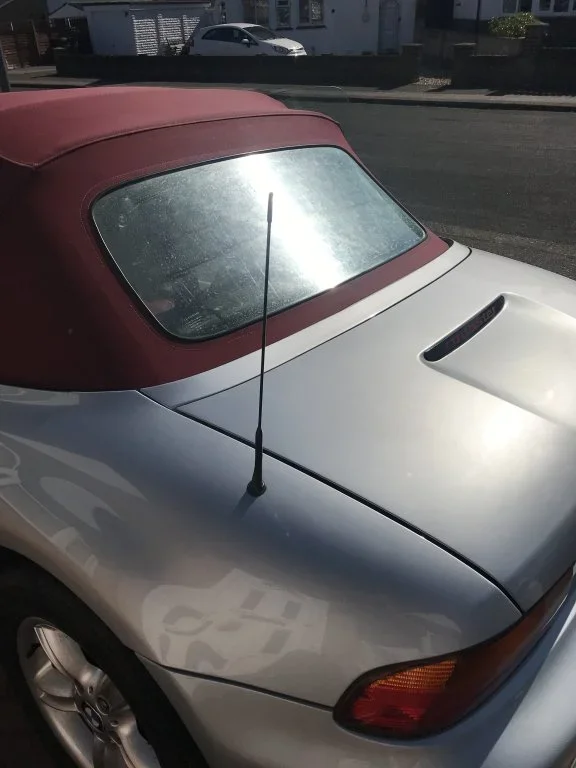
I washed the car this morning….. ( someone revive @andyglym  ). And I noticed the aerial was leaning back further than normal…..
So investigated……. The plastic dome has been snapped. And the core wire has also been broken.

I have a feeling that this could be another car park ‘ incident’. Have had the Kia hit twice in carparks in the last 6 months …..( all repairs done now at my expense )
)
I cant see how it could break under normal conditions… but anyway….. nothing I can do about it other than to get it repaired
The large nut will undo, so you can get to the wire…

so to repair it needs a new piece of coiled wire added to the existing wire…then screw the nut back on , solder the wire to the top piece, then superglue ( gorilla glue) the dome back in place.
( the coiled wire will make it easier to push the plastic back together…. Well… thats the theory

So thats the plan….. but need to get some glue so will try this tomorrow.
But its always good to have a back up plan…….
Mine is ……… @spurs fan in a coupe
……… Andy have you got one ?????? The part number is 65218375159
and as a temporary repair…. Stuck a bit of butyl in the grommet to save any leaks…..

). And I noticed the aerial was leaning back further than normal…..So investigated……. The plastic dome has been snapped.
And the core wire has also been broken.I have a feeling that this could be another car park ‘ incident’. Have had the Kia hit twice in carparks in the last 6 months …..( all repairs done now at my expense
)I cant see how it could break under normal conditions… but anyway….. nothing I can do about it other than to get it repaired
The large nut will undo, so you can get to the wire…
so to repair it needs a new piece of coiled wire added to the existing wire…then screw the nut back on , solder the wire to the top piece, then superglue ( gorilla glue) the dome back in place.
( the coiled wire will make it easier to push the plastic back together…. Well… thats the theory
So thats the plan….. but need to get some glue so will try this tomorrow.
But its always good to have a back up plan…….
Mine is ……… @spurs fan in a coupe
……… Andy have you got one ?????? The part number is 65218375159
and as a temporary repair…. Stuck a bit of butyl in the grommet to save any leaks…..
Last edited:


 Good effort washing your Zed though


 ,
,