You are using an out of date browser. It may not display this or other websites correctly.
You should upgrade or use an alternative browser.
You should upgrade or use an alternative browser.
2003 Z4 3.0: Project Eggzy
- Thread starter Bigwinn
- Start date

 BTW.
BTW.
Bigwinn
Zorg Addict
cor that chips along nicely eh- I need to look at a kit don't I
Costing up ATF change as we speak...
Costing up ATF change as we speak...
Bigwinn
Zorg Addict
Having some roof issues recently- anyone got any insight into where to look:
Roof was fine on the car when I got it.
Fitted gap tech module and the battery died- initially I put faults down to a low battery.
But they persisted so I took the gap tech off to see if that was the issue- it wasnt
I relocated the motor to the boot- issue prevails the same... so not associated I don't think.
I've stripped and serviced the boot position switch and had the parcel shelf out to see if thats the issue- I don't think it is
If I reset/disconnect the battery and start from scratch:
No lights or issues.
Roof will unlatch, motor kicks in and it will lower the roof all the way
Doing it back up, roof will raise probably 75% of the way then stops- no motor or noise etc. TOP RED LIGHT on switch constantly blinks.
To re secure I can move the roof to the windscreen and can close using the allen key
I'm thinking a position sensor issue?
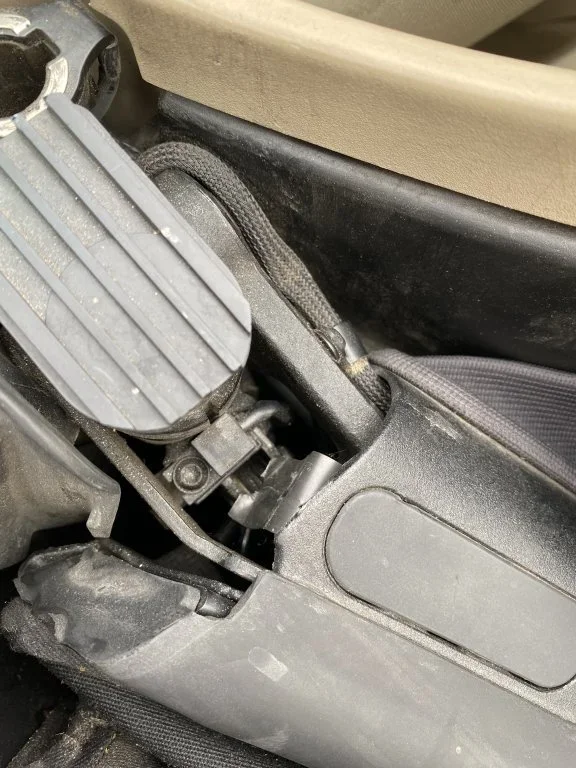
Also I noticed this earlier and it doesn't look right, someone has had the cover off and I am not sure what that bent piece of metal is?
Roof was fine on the car when I got it.
Fitted gap tech module and the battery died- initially I put faults down to a low battery.
But they persisted so I took the gap tech off to see if that was the issue- it wasnt
I relocated the motor to the boot- issue prevails the same... so not associated I don't think.
I've stripped and serviced the boot position switch and had the parcel shelf out to see if thats the issue- I don't think it is
If I reset/disconnect the battery and start from scratch:
No lights or issues.
Roof will unlatch, motor kicks in and it will lower the roof all the way
Doing it back up, roof will raise probably 75% of the way then stops- no motor or noise etc. TOP RED LIGHT on switch constantly blinks.
To re secure I can move the roof to the windscreen and can close using the allen key
I'm thinking a position sensor issue?
Also I noticed this earlier and it doesn't look right, someone has had the cover off and I am not sure what that bent piece of metal is?
Attachments
Which side of the car is that Stuart? I’ll go have a look.
Tony.
Tony.
Bigwinn
Zorg Addict
Passengers Tony
Is that a position sensor, there isn't one on the driver's side .


Tony.
Tony.
Bigwinn
Zorg Addict
Probably- I think from memory there are two or three in that area
just can’t see what the metal is
ive taken it off will take a pic
just can’t see what the metal is
ive taken it off will take a pic
Can't see any "extra" bits on my car mate. Does removing that long oval plug show any more?
Tony.
Tony.
Bigwinn
Zorg Addict
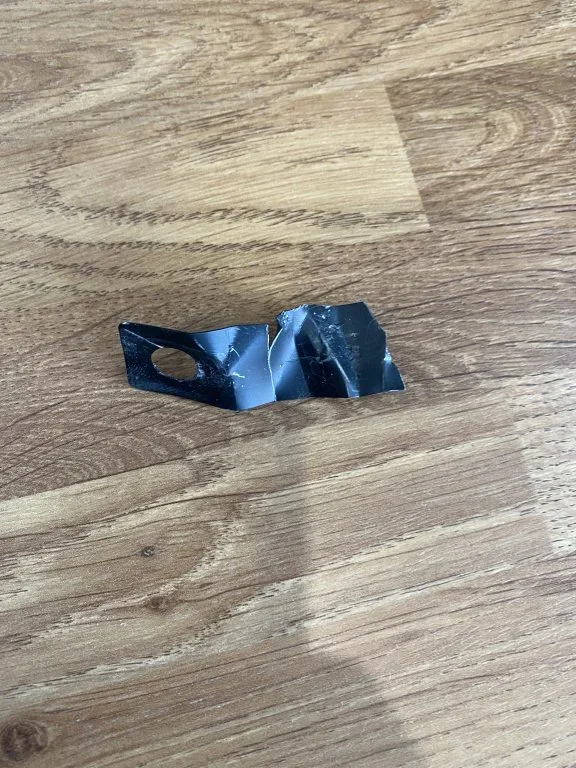
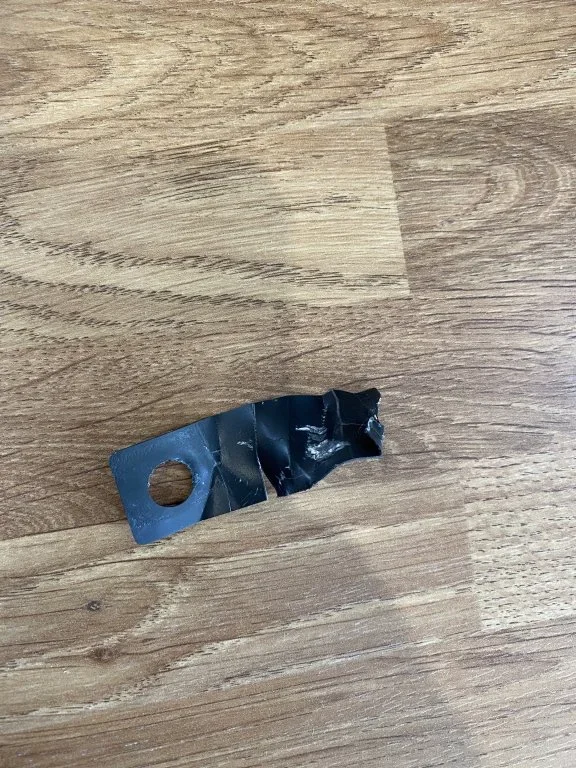
That has certainly been through the ringer by the looks of it mate. No idea what it is or does, maybe RealOEM might show it?
Tony.
Tony.
Bigwinn
Zorg Addict
Yeah I’ll have a look
someone has deffo been there before
someone has deffo been there before
Bigwinn
Zorg Addict
@t-tony
I’m wondering if this is a deteriorating fault with loom wiring
see:https://z4-forum.com/forum/viewtopic.php?t=53729&start=15
I’m wondering if this is a deteriorating fault with loom wiring
see:https://z4-forum.com/forum/viewtopic.php?t=53729&start=15
Bigwinn
Zorg Addict
Had a half hour tinker
Got the inner roof lining off and had a good look at the loom up to the claw motors, look and feel OK with no kinks
 IMG_9907.jpeg (123.2 KiB) Viewed 6 times
 IMG_9908.jpeg (179.35 KiB) Viewed 6 times
 IMG_9909.jpeg (186.5 KiB) Viewed 6 times
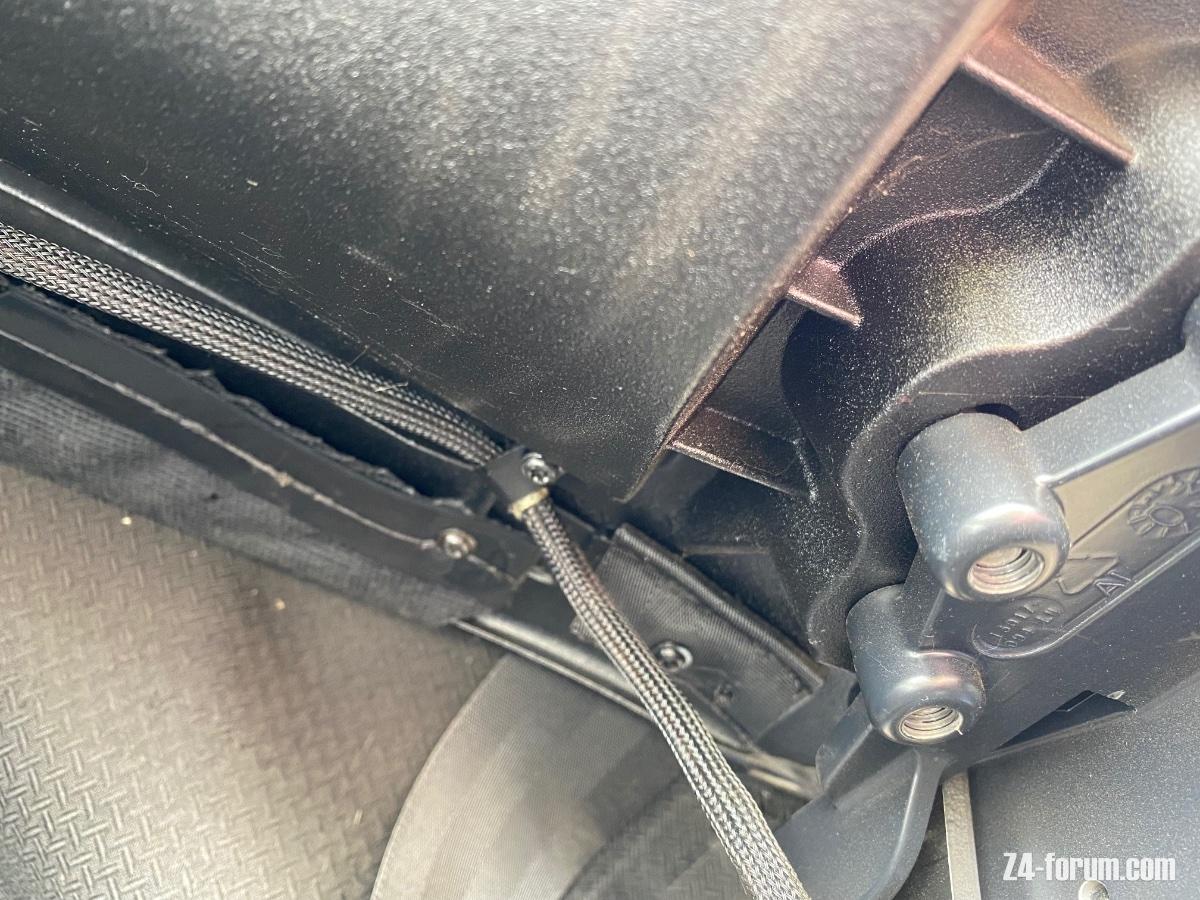
Where the loom heads down to the base of the roof on the passenger side, I wasn't happy with the kink in the cabling shown here: had a play and nothing immediate raised its head
 IMG_9900.jpeg (187.72 KiB) Viewed 6 times
However, I got the roof to cycle up and down a few times. When it did stop 75% of the way up, if I pushed back on it, it restarted the motor. I'm thinking there is a break in the wiring between where I can see either side of where I have checked...
Got the inner roof lining off and had a good look at the loom up to the claw motors, look and feel OK with no kinks
Where the loom heads down to the base of the roof on the passenger side, I wasn't happy with the kink in the cabling shown here: had a play and nothing immediate raised its head
However, I got the roof to cycle up and down a few times. When it did stop 75% of the way up, if I pushed back on it, it restarted the motor. I'm thinking there is a break in the wiring between where I can see either side of where I have checked...
Bigwinn
Zorg Addict
More faffing this afternoon- there is deffo a wire nip/break somewhere in that area
Will plan to strip it back at the weekend from the claw tops to that passenger door shut, see what we can find
In other news- got quoted £495 to change the gearbox oil/filter

Will plan to strip it back at the weekend from the claw tops to that passenger door shut, see what we can find
In other news- got quoted £495 to change the gearbox oil/filter
Bigwinn
Zorg Addict
A great day today...
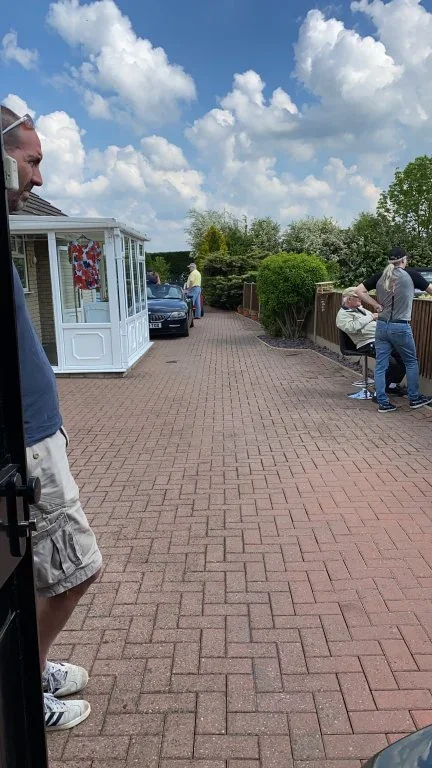
First off, met a load of great chaps at Tonys place...
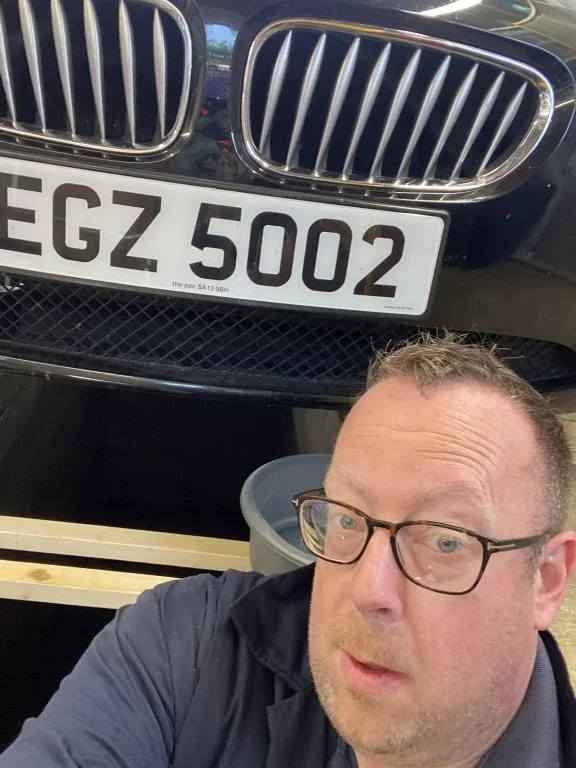
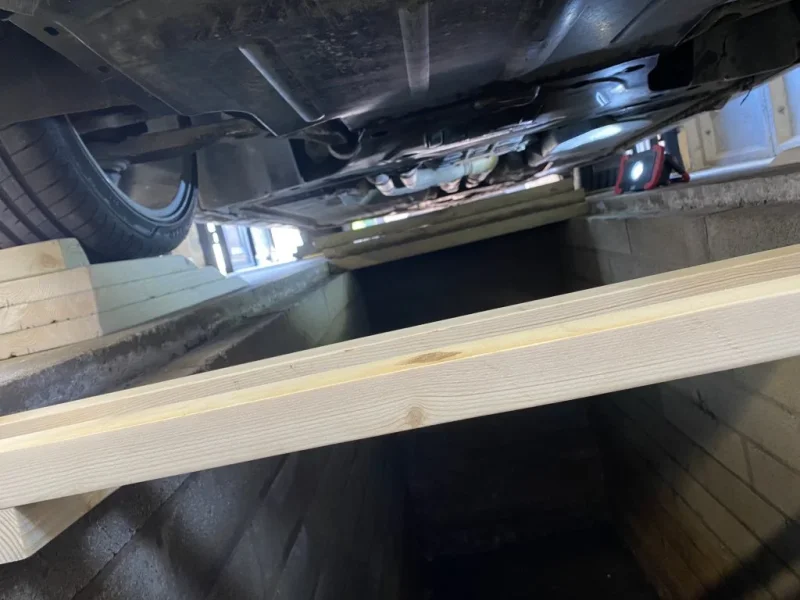
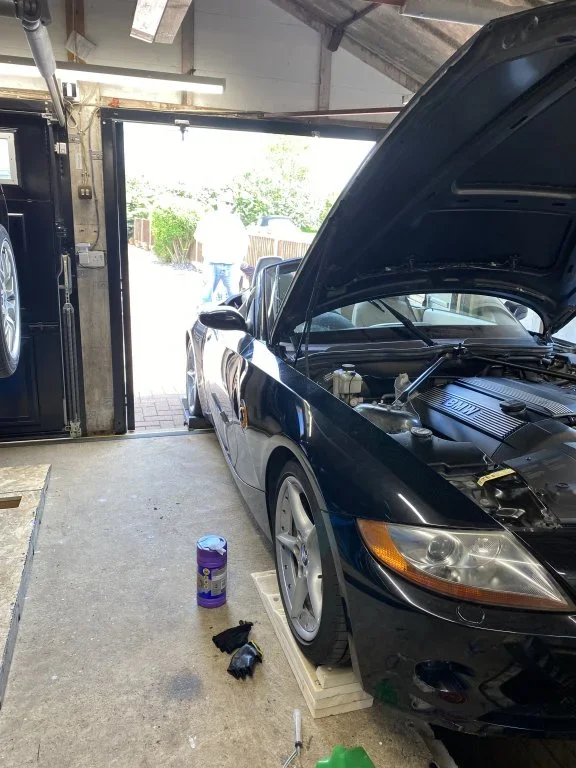
Used Tonys pit and changed the auto gearbox fluid and filter- which has made a big difference to shift speed and responsiveness. The old fluid came out thin as water and in a bad state- interesting to see the metal paste on the magnets in the pan!
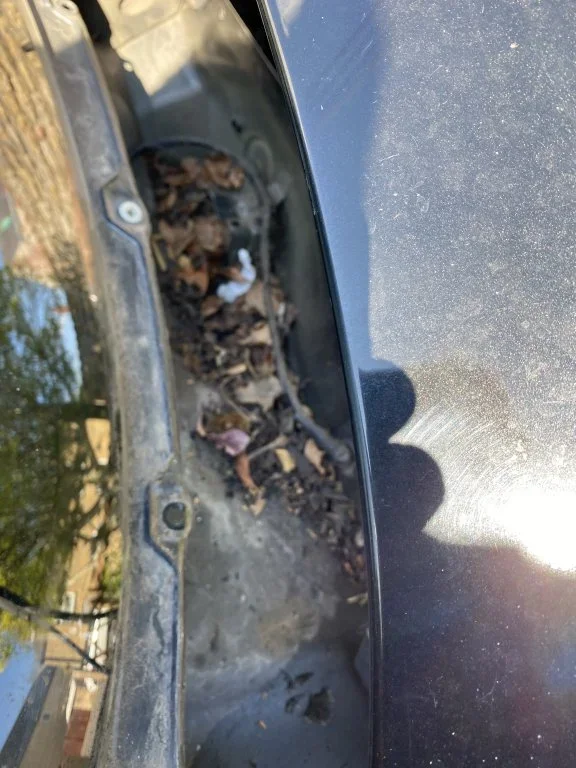
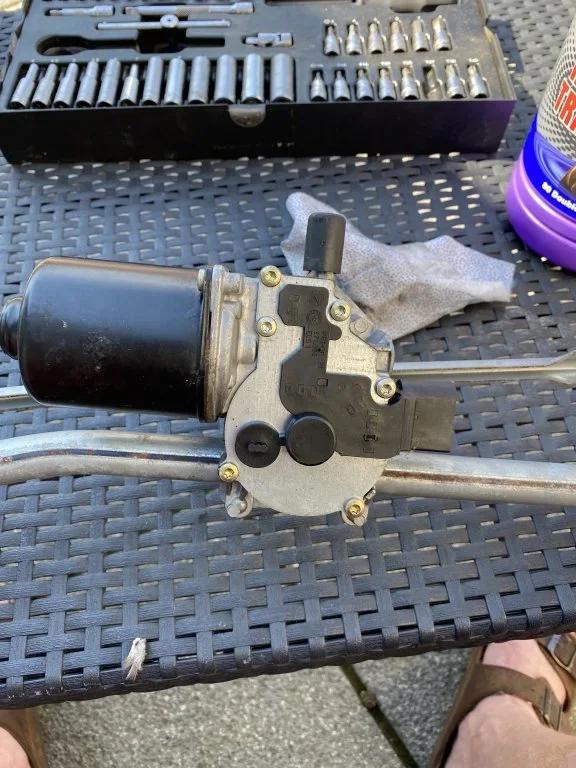
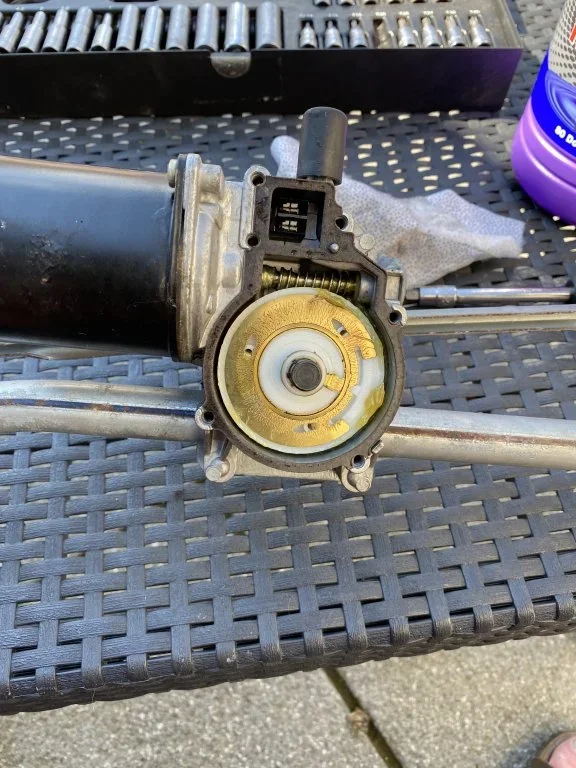
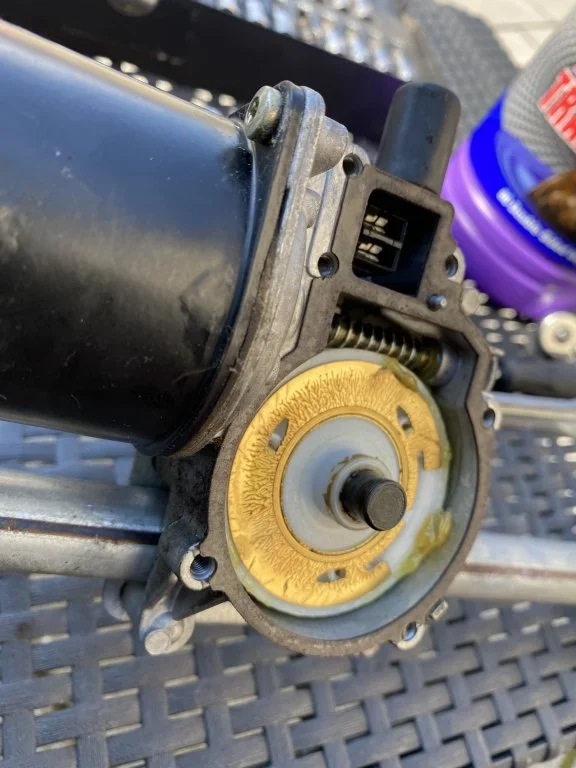
Used Tonys puller to pop the windscreen wipers off which came off with a crack- once home I stripped the wiper motor to stop the non-parking issue and clean the crud out of the scuttle!
Big valet day tomorrow!
First off, met a load of great chaps at Tonys place...
Used Tonys pit and changed the auto gearbox fluid and filter- which has made a big difference to shift speed and responsiveness. The old fluid came out thin as water and in a bad state- interesting to see the metal paste on the magnets in the pan!
Used Tonys puller to pop the windscreen wipers off which came off with a crack- once home I stripped the wiper motor to stop the non-parking issue and clean the crud out of the scuttle!
Big valet day tomorrow!
Attachments
Bigwinn
Zorg Addict
Today was for the purists
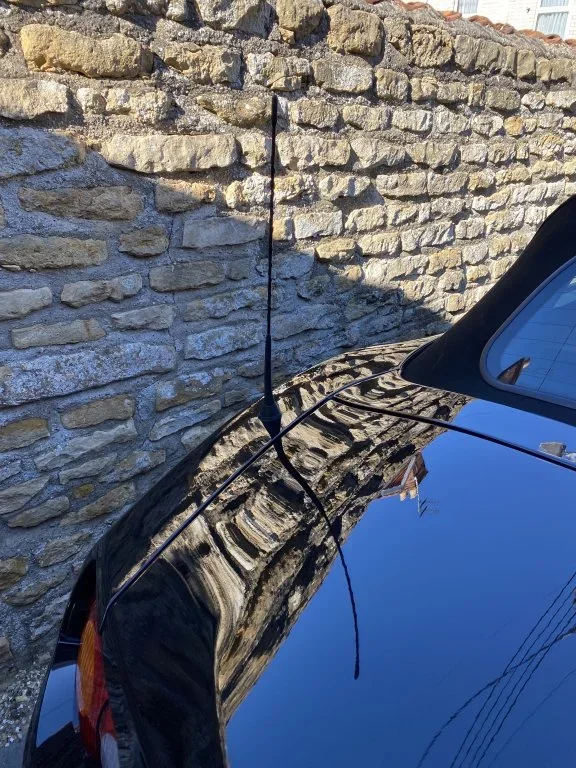
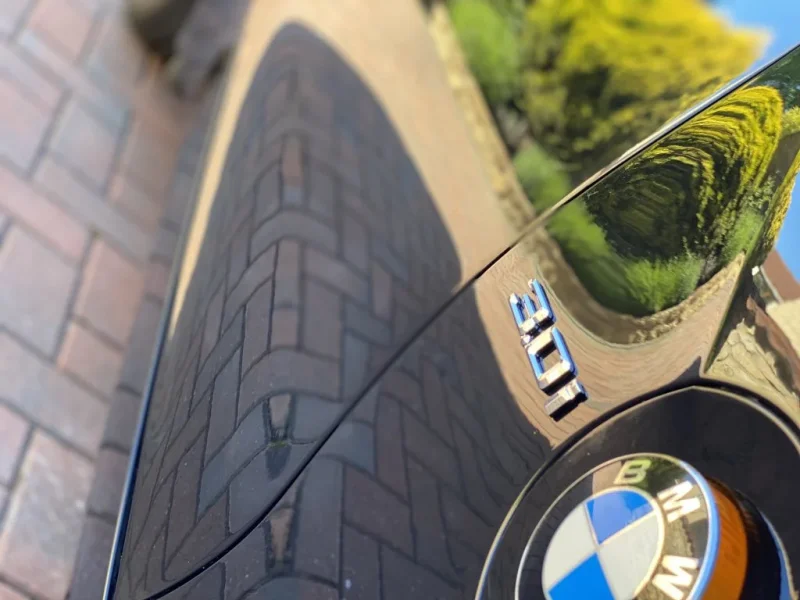
fitted the 3.0i badges (not sure if it came debadged or someone had taken off in the past) and refitted the whippy
Sorry not sorry- wasn’t feeling the stubby
fitted the 3.0i badges (not sure if it came debadged or someone had taken off in the past) and refitted the whippy
Sorry not sorry- wasn’t feeling the stubby
Attachments
Bigwinn
Zorg Addict
A day with some forehead slap moments, but on the whole a good day!
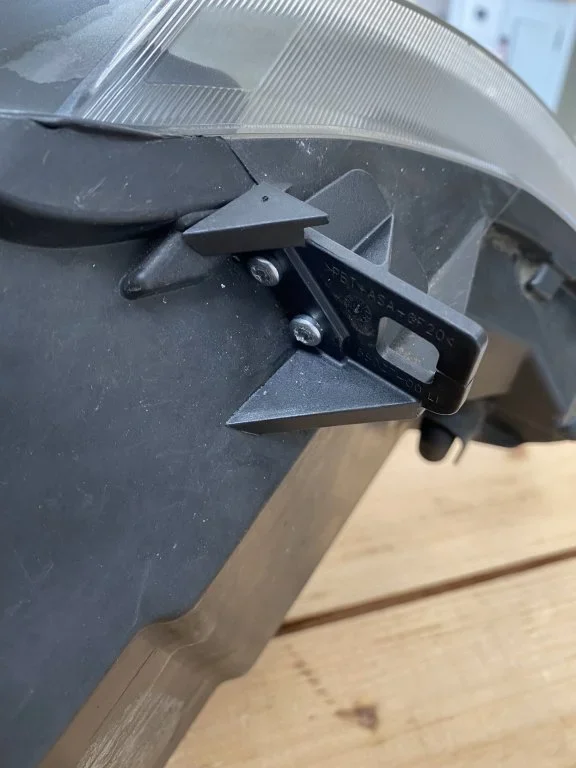
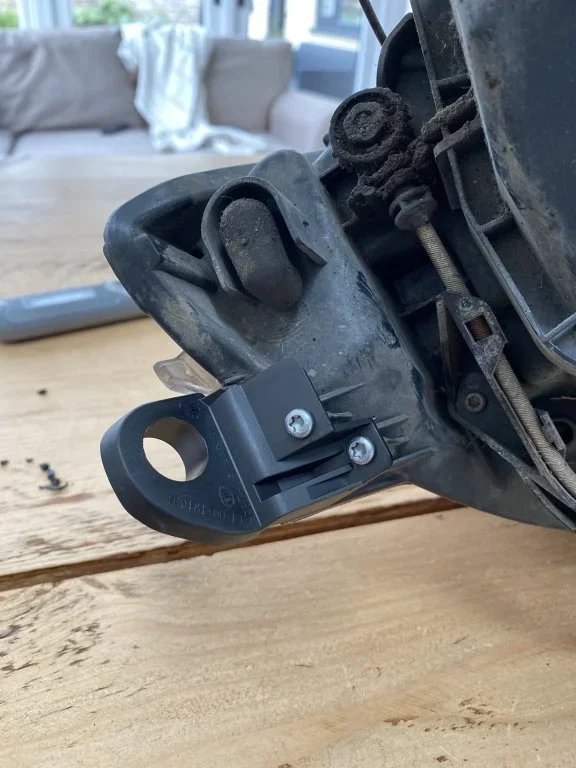
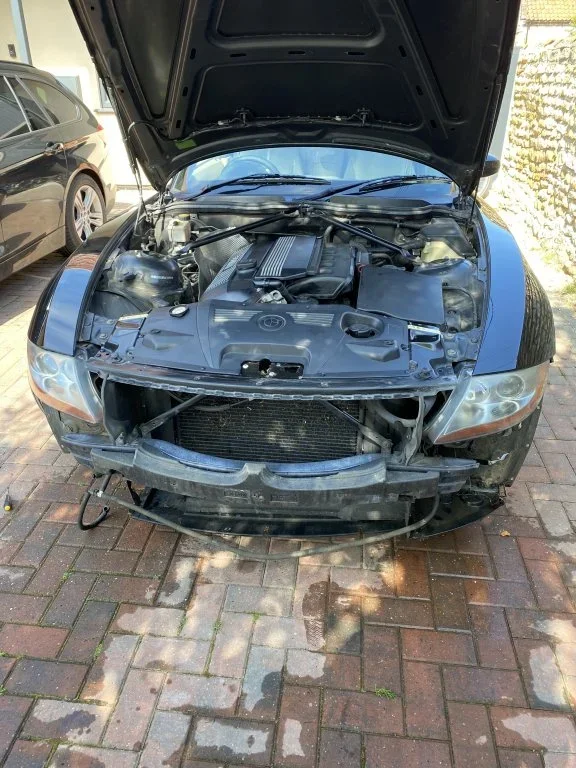
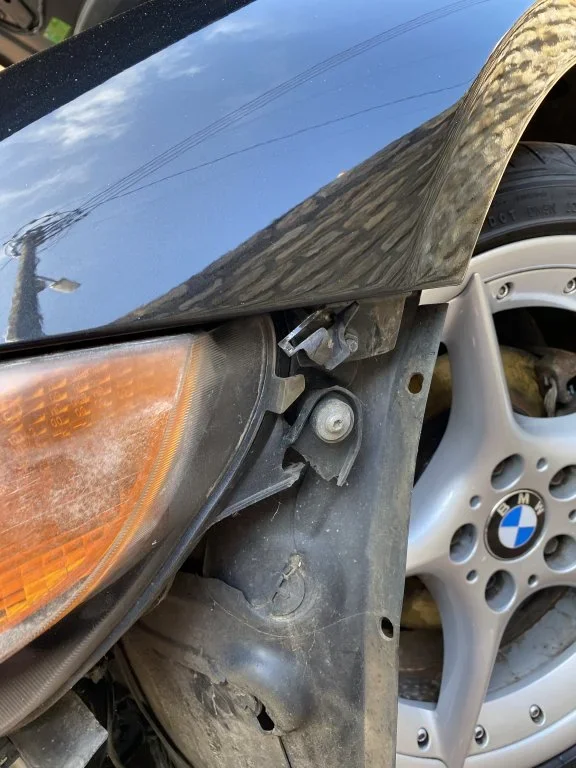
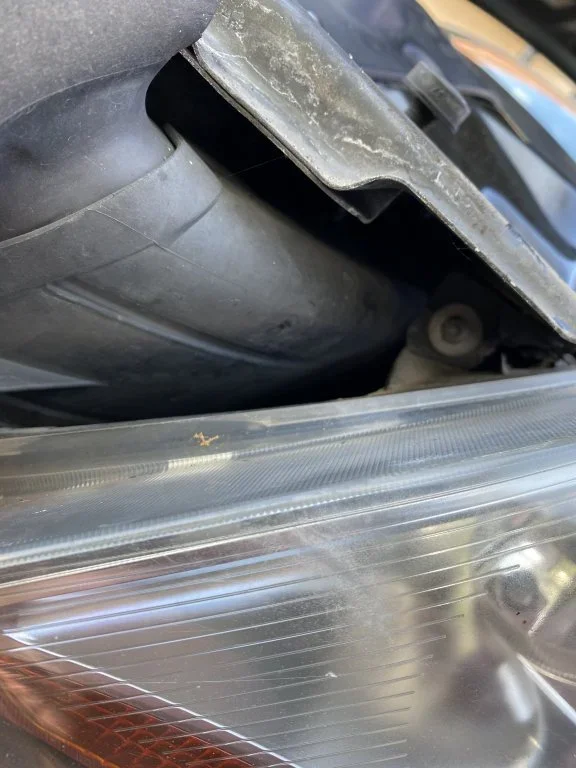
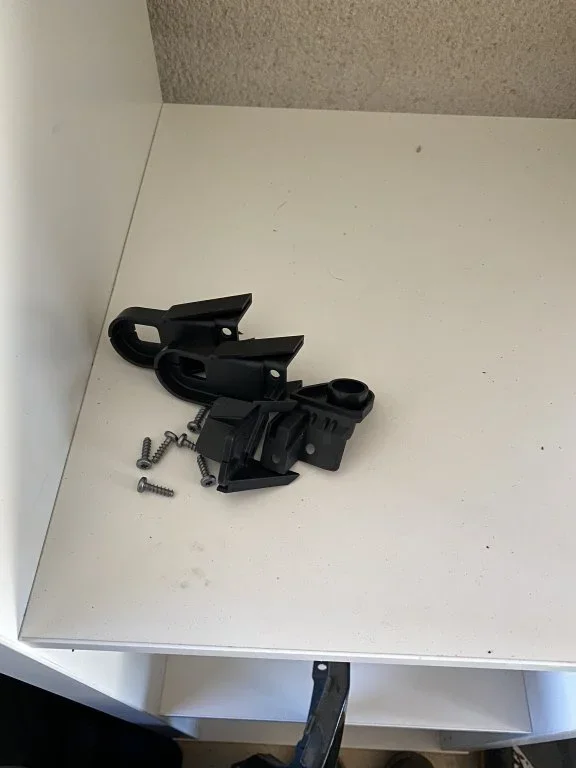
started by taking the front bumper off to see the reason for the wobbly near side lamp unit. Two broken clips: not a problem… pop the repair kit out only to find I have the WRONG side needed.
Not to be defeated I popped both headlights out and gave both another polish and lacquer coat- put to one side ready for Sopers to open tomorrow!
sorted the lacquer peel around the headlamp washer jets
while it had emptied itself and inspired by Mark Plant I took off and cleaned my water bottle which stank to high heaven, plus the filters looked like they’d been in a pond.
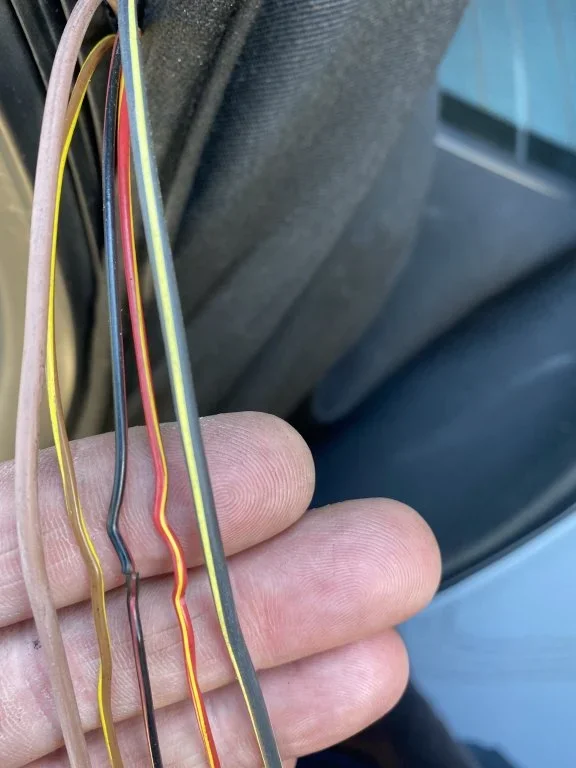
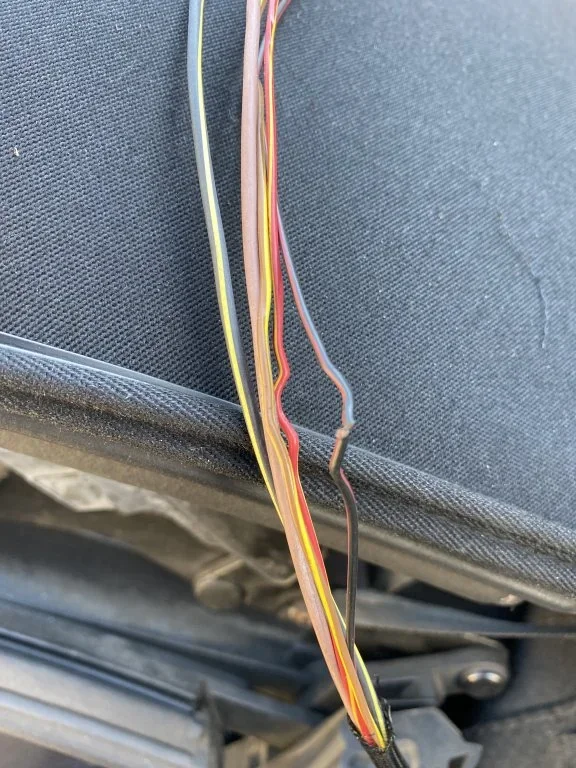
with a good wind behind me I decided to find the wire fault in the roof that was causing the intermittent issue. Tracked and traced it after dropping the headlining and found a small part wire break. Fixed by splicing, soldering, heat shrinking and re armouring cable. Once all back together I fitted my gaptech!
Job done!!
started by taking the front bumper off to see the reason for the wobbly near side lamp unit. Two broken clips: not a problem… pop the repair kit out only to find I have the WRONG side needed.
Not to be defeated I popped both headlights out and gave both another polish and lacquer coat- put to one side ready for Sopers to open tomorrow!
sorted the lacquer peel around the headlamp washer jets
while it had emptied itself and inspired by Mark Plant I took off and cleaned my water bottle which stank to high heaven, plus the filters looked like they’d been in a pond.
with a good wind behind me I decided to find the wire fault in the roof that was causing the intermittent issue. Tracked and traced it after dropping the headlining and found a small part wire break. Fixed by splicing, soldering, heat shrinking and re armouring cable. Once all back together I fitted my gaptech!
Job done!!
Attachments
-
 E501E933-5586-4120-9F85-4DB6BC67638C.webp109.9 KB · Views: 145
 -
 9ABF22B8-A9E5-410C-85A1-3EDA42A30BC4.webp73 KB · Views: 137
 -
 38DACC7C-0838-4902-A26D-3755E3B793D3.webp56.2 KB · Views: 136
 -
 4D116D74-D6EB-457D-9C7B-39FA46776975.webp45.6 KB · Views: 147
 -
 B182A6E8-D9D7-453C-BC4A-EB62CF4575CE.webp109 KB · Views: 135
 -
 2A915213-850E-463C-8852-637A02230C98.webp27.5 KB · Views: 154
Bigwinn
Zorg Addict
So if anyone needs an OFFSIDE headlamp fix kit let me know 
Bigwinn
Zorg Addict
Finally!!!
the correct side headlight repair kit came
two broken lugs repaired
front of car put back together!
only thing I need is a new o-ring on the headlight washers but that’s a wrap!
the correct side headlight repair kit came
two broken lugs repaired
front of car put back together!
only thing I need is a new o-ring on the headlight washers but that’s a wrap!