BMW Z3 Seat Belt Guides (adding or changing)
Article written and submitted by ZRoadster.org forum member ‘Zedonist‘
This article details how to fix issues with your BMW Z3 seat belt guides. It’s unfortunately common for the Z3 seat belt guides to snap or break if you are not careful. It’s also quite common for roadster owners to retro fit the M Coupe seats as they are arguably more comfortable (and heated). However the Z3 Coupe seats don’t have a seat belt guide attached to the seat, as this was fixed to the B pillar in the car. It is however possible to fit standard Z3 seat belt guides to them if you have the time and inclination.
Difficulty Rating – 3/10 – Requires some good music and a spare hour
Tools Required

The Process
Removing the Seat
Start by sliding the seat all the way back to get access to the front seat nuts and remove with a 13mm socket. Next slide the seat all the way forward and raise the seat to its highest position in order to get your socket and wrench on the bolts, use a 16 mm socket and remove the rear bolts. Next tilt the seat forward and remove the seat belt to seat anchor bolt with a 17mm socket. These next step is important, move the seat to the all the way back position.
Now if you do not have access to an airbag reset tool, do not turn the ignition on, in fact hide your keys for an hour. Tilt the seat forward and disconnect the yellow seat belt tensioner multi plug, next disconnect the black and white multi plugs for the motors and heated seat pads.
You can now lift the seat out of the car and place on its side on a work surface of your choice and protection for the leather.
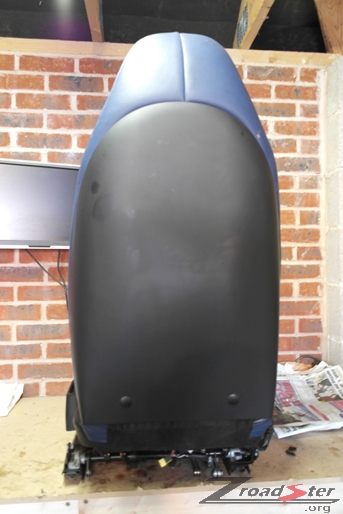
For Coupe Seats
Line up the Seat Belt Guide to the correct position, mark the holes and cut out the leather and the thin sponge layer with a scalpel.
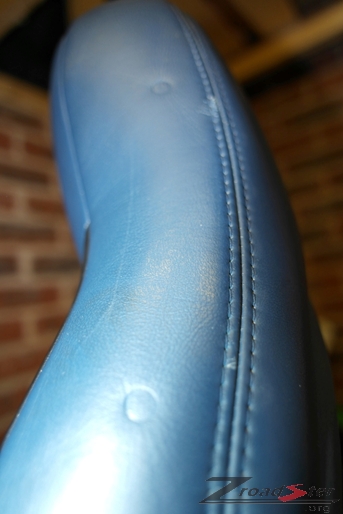

For all Seats (Note some seats differ, but all have a zip fastening)
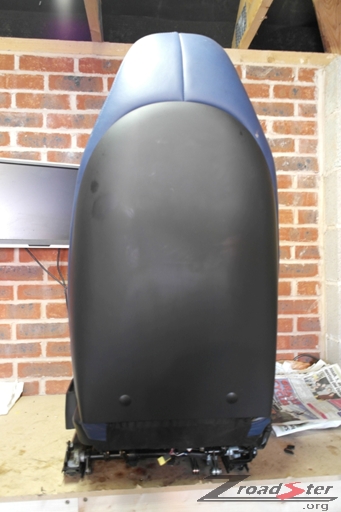
If your seat has a hard plastic rear shell, pull on each lower corner to loosen the two lower fir tree clips and remove.
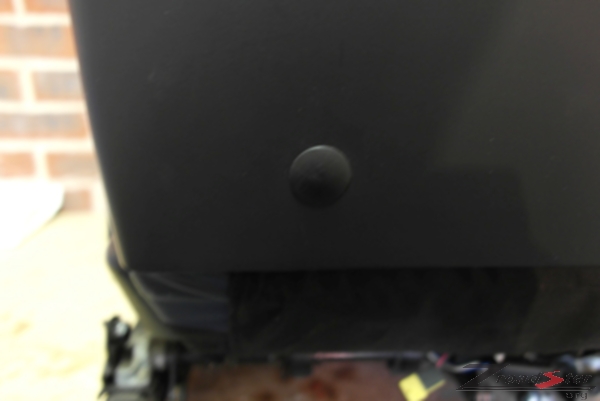
Next push the cover upwards to disengage from the cross bar and remove the cover.

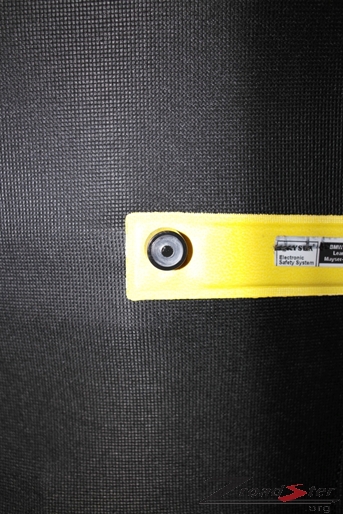
Next you will need to remove the rear safety sensor (yellow material covered bar), it is held on with two round black push clips, in order to remove, you need to take a slim screw driver and push the centre pins all the way through to the rear, they will drop so be prepared to catch them. With the pins out, the black push pins will easily pull out allowing you to remove the yellow safety sensor.
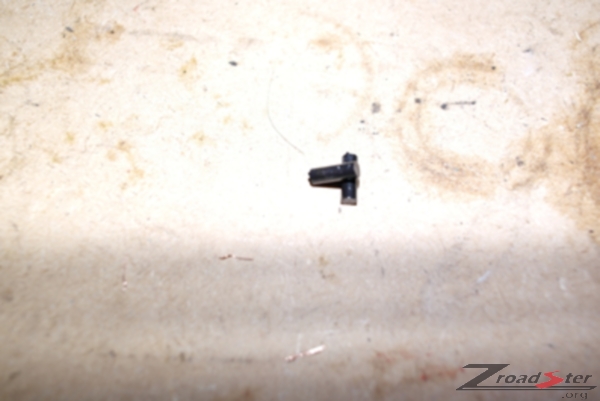
The seat cover is attached closed with a standard zip, the zip closure is folded under at the bottom, pull out and unzip the cover, the bottom of the cover is secured with two long plastic snap fixings, slide these to the right and left accordingly to disengage. Pull the main fixing attached to the front of the cover through the seat to allow you to peel the cover upwards.
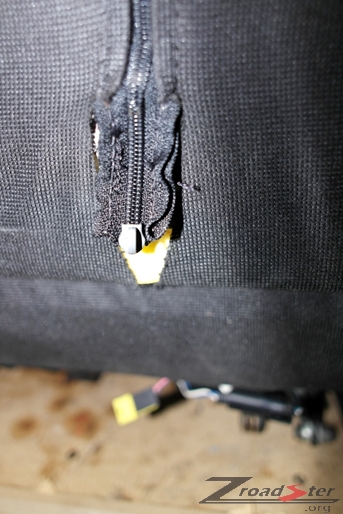
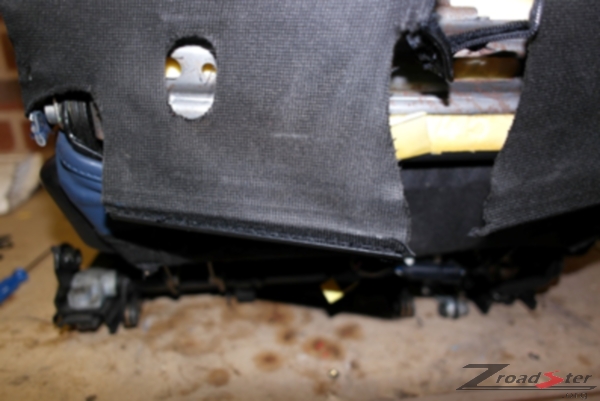
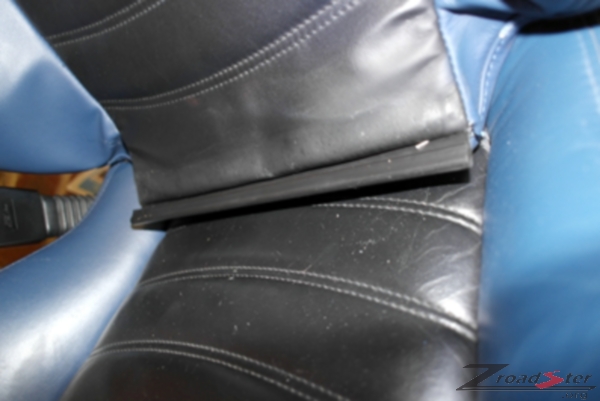
Within the head rest at the rear is a plastic shroud, unclip this and pull out, it is covered in a plastic bag, which allows it to slide easy.
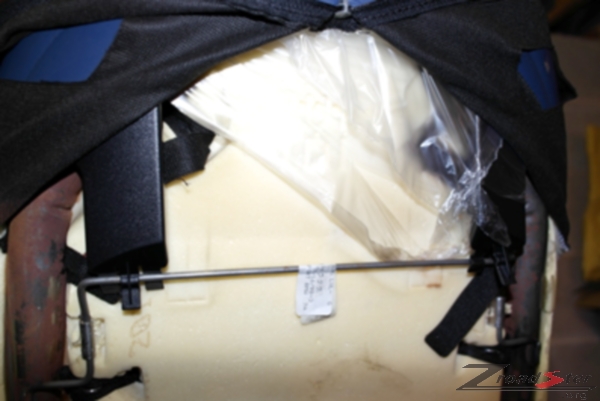
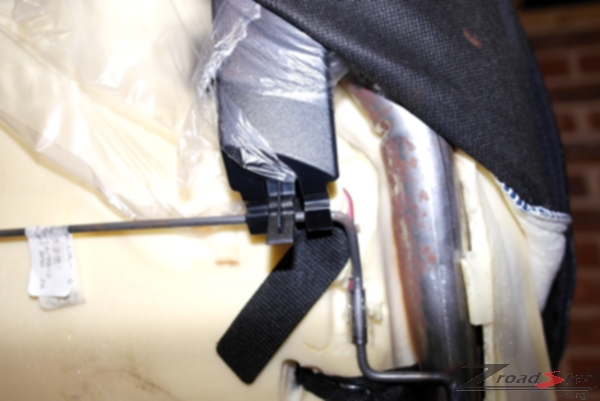
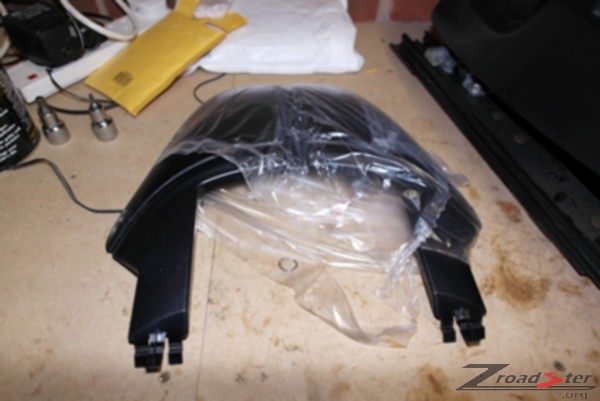
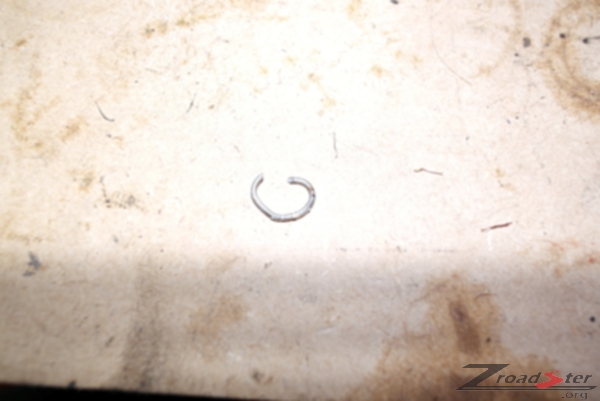
Next you will notice that the cover is attached to the chair at several points with hog rings (some seats have the covers glued on), remove the hog rings by twisting off with a pair of pliers.
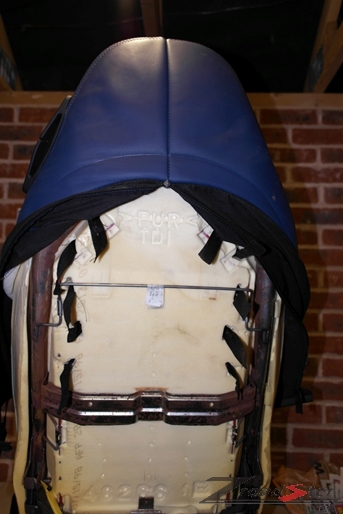
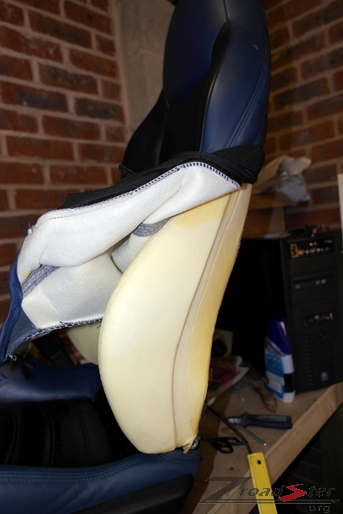
You can now pull the cover nearly all the way off, but enough to give you access to remove and add the new seat belt guides. The seat belt guides are held on with star lock washers, as the new guides come with new washers you may as well cut the lugs off with some snips and pull the old guide away.
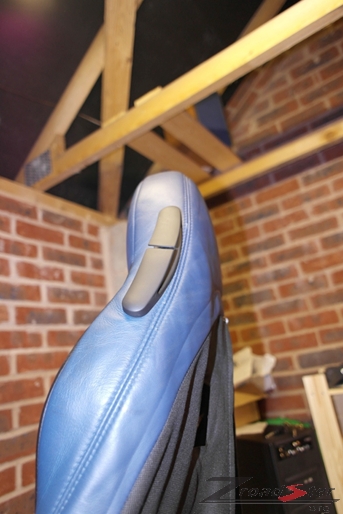
Place the new guide into the holes and attach the back plate, push the star lock washers onto the protruding lugs and the new guide are installed.
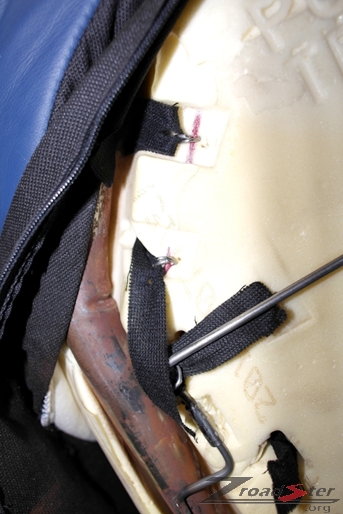
Next start to roll down the cover and push the black straps (or re-glue) through the seat padding and re attaché the hog rings through the straps and the fixing points and force together using a pair of mole grips.
Replace the plastic shroud back into the headrest, and close the zip, ensuring the seat cover is in place and snug. Push the bottom cover clip under the seat gap and re attach the two rear lower clips.
Reattach the rear safety sensor by putting the pushpins into place and pushing the centre pins home.

Put the rear cover on by pushing against the seat and sliding down, push in the two fir tree clips
Refit the seats as a reversal of the removal, do not forget attach all multi plugs and to attach the seat belt anchor point in the upright position, you can now find your keys again.
Article written and submitted by ZRoadster.org forum member ‘Zedonist‘
This article details how to fix issues with your BMW Z3 seat belt guides. It’s unfortunately common for the Z3 seat belt guides to snap or break if you are not careful. It’s also quite common for roadster owners to retro fit the M Coupe seats as they are arguably more comfortable (and heated). However the Z3 Coupe seats don’t have a seat belt guide attached to the seat, as this was fixed to the B pillar in the car. It is however possible to fit standard Z3 seat belt guides to them if you have the time and inclination.
Difficulty Rating – 3/10 – Requires some good music and a spare hour
Tools Required
- Pliers
- Mole Grips
- Slim Screw Driver
- 13mm Socket
- 16mm Socket
- 17mm Socket
- Scalpel (if fitting to coupe seats)
- Replacement BMW Z3 Seat Belt Guides. These are available to buy direct from BMW £15 each & it includes the fitting kit.

The Process
Removing the Seat
Start by sliding the seat all the way back to get access to the front seat nuts and remove with a 13mm socket. Next slide the seat all the way forward and raise the seat to its highest position in order to get your socket and wrench on the bolts, use a 16 mm socket and remove the rear bolts. Next tilt the seat forward and remove the seat belt to seat anchor bolt with a 17mm socket. These next step is important, move the seat to the all the way back position.
Now if you do not have access to an airbag reset tool, do not turn the ignition on, in fact hide your keys for an hour. Tilt the seat forward and disconnect the yellow seat belt tensioner multi plug, next disconnect the black and white multi plugs for the motors and heated seat pads.
You can now lift the seat out of the car and place on its side on a work surface of your choice and protection for the leather.

For Coupe Seats
Line up the Seat Belt Guide to the correct position, mark the holes and cut out the leather and the thin sponge layer with a scalpel.


For all Seats (Note some seats differ, but all have a zip fastening)
If your seat has a hard plastic rear shell, pull on each lower corner to loosen the two lower fir tree clips and remove.

Next push the cover upwards to disengage from the cross bar and remove the cover.

Next you will need to remove the rear safety sensor (yellow material covered bar), it is held on with two round black push clips, in order to remove, you need to take a slim screw driver and push the centre pins all the way through to the rear, they will drop so be prepared to catch them. With the pins out, the black push pins will easily pull out allowing you to remove the yellow safety sensor.


The seat cover is attached closed with a standard zip, the zip closure is folded under at the bottom, pull out and unzip the cover, the bottom of the cover is secured with two long plastic snap fixings, slide these to the right and left accordingly to disengage. Pull the main fixing attached to the front of the cover through the seat to allow you to peel the cover upwards.


Within the head rest at the rear is a plastic shroud, unclip this and pull out, it is covered in a plastic bag, which allows it to slide easy.


Next you will notice that the cover is attached to the chair at several points with hog rings (some seats have the covers glued on), remove the hog rings by twisting off with a pair of pliers.


You can now pull the cover nearly all the way off, but enough to give you access to remove and add the new seat belt guides. The seat belt guides are held on with star lock washers, as the new guides come with new washers you may as well cut the lugs off with some snips and pull the old guide away.

Place the new guide into the holes and attach the back plate, push the star lock washers onto the protruding lugs and the new guide are installed.

Next start to roll down the cover and push the black straps (or re-glue) through the seat padding and re attaché the hog rings through the straps and the fixing points and force together using a pair of mole grips.

Replace the plastic shroud back into the headrest, and close the zip, ensuring the seat cover is in place and snug. Push the bottom cover clip under the seat gap and re attach the two rear lower clips.
Reattach the rear safety sensor by putting the pushpins into place and pushing the centre pins home.

Put the rear cover on by pushing against the seat and sliding down, push in the two fir tree clips

Refit the seats as a reversal of the removal, do not forget attach all multi plugs and to attach the seat belt anchor point in the upright position, you can now find your keys again.
