I have a few irritating jobs that I wanted to get sorted before I tax the Z for spring.
So I have taken a few days off to make a start;
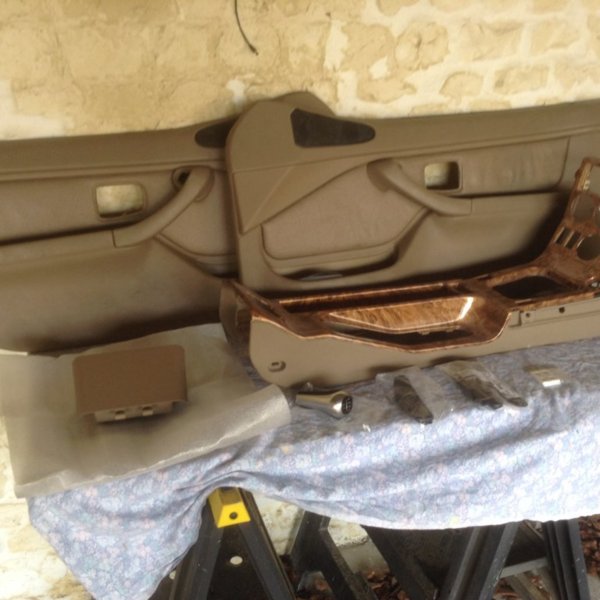
Drivers door card replacement - existing one is started to delaminate
Centre console rebuild after hydro dipped.
Replace the centre storage bin
Seat bushes
New gear knob
Seat belt guides
So I started with seat belt guides this afternoon, I can honestly say what a bloody work up! But as they say practice makes perfect. I only have done the drivers seat, passenger seat tomorrow.
I looked at the guide in the technical section on the forum and would honestly say that looks more suited for the sport seats that have no guides fitted.
I have the standard Z3 with guides fitted and the usual problem of them having snapped.
I purchased new ones from Sopers about £17 each.
The drivers seat is the worst as it had been completly butchered by the previous owner and having dismantled the covers it transpired the repair consisted of a redi drive cavity wall fixing, an inch wood screw and plenty of sticks like s*** mastic! And super glue. A complete mess and bugged me every time I got the car!
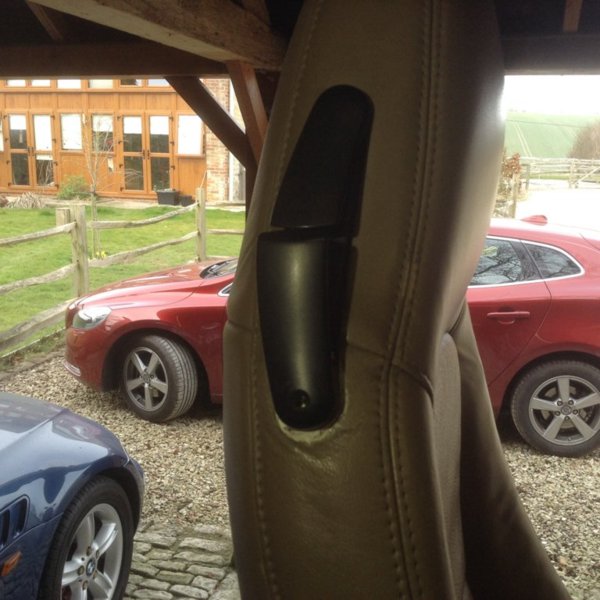
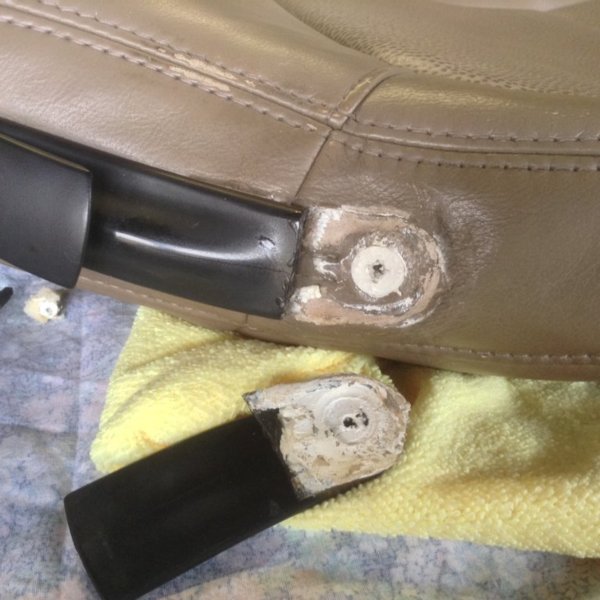
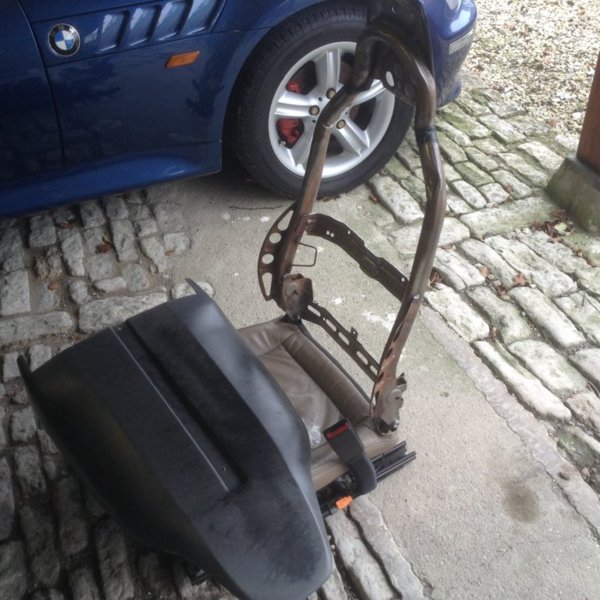
With the seat on the bench the seat cover does not have zip at the rear but is held together with a snap together fastener, this just pulls apart. Then remove the 2 x black plastic push in buttons that hold the plastic back panel and pull this panel downwards to remove.
Remove the 2 x metal clips that hold the sponge seat to the frame, then remove the sponge section in the head rest and the whole seat cover can be pulled upwards and off the frame.
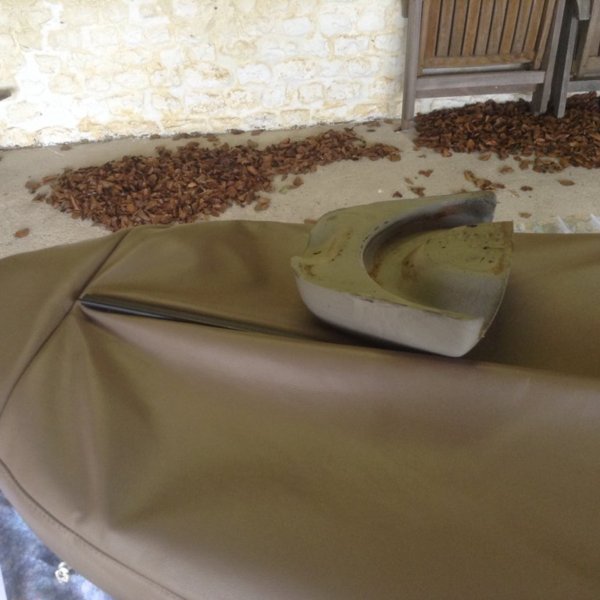
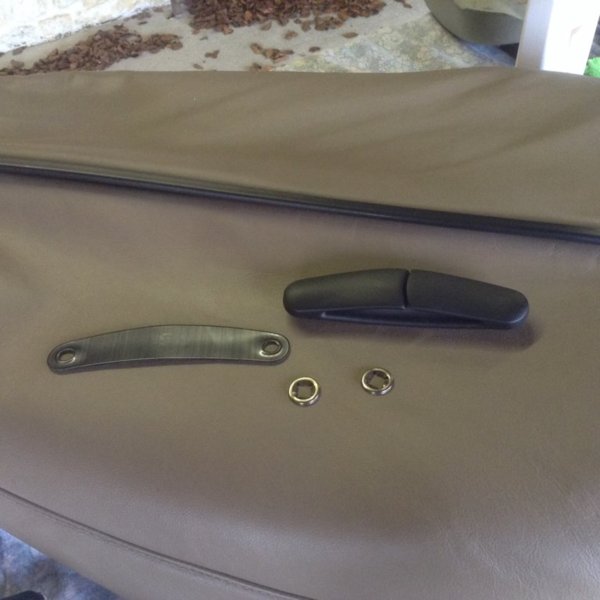
The new seat belt guide comprises of guide, backing plate and push on lock washers. The backing plate I think is for seats that do not have guides already fitted as I found my seats had one of these already sewn in and if you used the new backing plate the push on washers will not fit. However I did find these push on lock washers were a real pain in the backside and hard to fit as the top one is right up in the head rest section and hard to get at.
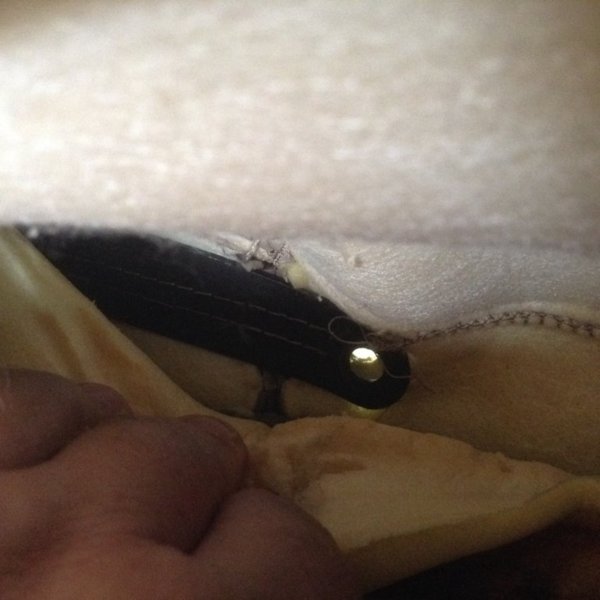
After cleaning all the mastic off the best I could and fitting the new guide the fitting was the reversal and more than happy with the results. Other seat tomorrow ! Overall it took a good couple of hours and a tea break to calm down as its a real painful job.
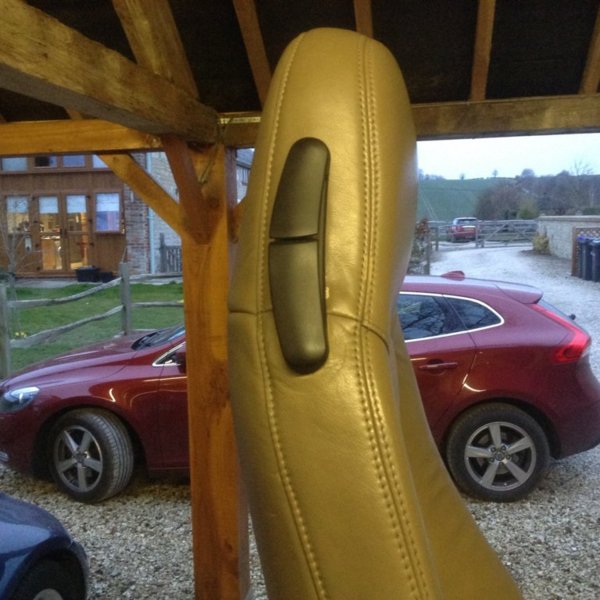
Final result - shame I have little white patch where the previous super glue peeled off, but still very happy and 100% better than when I started.
Seat bushes tomorrow as the seats are out.
So I have taken a few days off to make a start;
Drivers door card replacement - existing one is started to delaminate
Centre console rebuild after hydro dipped.
Replace the centre storage bin
Seat bushes
New gear knob
Seat belt guides

So I started with seat belt guides this afternoon, I can honestly say what a bloody work up! But as they say practice makes perfect. I only have done the drivers seat, passenger seat tomorrow.
I looked at the guide in the technical section on the forum and would honestly say that looks more suited for the sport seats that have no guides fitted.
I have the standard Z3 with guides fitted and the usual problem of them having snapped.
I purchased new ones from Sopers about £17 each.
The drivers seat is the worst as it had been completly butchered by the previous owner and having dismantled the covers it transpired the repair consisted of a redi drive cavity wall fixing, an inch wood screw and plenty of sticks like s*** mastic! And super glue. A complete mess and bugged me every time I got the car!


With the seat on the bench the seat cover does not have zip at the rear but is held together with a snap together fastener, this just pulls apart. Then remove the 2 x black plastic push in buttons that hold the plastic back panel and pull this panel downwards to remove.
Remove the 2 x metal clips that hold the sponge seat to the frame, then remove the sponge section in the head rest and the whole seat cover can be pulled upwards and off the frame.


The new seat belt guide comprises of guide, backing plate and push on lock washers. The backing plate I think is for seats that do not have guides already fitted as I found my seats had one of these already sewn in and if you used the new backing plate the push on washers will not fit. However I did find these push on lock washers were a real pain in the backside and hard to fit as the top one is right up in the head rest section and hard to get at.


After cleaning all the mastic off the best I could and fitting the new guide the fitting was the reversal and more than happy with the results. Other seat tomorrow ! Overall it took a good couple of hours and a tea break to calm down as its a real painful job.
Final result - shame I have little white patch where the previous super glue peeled off, but still very happy and 100% better than when I started.

Seat bushes tomorrow as the seats are out.
