Sill replacement, yet again

ViperKen

Zorg Guru (III)
Supporter
Joined
Mar 9, 2020
Points
135
Location
South Shields
Model of Z
1998 1.9
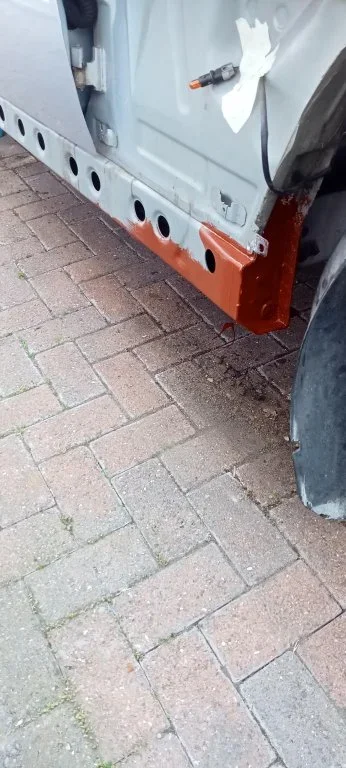
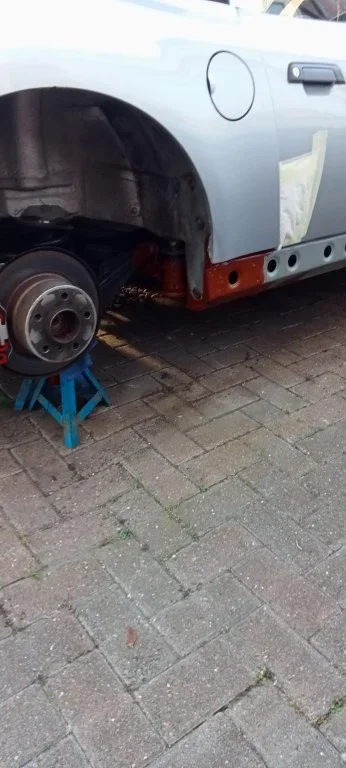
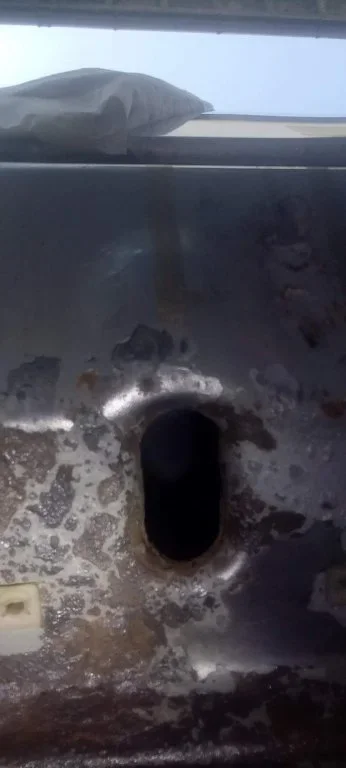
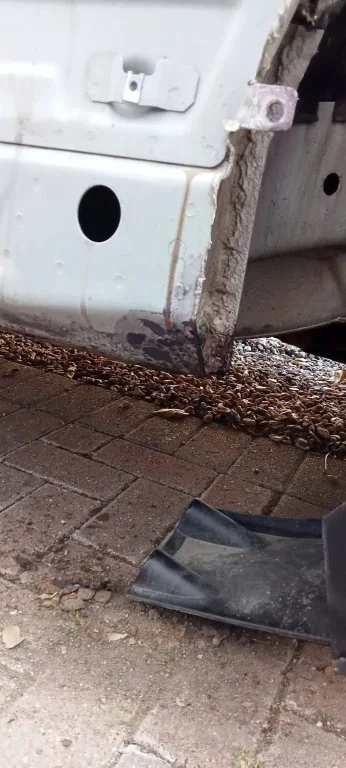
Bought new sills from BMW. I pre-painted ready to go on. After seeing some of the posts on here I was pleasantly surprised at the condition of the drivers side inner sills. Hopefully the passenger side will be the same

 

Attachments

  • IMG20230905141018.webp
    IMG20230905141018.webp
    69.4 KB · Views: 131
  • IMG20230905154219.webp
    IMG20230905154219.webp
    52.2 KB · Views: 133
One of the first jobs I did on mine, the inners were like new apart from a small amount of rust at each end. Treated the areas and then sprayed clear waxoyle inside the inners. I did coat the inside surface of the outers with black waxoyle before bolting them back on.
 
Worth chasing some of the sealer off where there is corrosion just to check that nothing has lifted to allow some water ingress but got to say I wish mine were that good at the rear when I came to do mine.
I did have to cut back some of the sealer as it was separating, as you say, in the area at the front of the inner sill.
Inner sill now rust treated and 1st coat of red oxide applied.
I think I will finish off with a couple of coats of chip seal, then apply waxoyl into the cavity. The outer sills, I have already given 2 coats of hammerite to the inside face and will coat with waxoyl.
 

Attachments

  • IMG20230905180832.webp
    IMG20230905180832.webp
    62 KB · Views: 130
  • IMG20230905180816.webp
    IMG20230905180816.webp
    42.1 KB · Views: 114
Make sure you take the plastic jack points out and treat behind them.
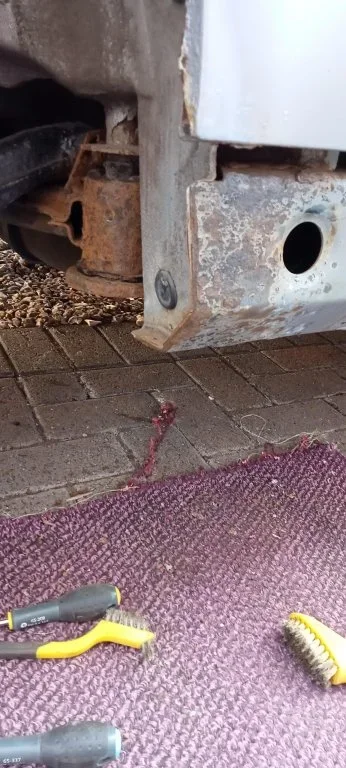
 
Make sure you take the plastic jack points out and treat behind them.
Hi Colb,
Yeah, I removed them and treated some surface rust there. They are now primed and coated. Waxoyl treatment tomorrow and hopefully start reassembling.
Thanks for all your comments, there's always something I forget about.
 

Attachments

  • IMG20230905141549.webp
    IMG20230905141549.webp
    18.2 KB · Views: 125
Back
Top