wonderloaf
Dedicated Member
Hi all, removed & refitted my rear bumper at the weekend and thought I'd document the procedure in case any body else was thinking of doing likewise in the future.
Any similarity between this posting and a posting on another z3 forum is purely coincidental.
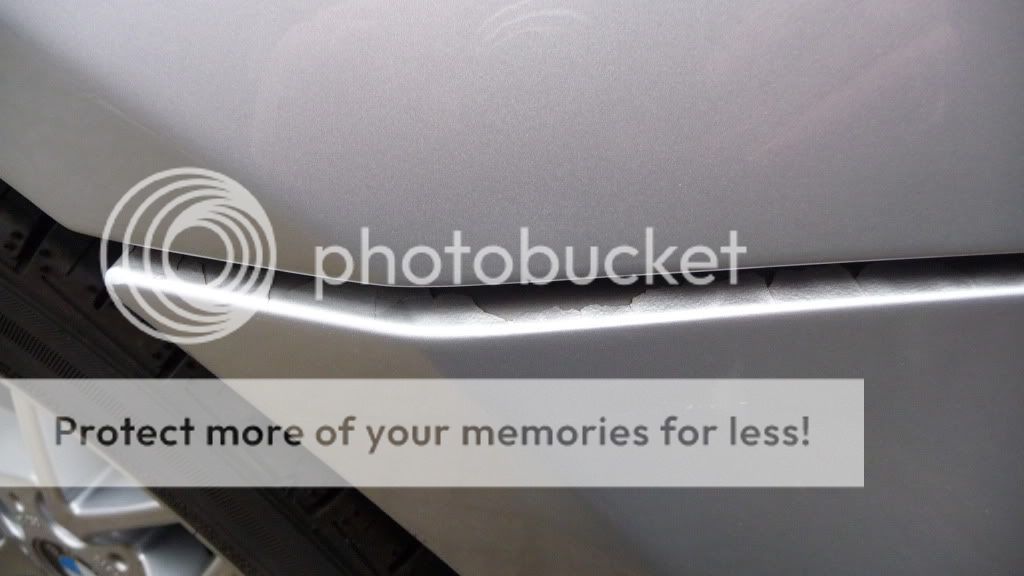
Problem: The paint along the surface at the side of the bumper where it meets the wing on my car was flaking away, probably due to a respray at some time in the past. Anyway, wanted to try and rectify this before the flaking reached the main external surface of the bumper.
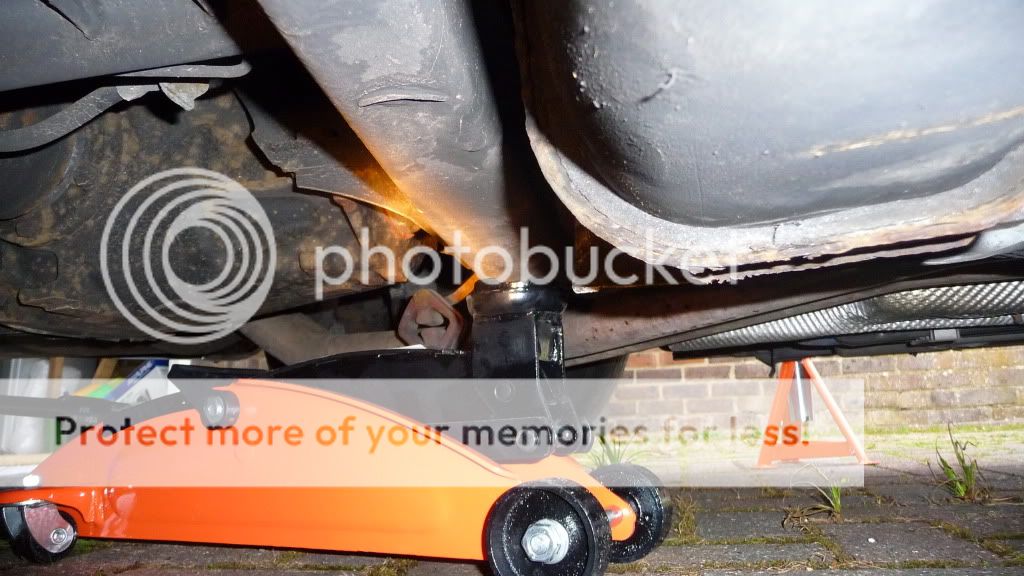
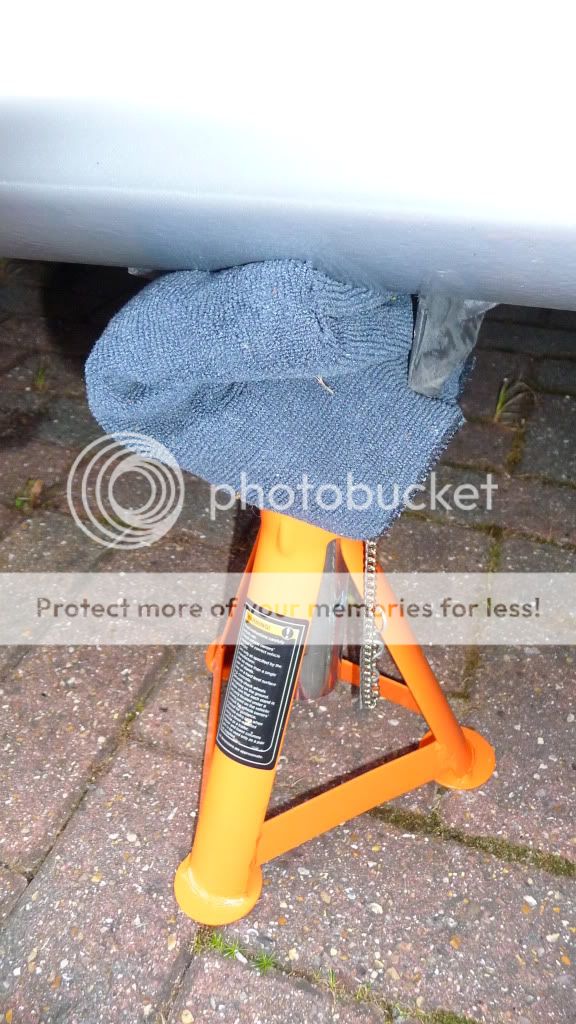
Step 1: Jack up and support the rear of the car using your favourite method and remove the wheels. Mine is to raise it by putting a trolley jack under the rear cross member, and then put axle stands under the rear jacking points. I fold up some cloths to put on the top of the axle stand to protect the car. Also put the wheels under the car to get them out of the way and to add yet more safety if the trolley jack or axle stands fail (not very likely!).
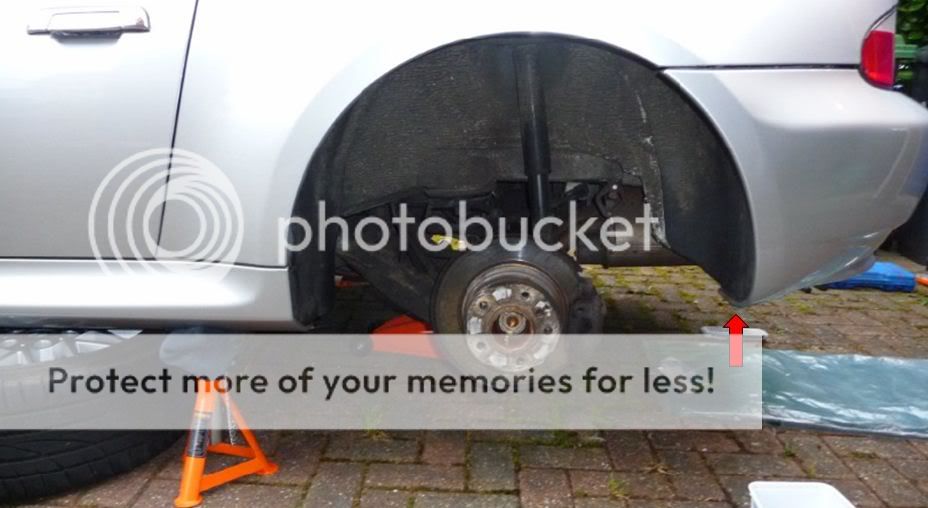
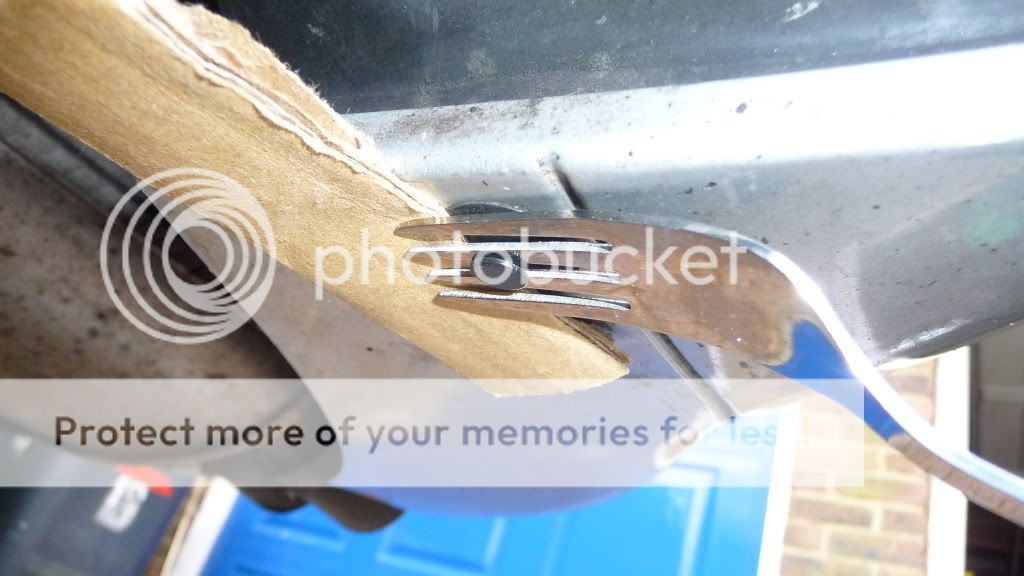
Step 2: Remove the rivet or screw (mine had both -one type each side) holding the inner liner to the the rear of the bumper, indicated by the red arrow. If you have a rivet then using a dinner fork as a pry bar works well, just don't let the OH see you using the best cutlery!
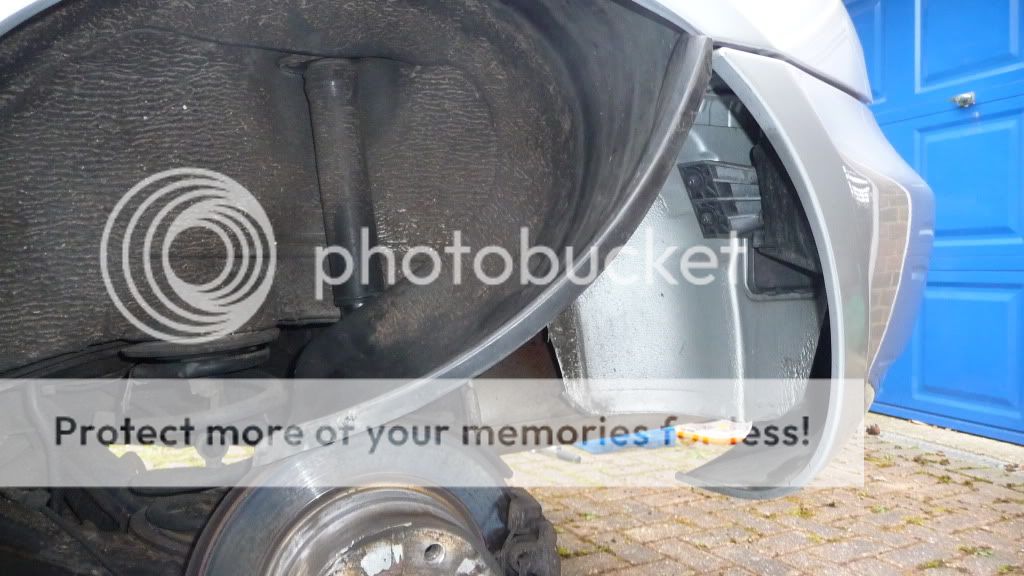
Step 3: Pull back the inner liner and retain over the rear axle
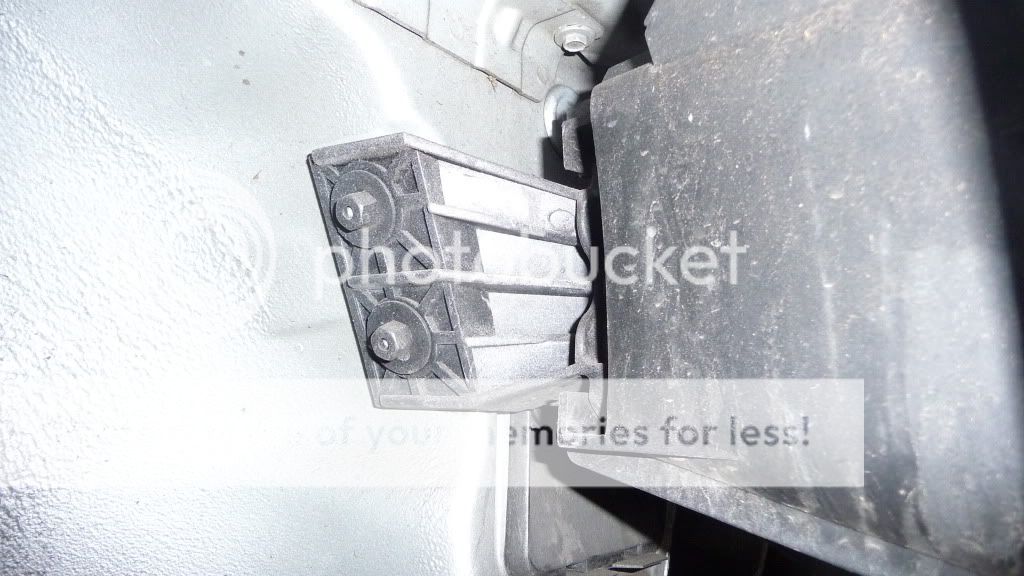
Step 4: Undo the two plastic hex nuts and remove the bumper support. Didn't do this originally but makes thing so much easier when re-fitting the bumper.
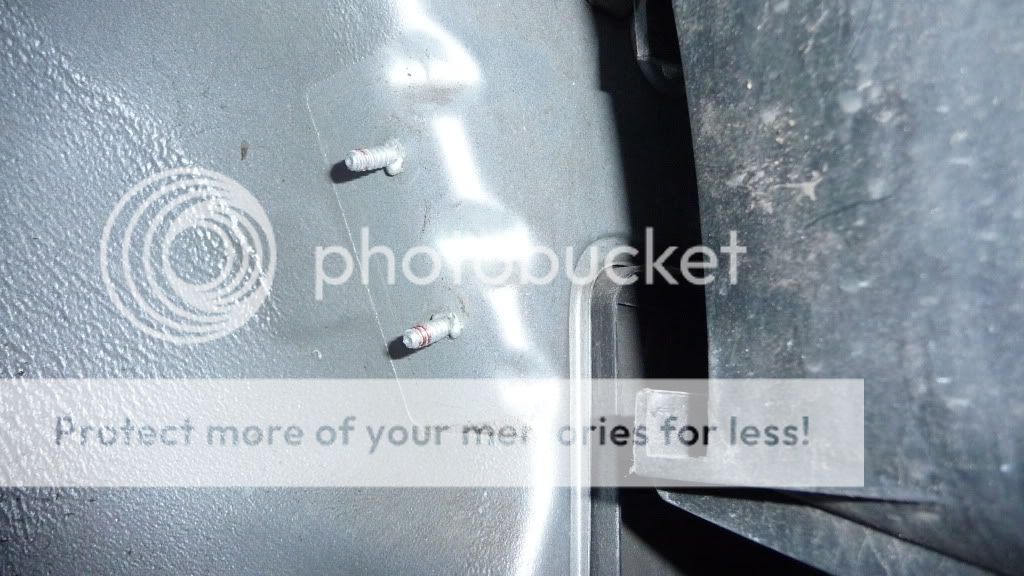
Step 5: Time to get under the car ... reach up behind the bumper and remove the number plate lights, they have a bayonet fitting so easily untwist to remove.
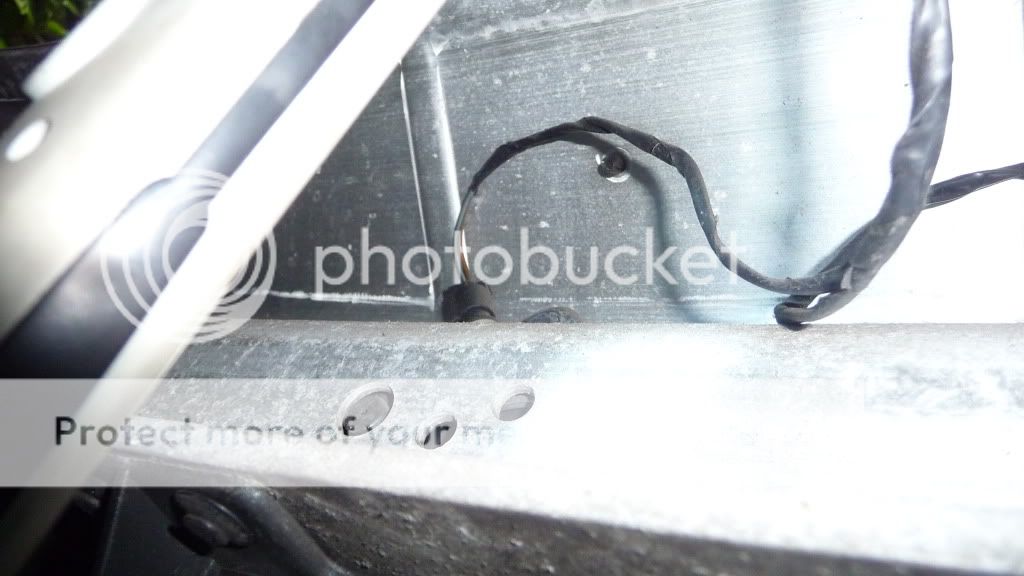
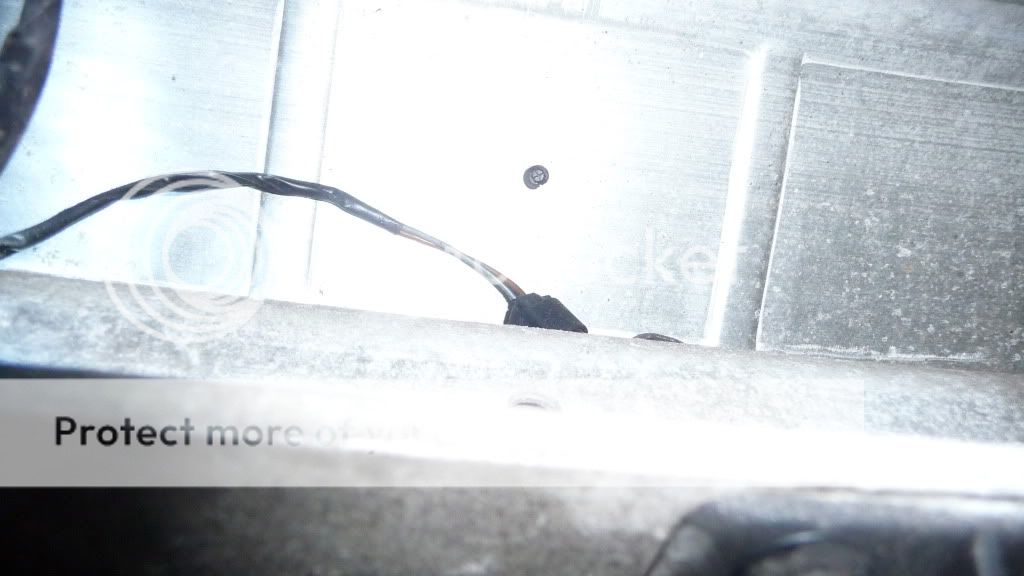
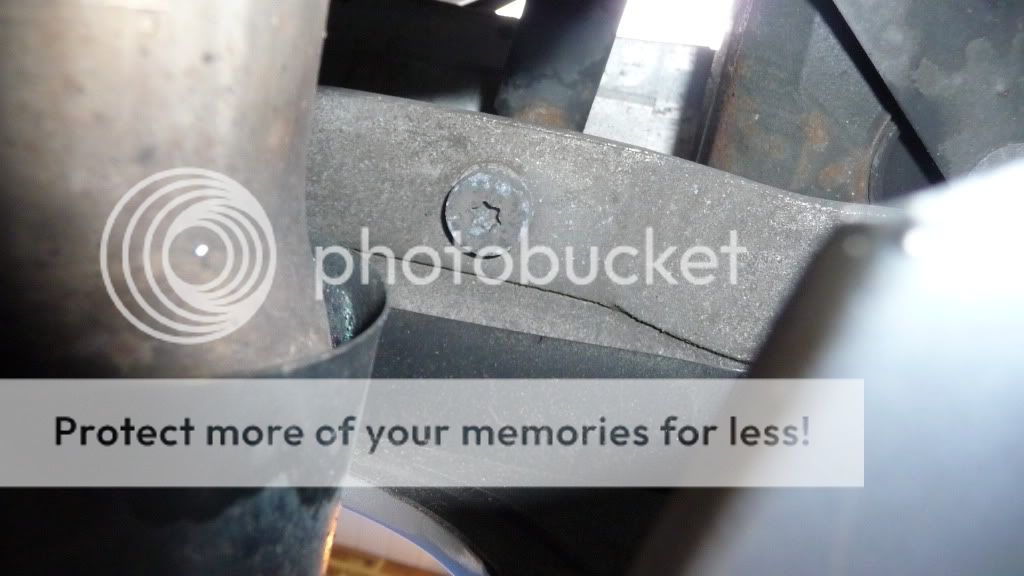
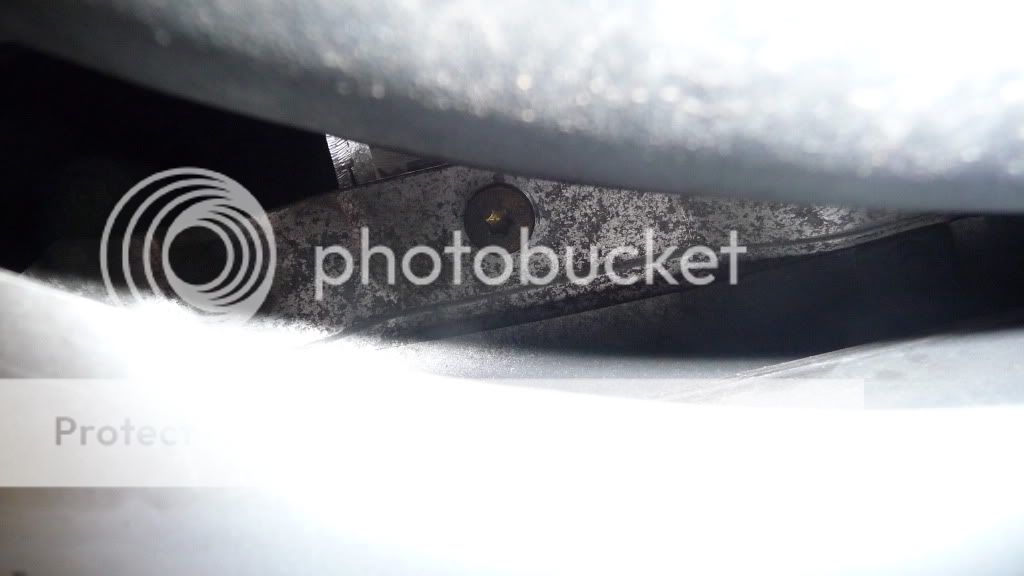
Step 6: Using a T50 Torx driver remove the two long bolts that go through the bumper internal frame and the carrier on the car. Looking from under the car there's one just to the right of the exhaust, and on the other side between the spare wheel carrier and the rear edge of the bumper.
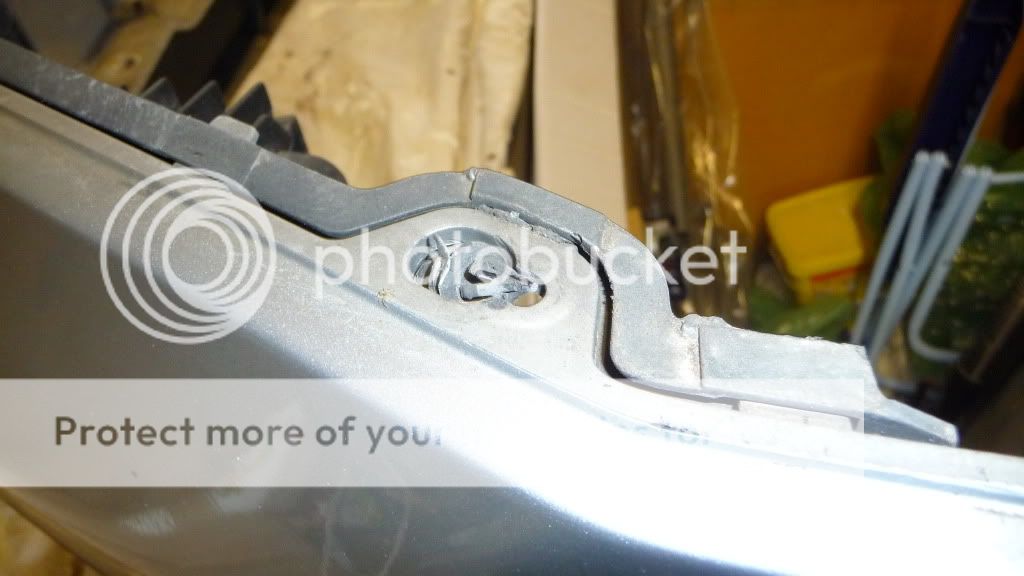
Step 7: Apparently the way to remove the bumper is to push it back at the corners, when it should drop down due to the keyhole shaped holes. I never got to find out as 3 out of the 4 plastic rivets were broken, and the 4th was jammed in the hole on it's side. So my bumper was not supported at all along the edges! Can't believe that BMW use PLASTIC fixings to hold a bumper up!!
If anybody is suffering from a droopy bumper then this probably the culprit.
Think it would help to have two people here, although I did managed it on my own.
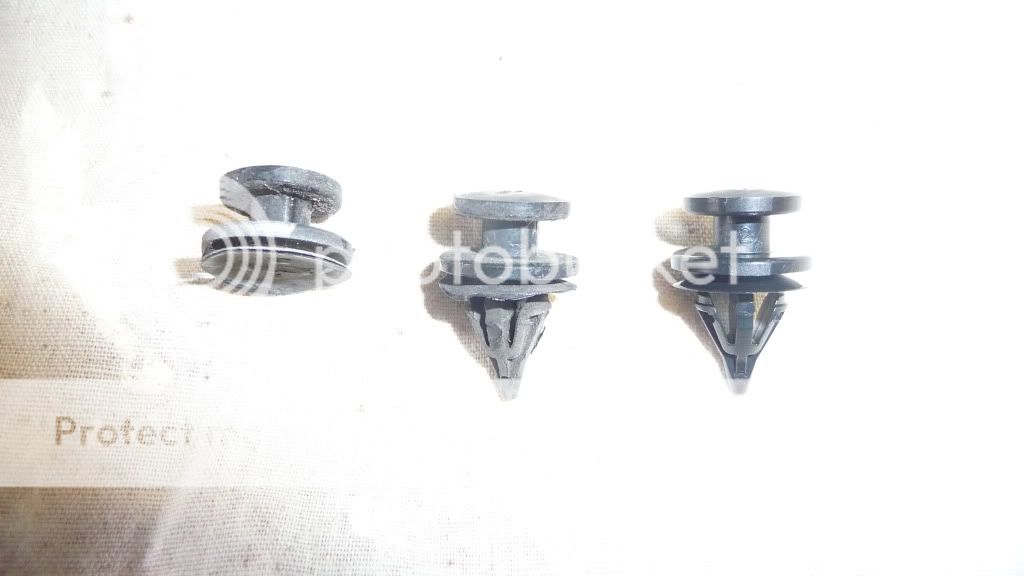
This shows the damage to the rivets, the one on the right is a brand new one, the one on the centre is the one that was jammed on it's side, and the one on the left is on of the three where the expanding rivet section had broken off.
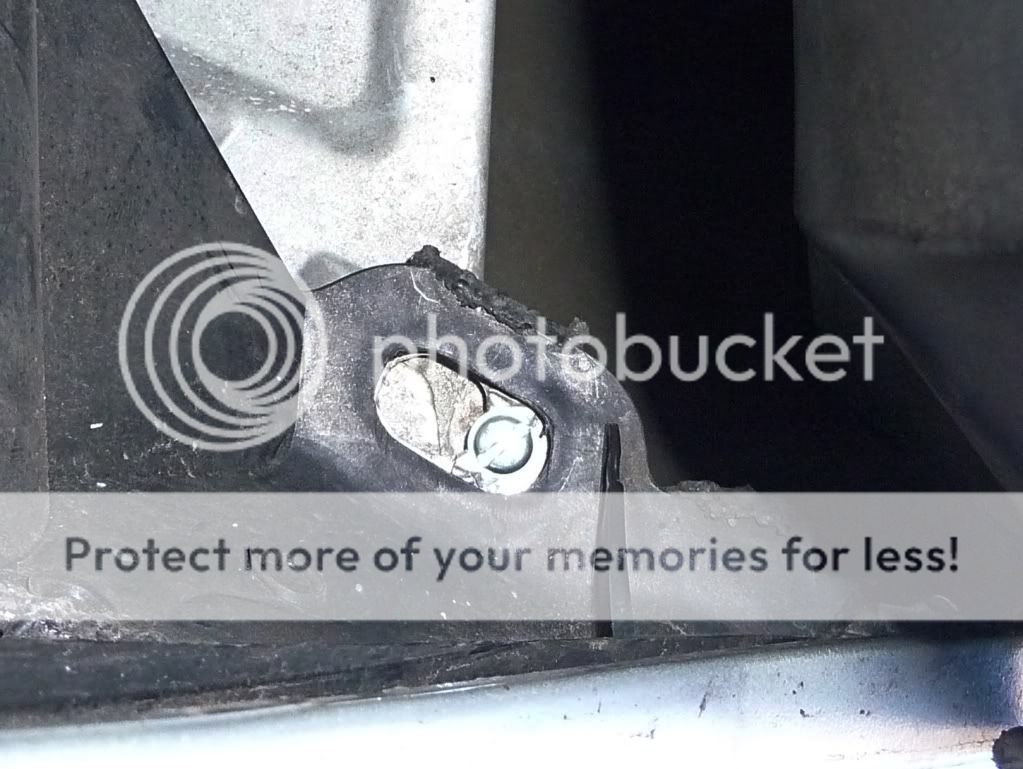
Refitting the bumper is essentially reversal of removal, although what I did when refitting was rather than rely on the 4 plastic rivets to support the bumper at the sides, I only fitted one rivet either side at the position nearest the rear light. This helps assembly as you only have to align the keyholes in the bumper with the flanges on one rivet at a time rather than two which would be more difficult. After I had got the bumper back on the car I used a M5 x 25mm machine screw in place of the river next to the wheel arch. It's a bit fiddly but you can feed the screw through the holes in the bumper and wing and get a nut and washer on the back. I used washers front and back to spread the load, although they could do with being a bit bigger. At some point I will replace the nuts with nyloc types so they don't vibrate loose, it's just that B&Q didn't have any at almost closing time on a Sunday night!
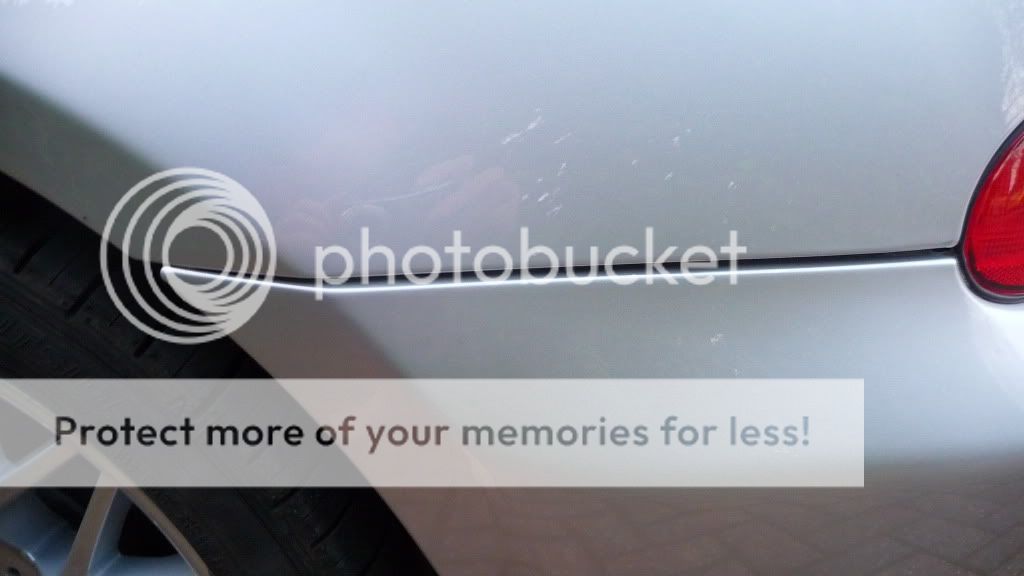
The finished product, as you can see the gap between the bumper and wing is now much better, actually it's a bit too narrow at the wheel side but that's a job for another day!
All in all probably took less that an hour to remove, and thirty minutes or so to refit.
If anybody is thinking of doing this then no specialist tools are required, but you will need a T50 Torx driver. Also buy some replacement flanged rivets part number 51128399166 just in case the old ones are broken.
Hope this helps, Wonderloaf
Any similarity between this posting and a posting on another z3 forum is purely coincidental.
Problem: The paint along the surface at the side of the bumper where it meets the wing on my car was flaking away, probably due to a respray at some time in the past. Anyway, wanted to try and rectify this before the flaking reached the main external surface of the bumper.

Step 1: Jack up and support the rear of the car using your favourite method and remove the wheels. Mine is to raise it by putting a trolley jack under the rear cross member, and then put axle stands under the rear jacking points. I fold up some cloths to put on the top of the axle stand to protect the car. Also put the wheels under the car to get them out of the way and to add yet more safety if the trolley jack or axle stands fail (not very likely!).


Step 2: Remove the rivet or screw (mine had both -one type each side) holding the inner liner to the the rear of the bumper, indicated by the red arrow. If you have a rivet then using a dinner fork as a pry bar works well, just don't let the OH see you using the best cutlery!


Step 3: Pull back the inner liner and retain over the rear axle

Step 4: Undo the two plastic hex nuts and remove the bumper support. Didn't do this originally but makes thing so much easier when re-fitting the bumper.


Step 5: Time to get under the car ... reach up behind the bumper and remove the number plate lights, they have a bayonet fitting so easily untwist to remove.


Step 6: Using a T50 Torx driver remove the two long bolts that go through the bumper internal frame and the carrier on the car. Looking from under the car there's one just to the right of the exhaust, and on the other side between the spare wheel carrier and the rear edge of the bumper.


Step 7: Apparently the way to remove the bumper is to push it back at the corners, when it should drop down due to the keyhole shaped holes. I never got to find out as 3 out of the 4 plastic rivets were broken, and the 4th was jammed in the hole on it's side. So my bumper was not supported at all along the edges! Can't believe that BMW use PLASTIC fixings to hold a bumper up!!
If anybody is suffering from a droopy bumper then this probably the culprit.
Think it would help to have two people here, although I did managed it on my own.

This shows the damage to the rivets, the one on the right is a brand new one, the one on the centre is the one that was jammed on it's side, and the one on the left is on of the three where the expanding rivet section had broken off.

Refitting the bumper is essentially reversal of removal, although what I did when refitting was rather than rely on the 4 plastic rivets to support the bumper at the sides, I only fitted one rivet either side at the position nearest the rear light. This helps assembly as you only have to align the keyholes in the bumper with the flanges on one rivet at a time rather than two which would be more difficult. After I had got the bumper back on the car I used a M5 x 25mm machine screw in place of the river next to the wheel arch. It's a bit fiddly but you can feed the screw through the holes in the bumper and wing and get a nut and washer on the back. I used washers front and back to spread the load, although they could do with being a bit bigger. At some point I will replace the nuts with nyloc types so they don't vibrate loose, it's just that B&Q didn't have any at almost closing time on a Sunday night!

The finished product, as you can see the gap between the bumper and wing is now much better, actually it's a bit too narrow at the wheel side but that's a job for another day!

All in all probably took less that an hour to remove, and thirty minutes or so to refit.
If anybody is thinking of doing this then no specialist tools are required, but you will need a T50 Torx driver. Also buy some replacement flanged rivets part number 51128399166 just in case the old ones are broken.
Hope this helps, Wonderloaf

