So, how it was done. Things you'll need are:
1. Sharp knife (if you're not allowed sharp things - stop right here!)
2. Cordless drill and 3.5mm drill bit.
3.Some cable to extend the wiring up to the front indicators.
4.Some heat shrink tube and a heat gun.
5.Soldering iron.
6.Test light.
7.Some Araldite or similar .
8.
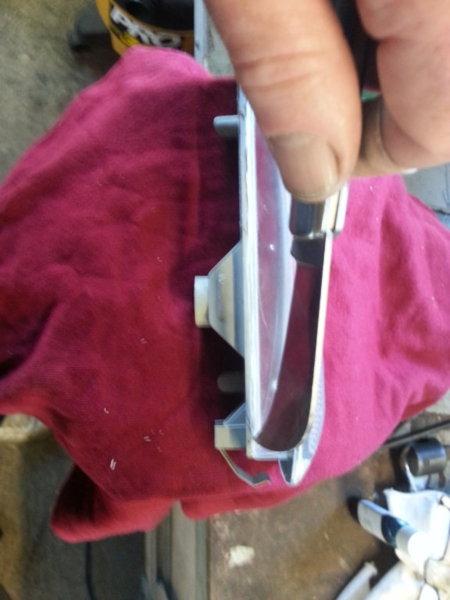
First you will have to remove the light units from the front bumper. Then using a sharp knife run it along the glued joints around the light until it comes apart, a little patience pays here.
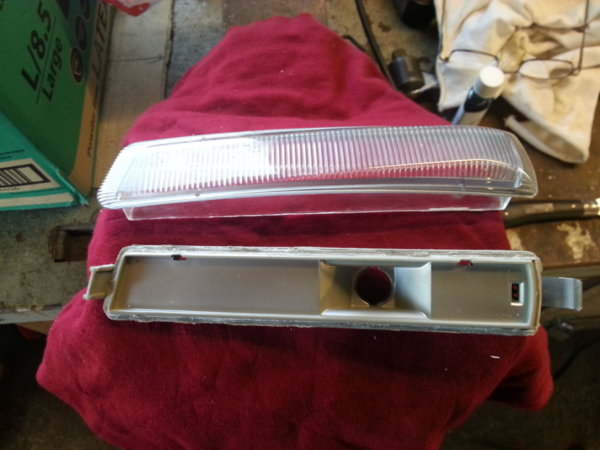
Now get your led strips and if they wont go in above or below the sidelight bulb you will have to cut them at the cutting point shown. Then drill two holes to allow the wires to pass out of the light and stick the strips into the light body.
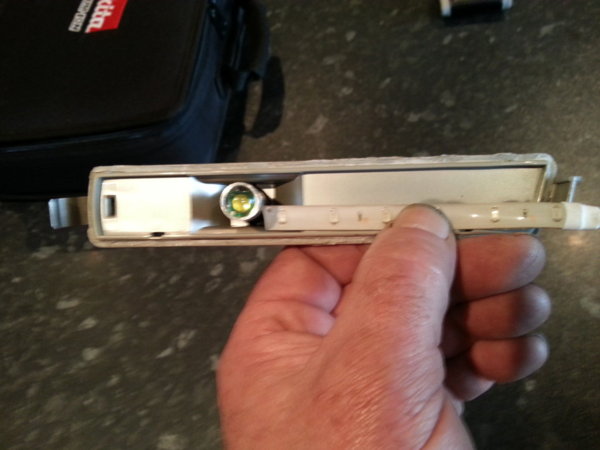
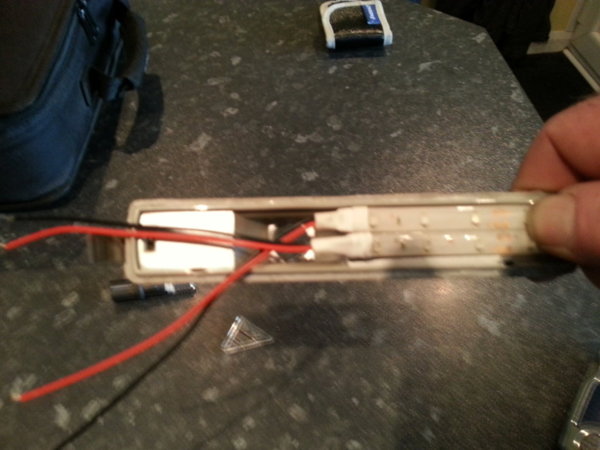
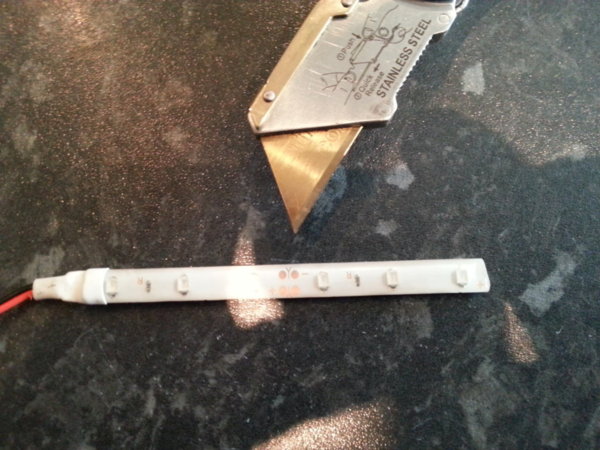
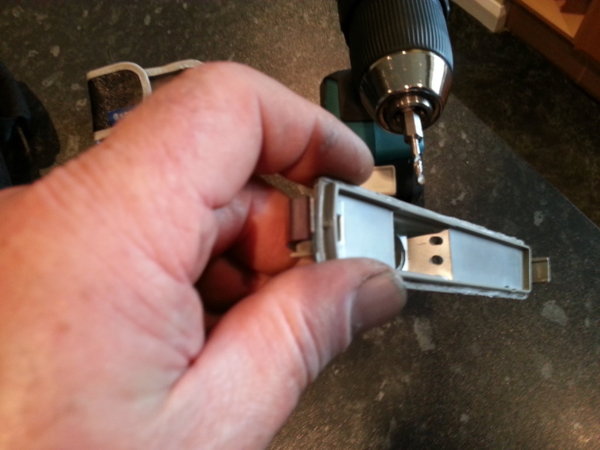
Once you have the wires through, mix some Araldite or similar epoxy type and stick/seal the wires at the exit to prevent damp getting into the light. Now shorten one of each pair of wires and part the insulation on the long wire at the same length and solder the short wire to the long one finish by sliding a piece of heat shrink tube over the joint and shrink it tight with the heat gun. Now you'll need to extend the wiring up to the front indicator lamp area to be able to connect into the live side of the indicator bulb. I used a length of speaker cable as these are LED's they don't need much current, also the speaker cable had the original "bullet" connectors on. I used the one with the "male" bullet for the live feed and cut the "female" bullet connector off with approx. 2" cable attached. The off cut is spliced into the indicator live feed wire and has the "female" bullet connector insulated with a soft plastic boot. The other cable has a ring terminal soldered on which is attached to a convenient earth point at each side of the car. Please note that LED's are polarity sensitive and will only work if wired correctly + to + and earth to earth.
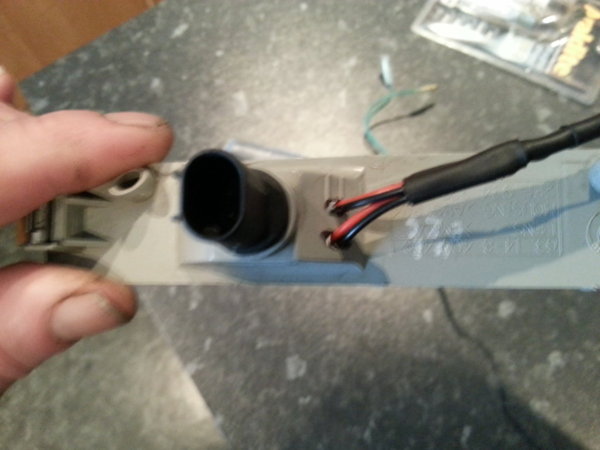
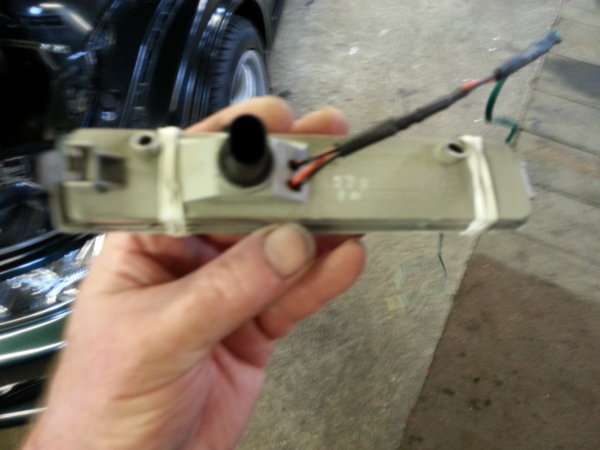
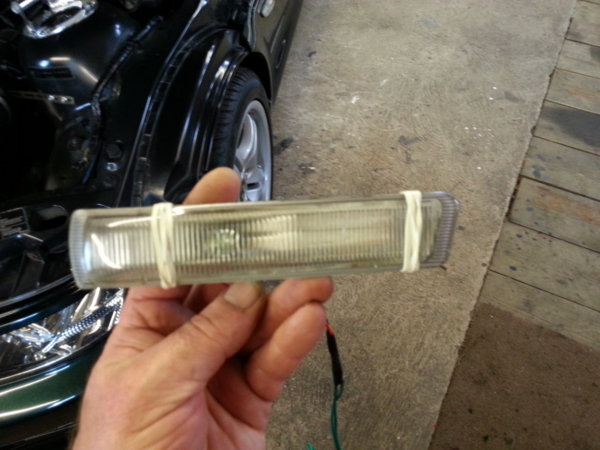
Once you're happy with the wiring you can super glue the light unit halves back together, I put a couple of elastic bands round them until the super glue had plenty of time to cure. Once the wires have been extended with the speaker wire, joints soldered and sealed up with the shrink tubing you can refit the lights into the bumper and run the wires up to the indicator behind the headlights. Next turn on the hazard flashers and with your test light trace the live feed to the indicator lights. Now turn the hazards off and part the insulation on the live wire and splice the 2" piece of cable onto it. You will need to insulate this joint with some insulation tape making sure it's sealed tight. Locate the earth terminal on the inner wing and connect the earth ring on the other wire to this point. Make sure all wires are routed neatly out any danger of being trapped or stretched.
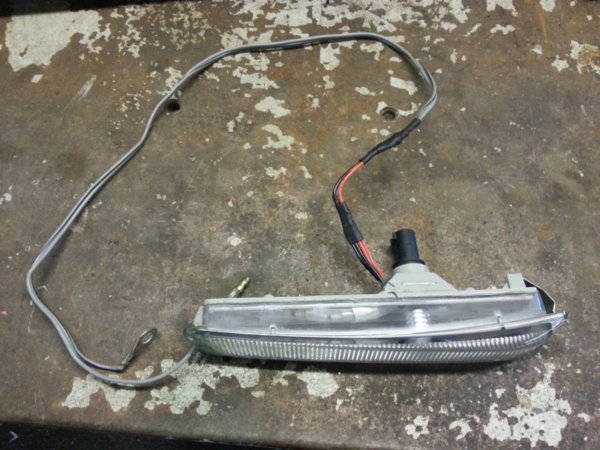
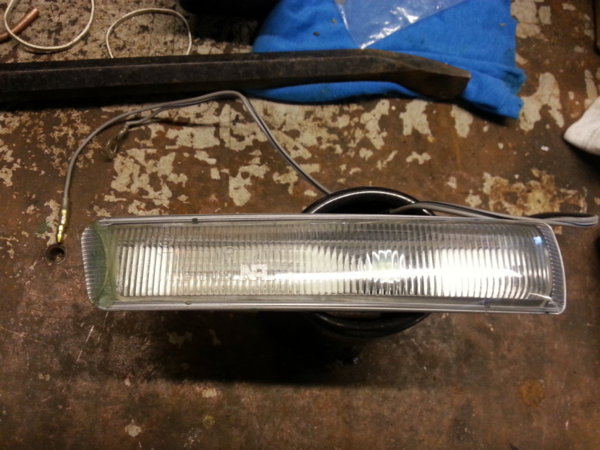
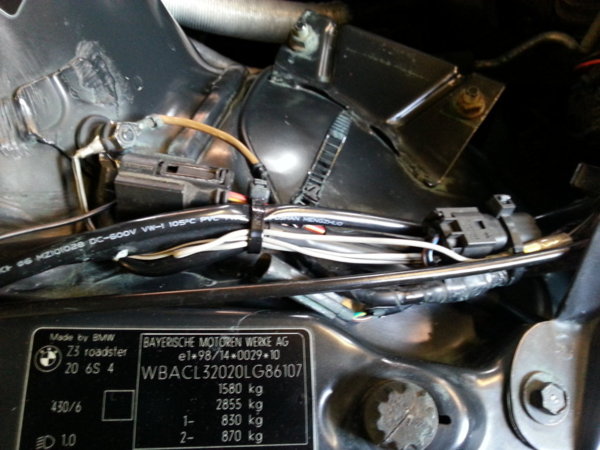
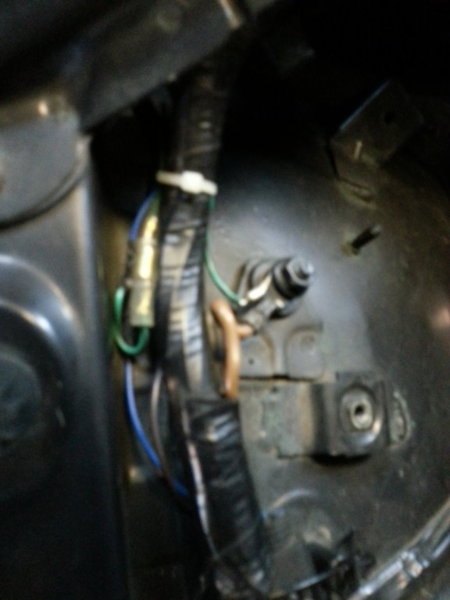
The 2 pictures above show the earth points on the inner wings, the one with Grey wire is the O/S and the one with Green wire the N/S.
View: https://www.youtube.com/watch?v=EqUxE90Tacg&feature=youtu.be
Once the lights are back in the bumper it's hard to see the LED strips inside them until you turn the indicators on. I hope I haven't missed anything out here, if you have any questions please ask, oh and if you do this mod you do so at your own risk. I think this will be very useful to me when leaving work when the dark nights return later in the year.
Thanks for having a look.
Tony.
 Sorry for the wind noise on the video.


