

So it was a fairly wet day today and the misses b******* off with her friends and that left me some time to ‘tinker’ 
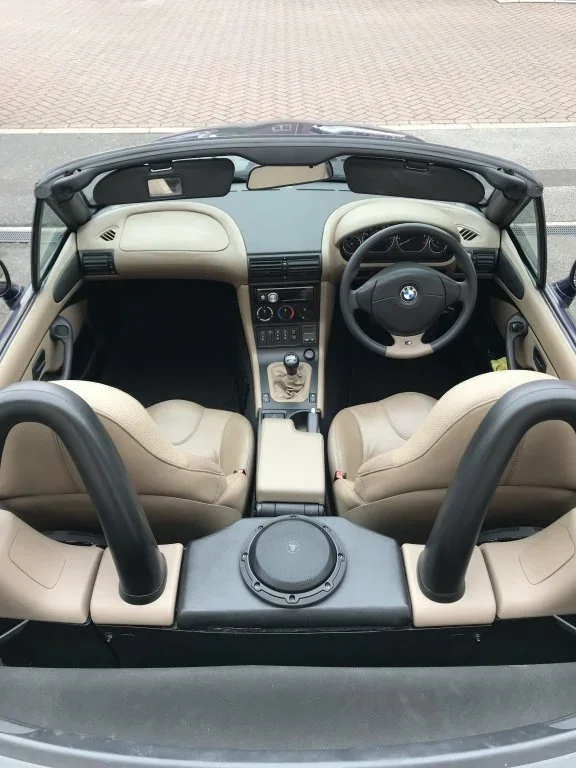
I previously made a sub enclosure utilising the space between the roll hoops and used a JL Audio 6w3v3 sub. It’s good and very happy with it, but as I have 2 Zeds it just meant swapping it between them both - as I’ve upgraded the audio in both.
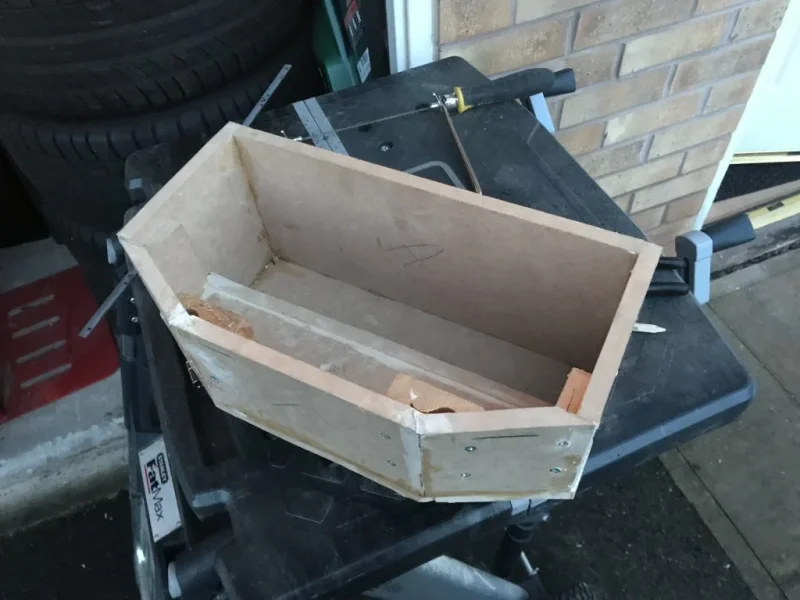
So around Xmas I found sourced a JL audio 8w3v3 sub, which I thought I could fit. I started to build another enclosure and then left the project as the depth of the 8” sub was too much, and I needed time to consider options.
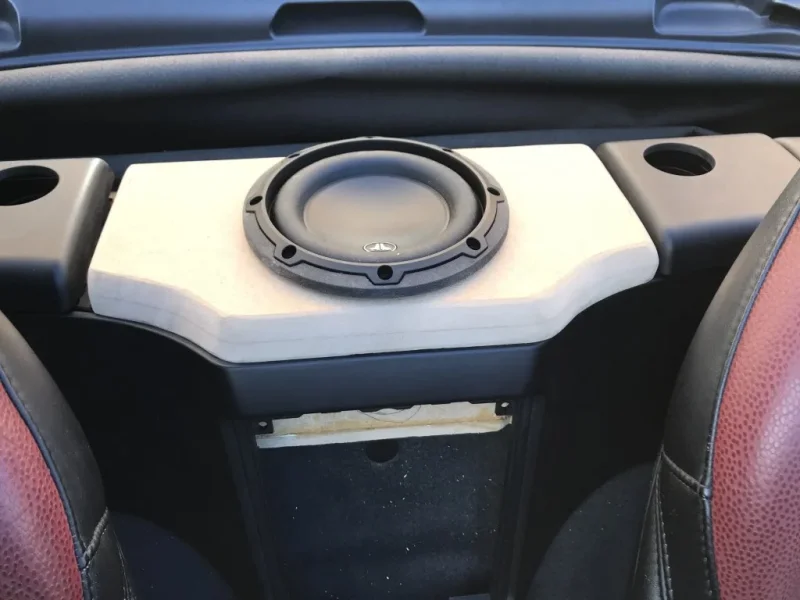
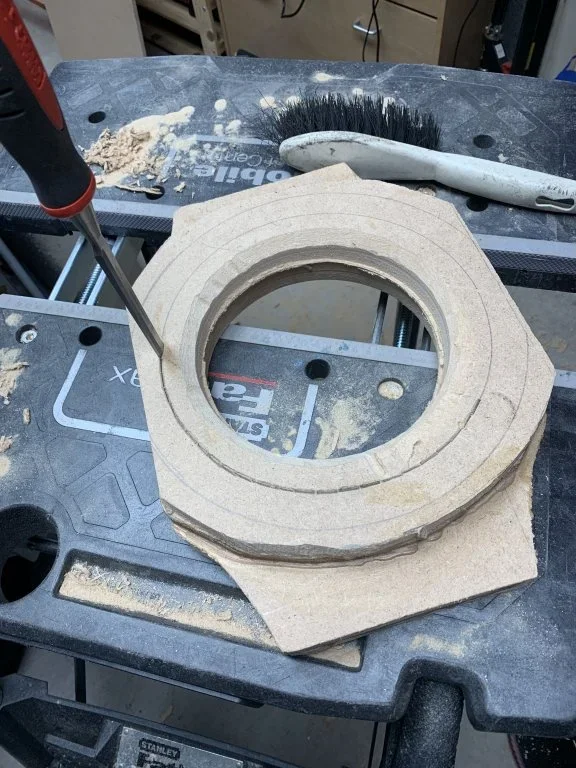
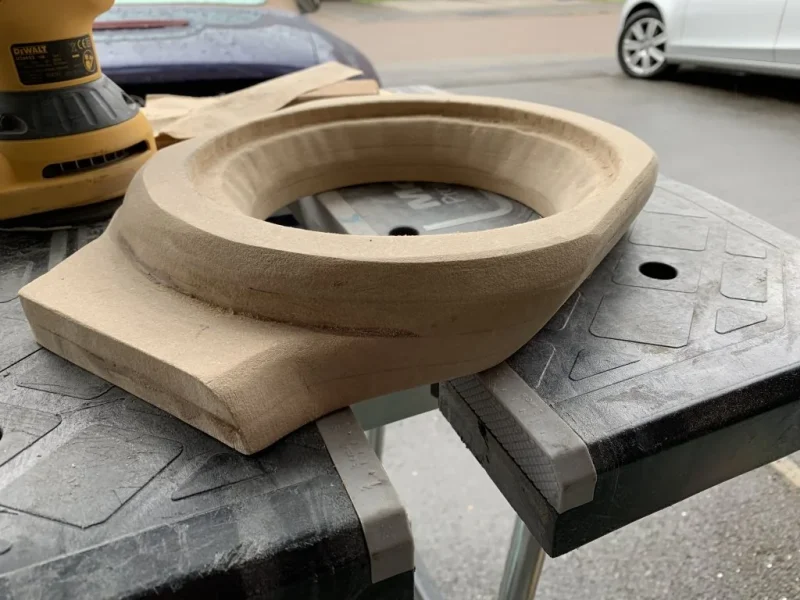
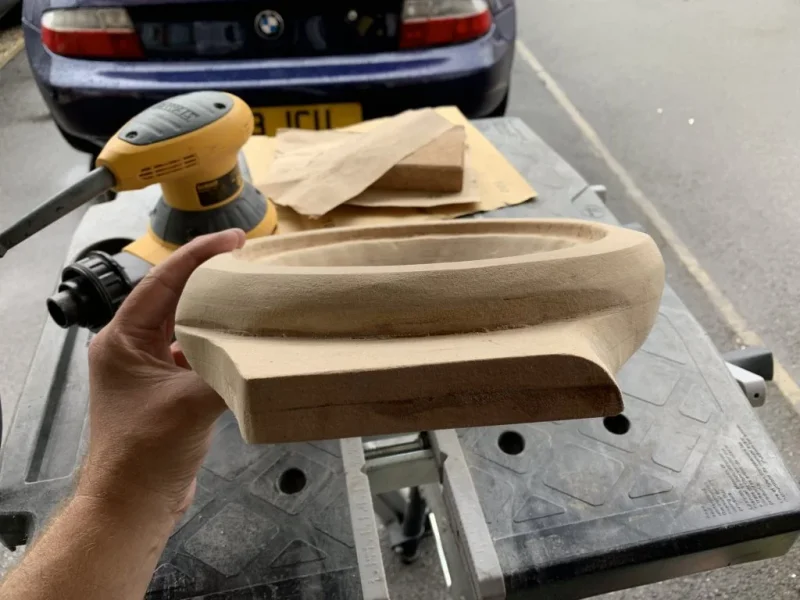
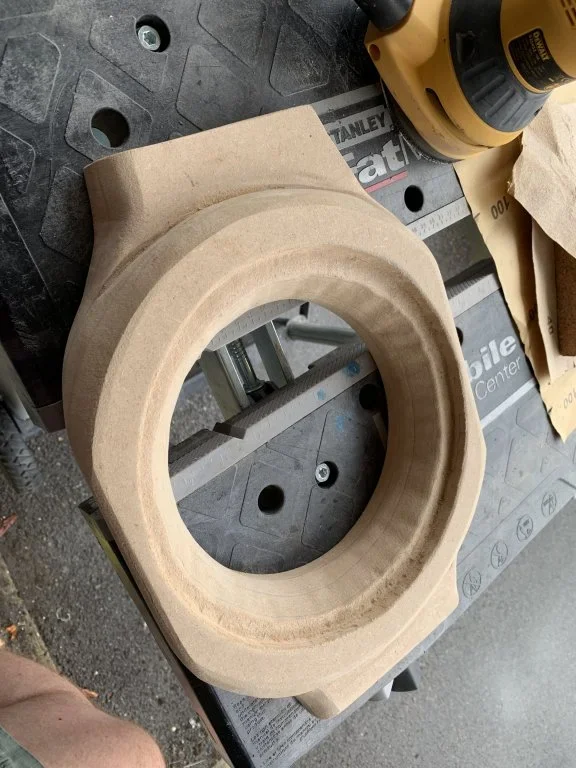
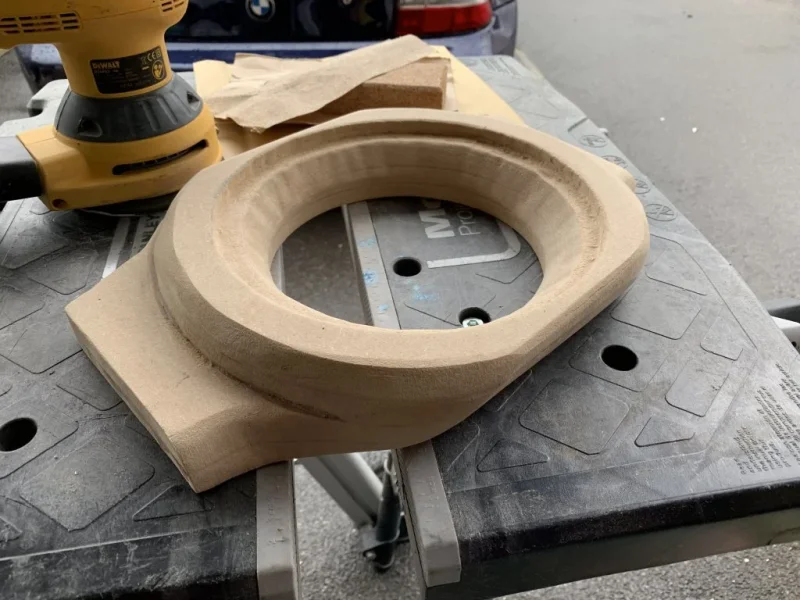
Well I had to enlarge the mounting lid, both in terms of width and height. I had fun shaping the lid with my orbital sander.
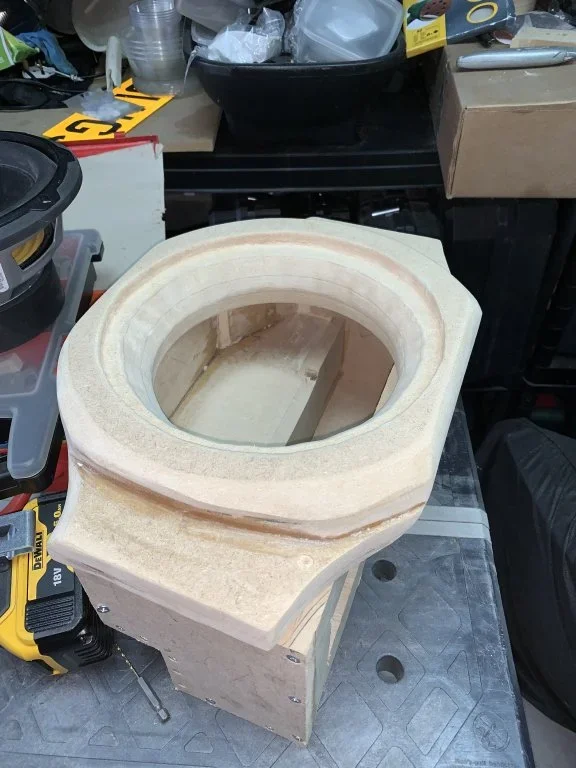
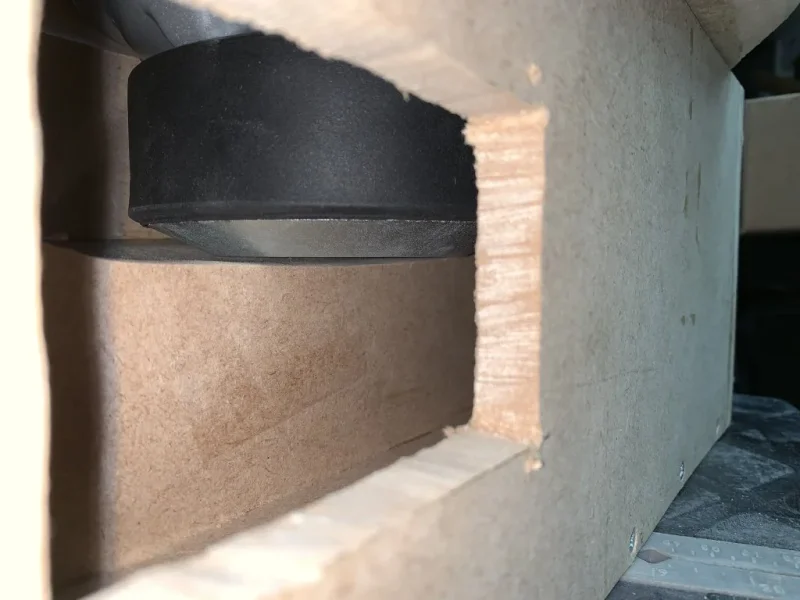
Test fit:
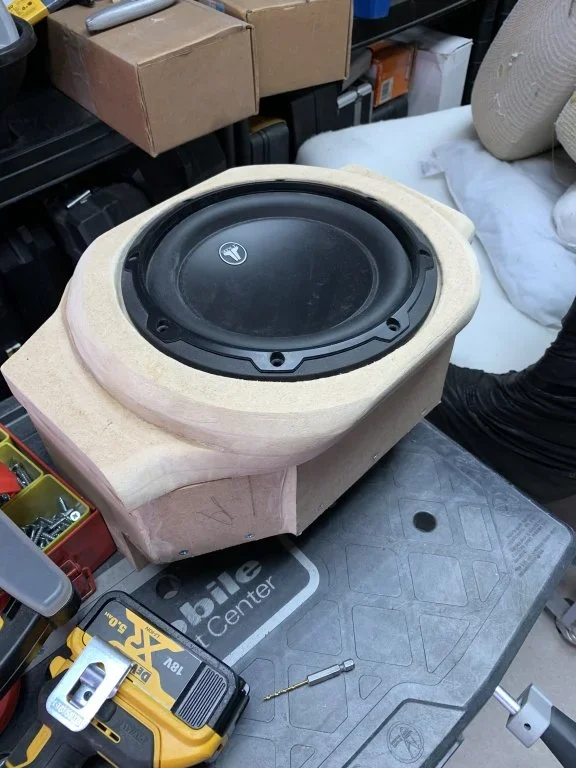
Ohhhh not much room at the bottom of the magnet
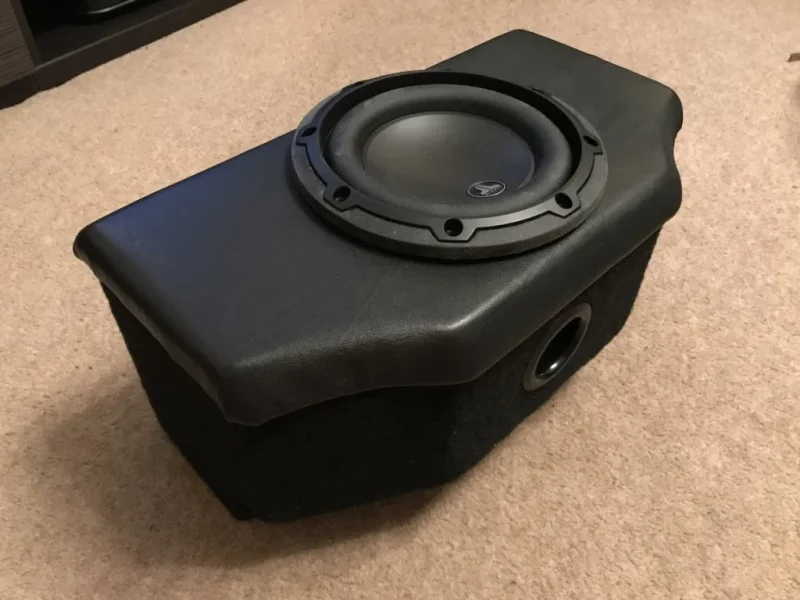
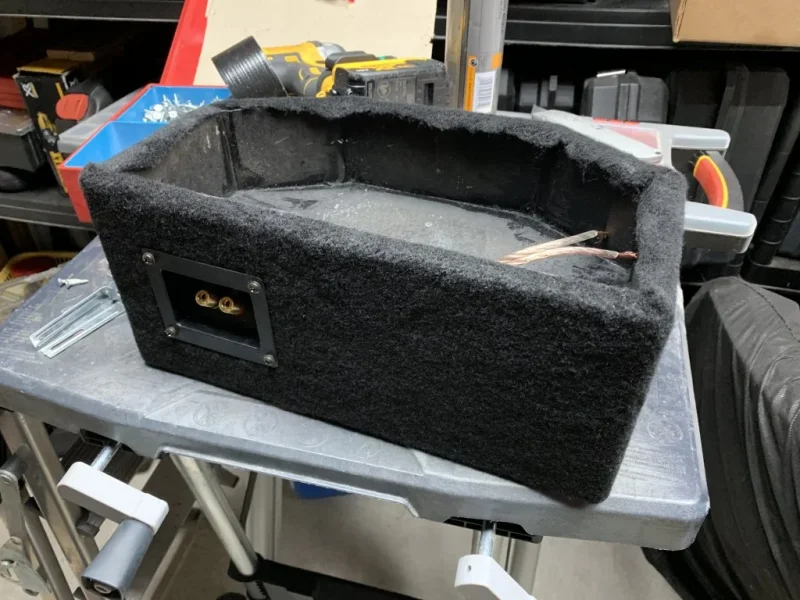
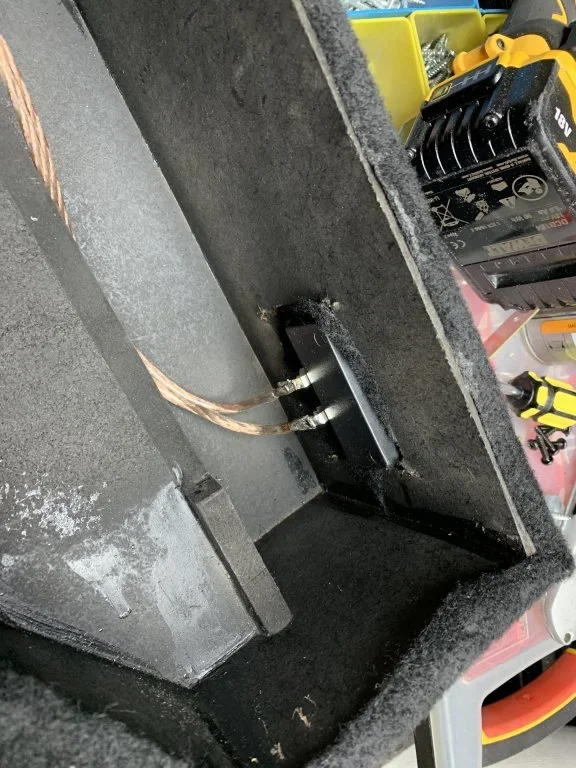
The enclosure I gave the inside a quick rattle can of satin black and then covered with acoustic carpet.
The lid I covered in some black leather.
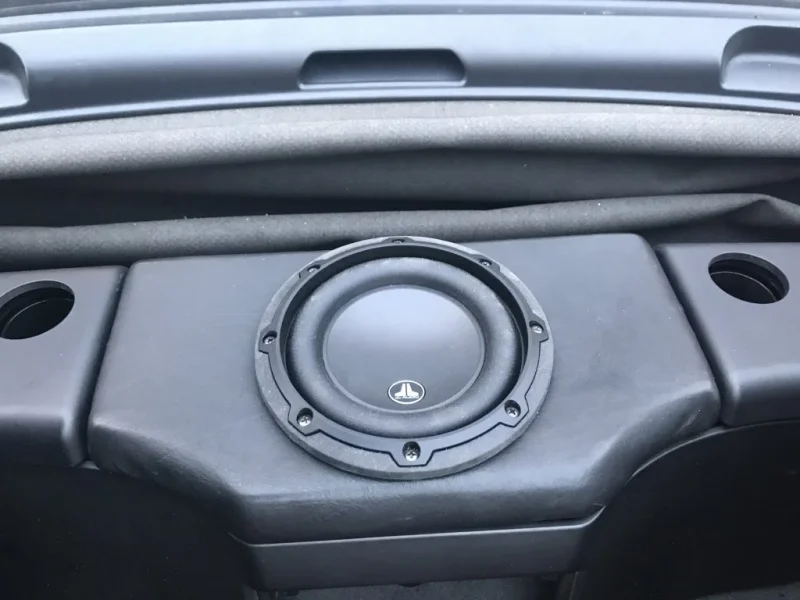
Quite happy with the end result.
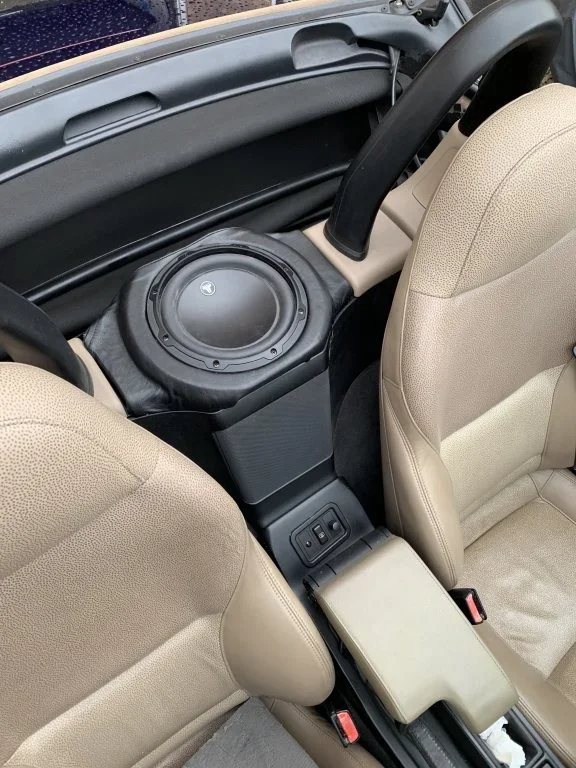
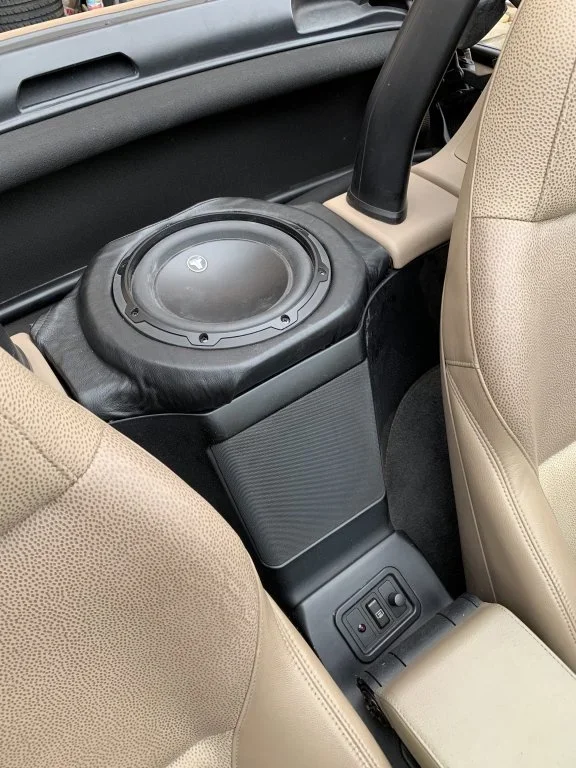
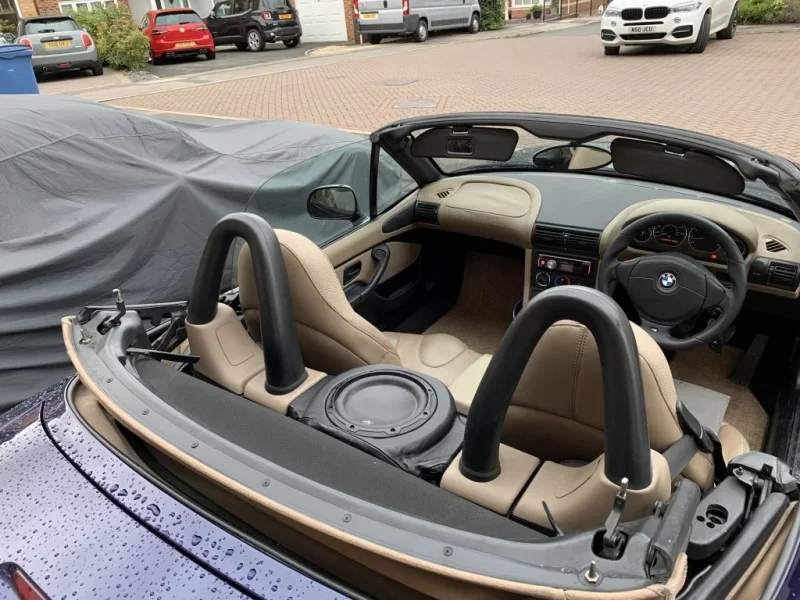
Just got to order a sub mesh grill and all sorted
Now both my Zeds have a sub each at last!
Very productive day...... just not sure the misses would think so
I previously made a sub enclosure utilising the space between the roll hoops and used a JL Audio 6w3v3 sub. It’s good and very happy with it, but as I have 2 Zeds it just meant swapping it between them both - as I’ve upgraded the audio in both.
So around Xmas I found sourced a JL audio 8w3v3 sub, which I thought I could fit. I started to build another enclosure and then left the project as the depth of the 8” sub was too much, and I needed time to consider options.
Well I had to enlarge the mounting lid, both in terms of width and height. I had fun shaping the lid with my orbital sander.
Test fit:
Ohhhh not much room at the bottom of the magnet
The enclosure I gave the inside a quick rattle can of satin black and then covered with acoustic carpet.
The lid I covered in some black leather.
Quite happy with the end result.
Just got to order a sub mesh grill and all sorted
Now both my Zeds have a sub each at last!
Very productive day...... just not sure the misses would think so


