rutger208
Newbie
- Joined
- May 22, 2024
- Points
- 3
BMW Z3 - Rear subframe camber and toe adjustable
After installing a new shock absorber set (Bilstein B12 Pro in combination with Eibach springs) and old worn rubbers, my Z3 Coupe suffered from camber and especially a lot of toe-out. Up to 10mm toe-out at the rear.
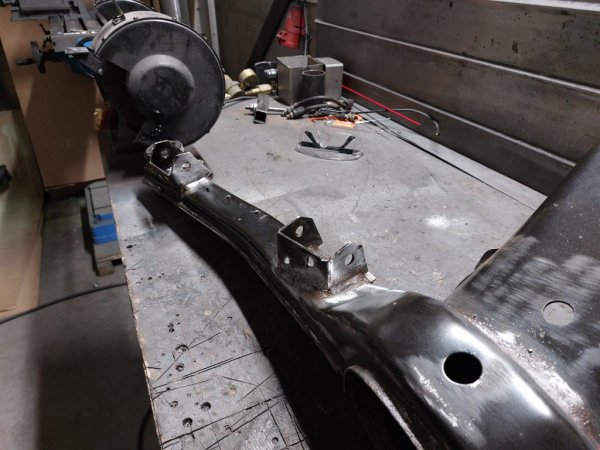
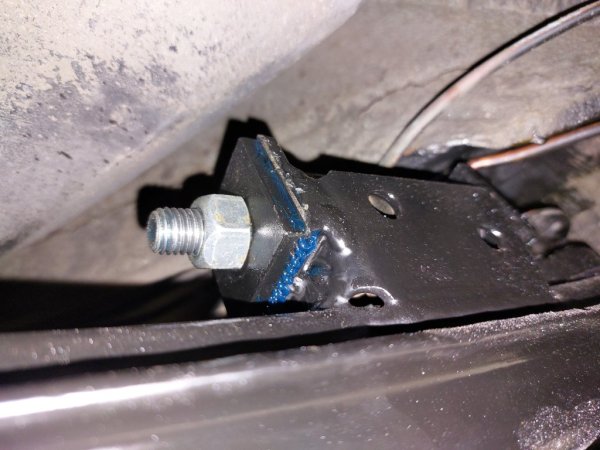
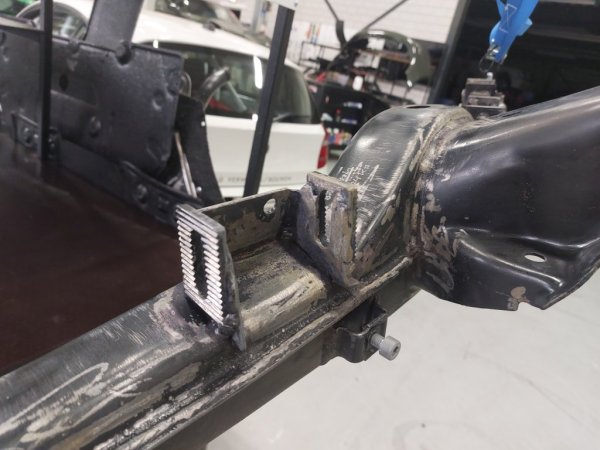
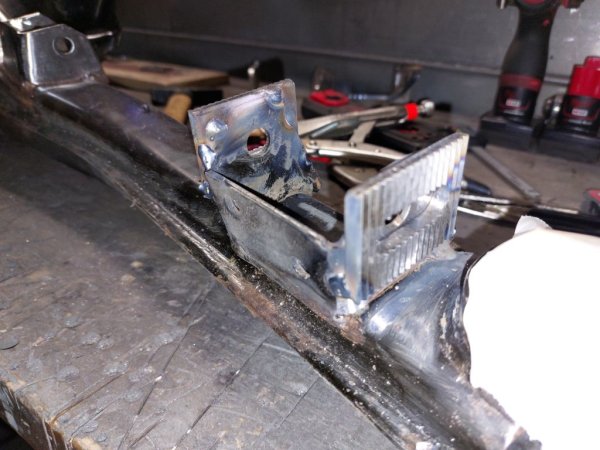
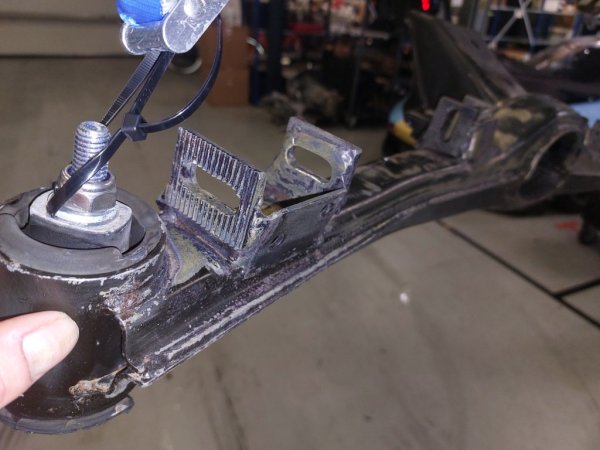
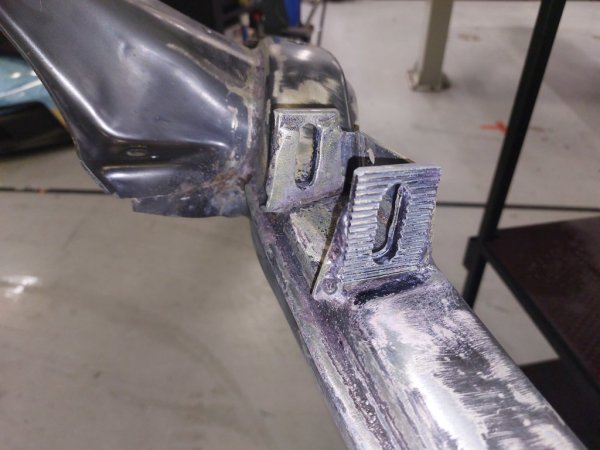
One of the ways to solve this is to make the rear subframe adjustable with, for example, eccentric bolts or with adjustment plates as shown here. Both required welding and slotting.
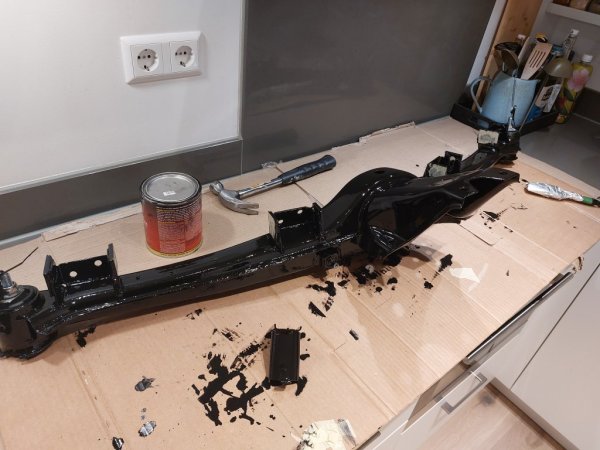
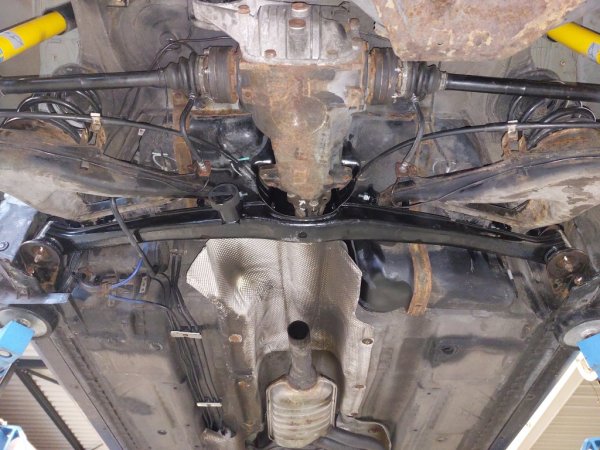
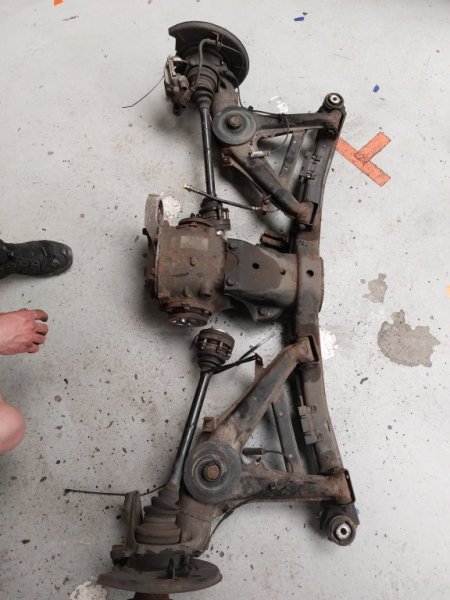
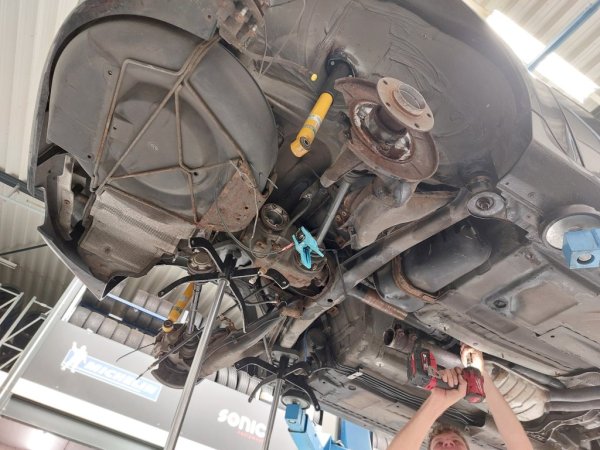
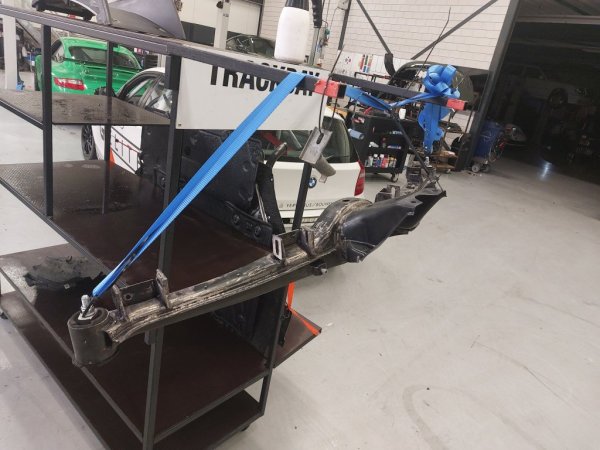
Bought a used subframe so that I could easily weld on the adjustment plates and slot out the holes. With the new subframe ready and in the POR15 coating, I dismantled the old subframe with a friend. Quite heavy and unconventional, so I would definitely do this with two people.
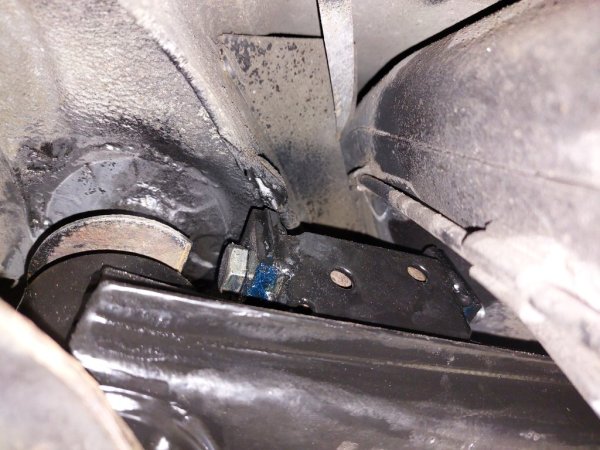
Immediately replaced the rubbers of the wishbones, subframe and differential. Also reinforced the hanger of the differential due to the possibility of cracking.
Reassemble everything and tighten the adjusting plates by feel. With alignment came to -1.75 degrees camber and 0.5mm toe-in.
Quite a job but happy with the result!
I b
Attachments
-
139.4 KB Views: 27
-
148.2 KB Views: 29
-
131.8 KB Views: 29
-
117.8 KB Views: 29
-
138 KB Views: 29
-
190.6 KB Views: 31
-
117.3 KB Views: 29
-
91.6 KB Views: 28
-
172.8 KB Views: 31
-
150.2 KB Views: 29
-
114.7 KB Views: 29
-
169.1 KB Views: 28

